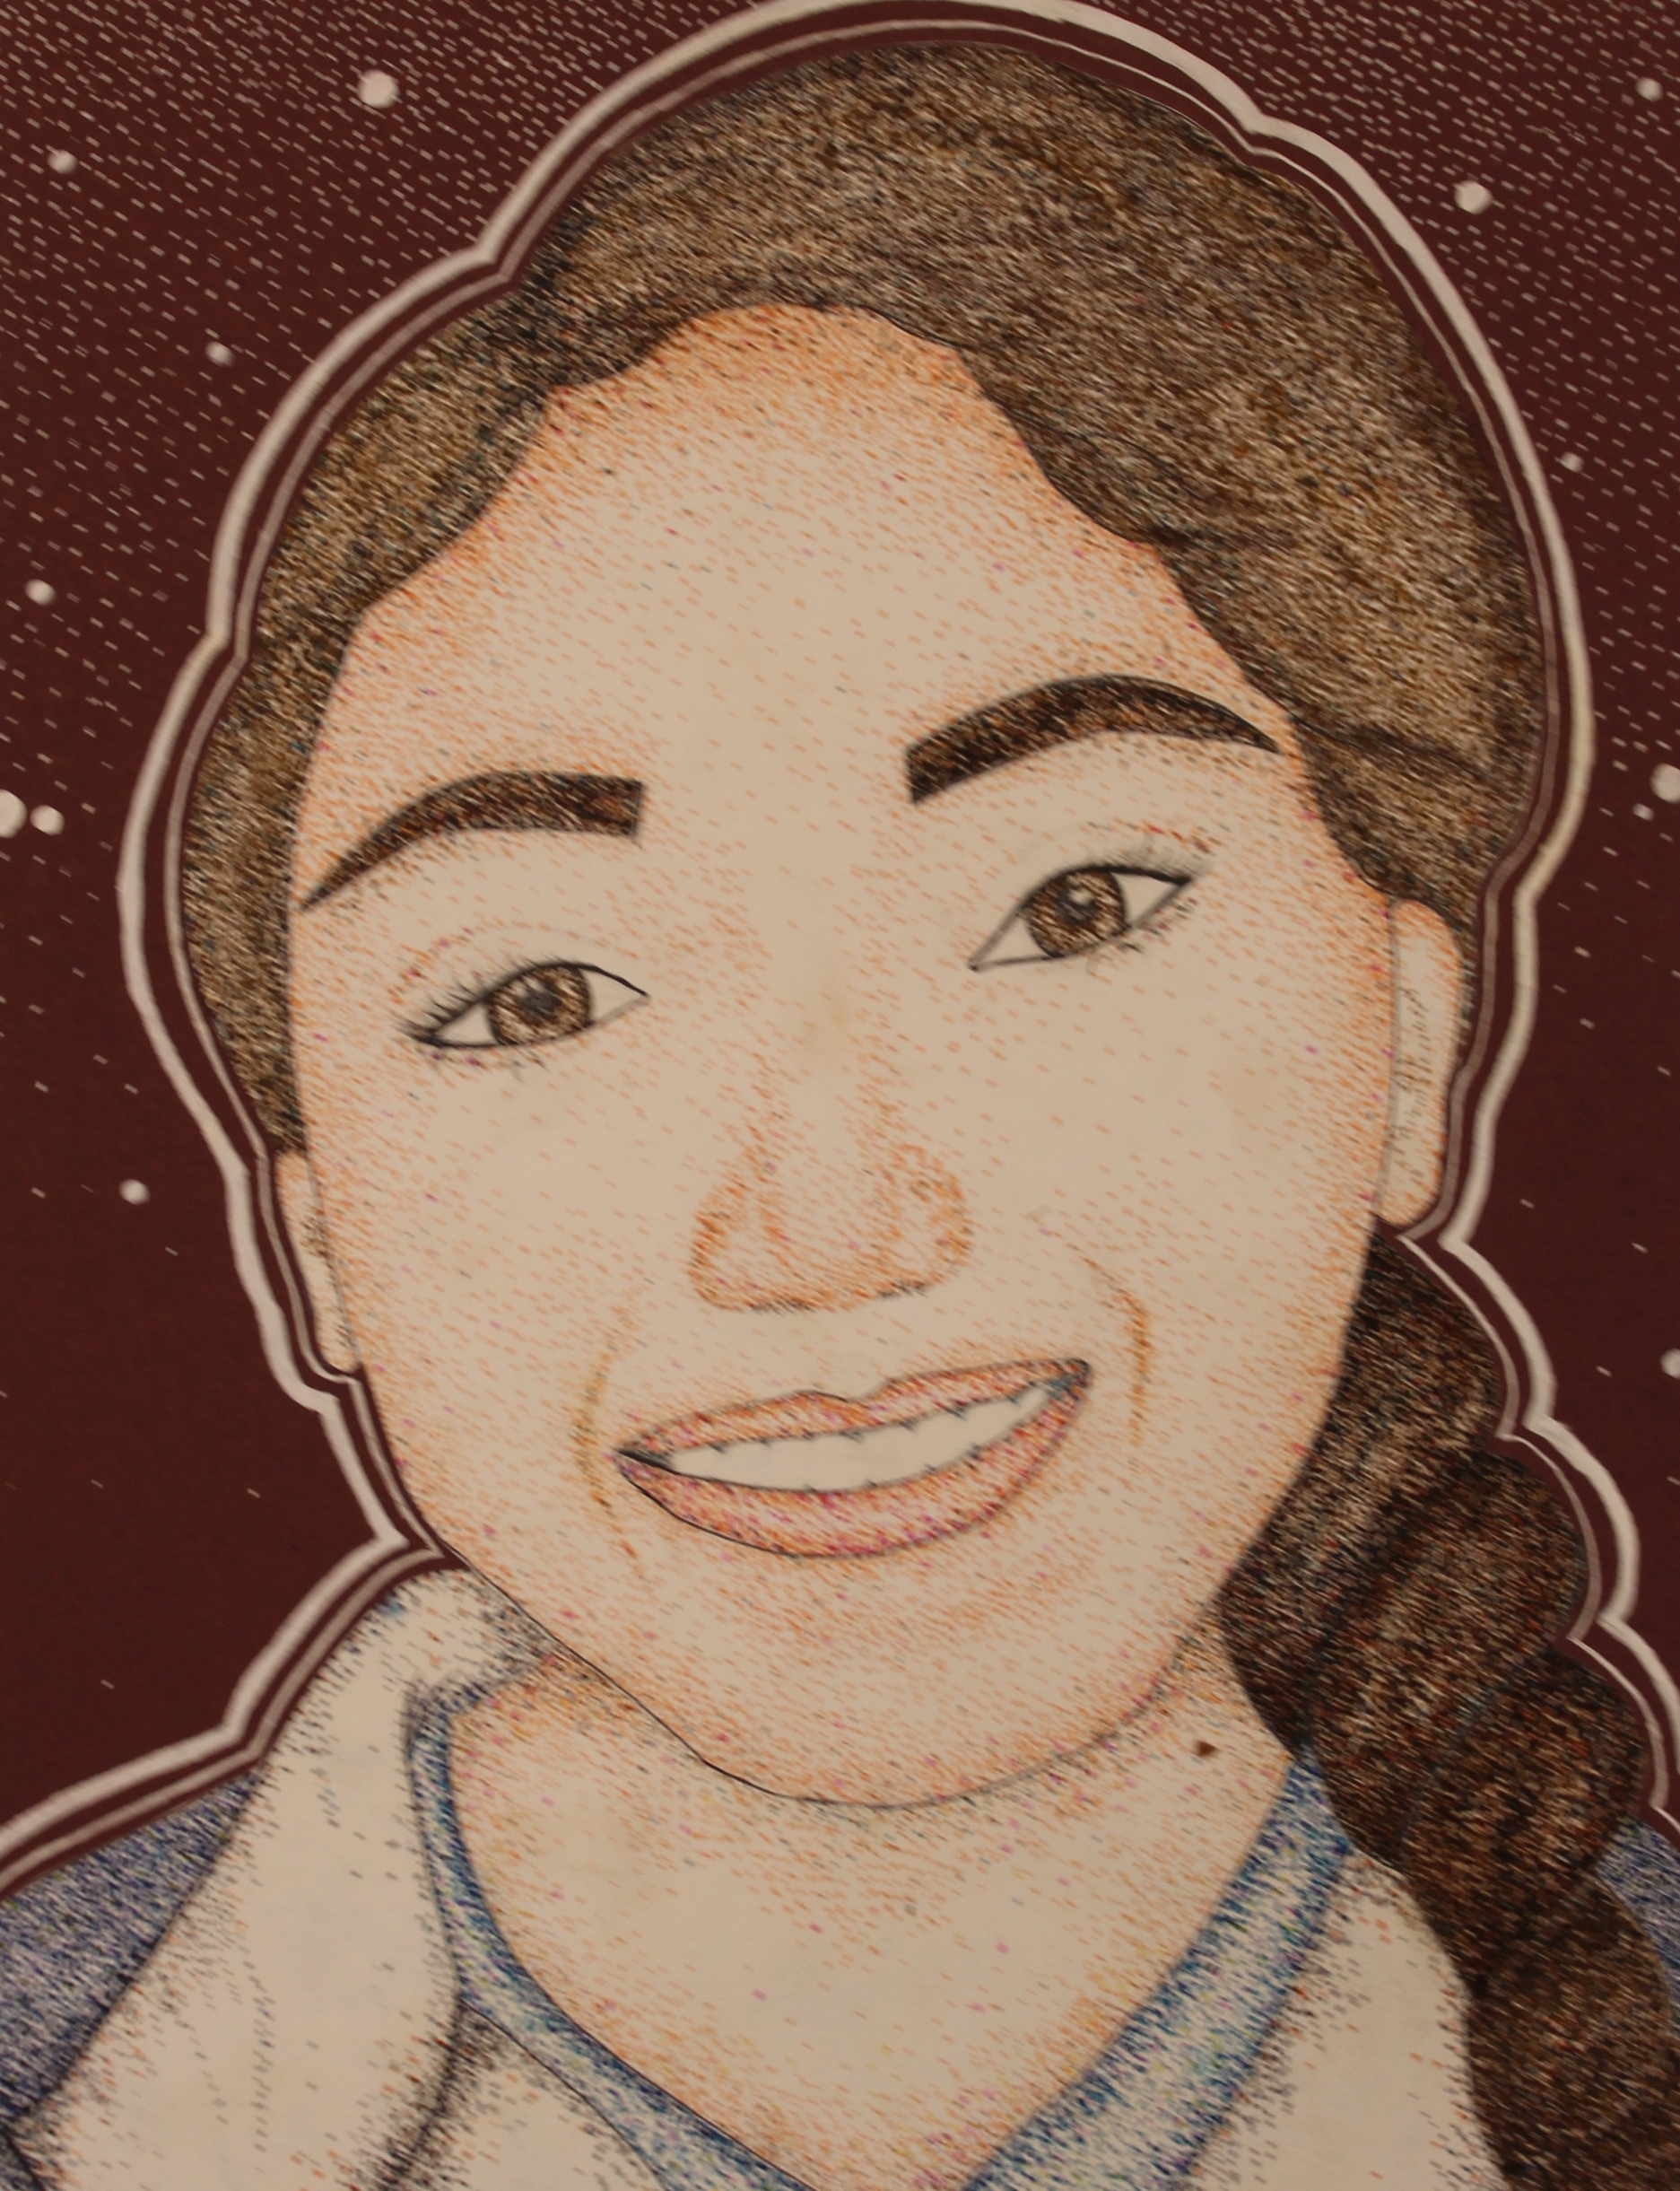
Xerox Transfers with Embossing Lesson Plan

Xerox Transfers with Embossing:

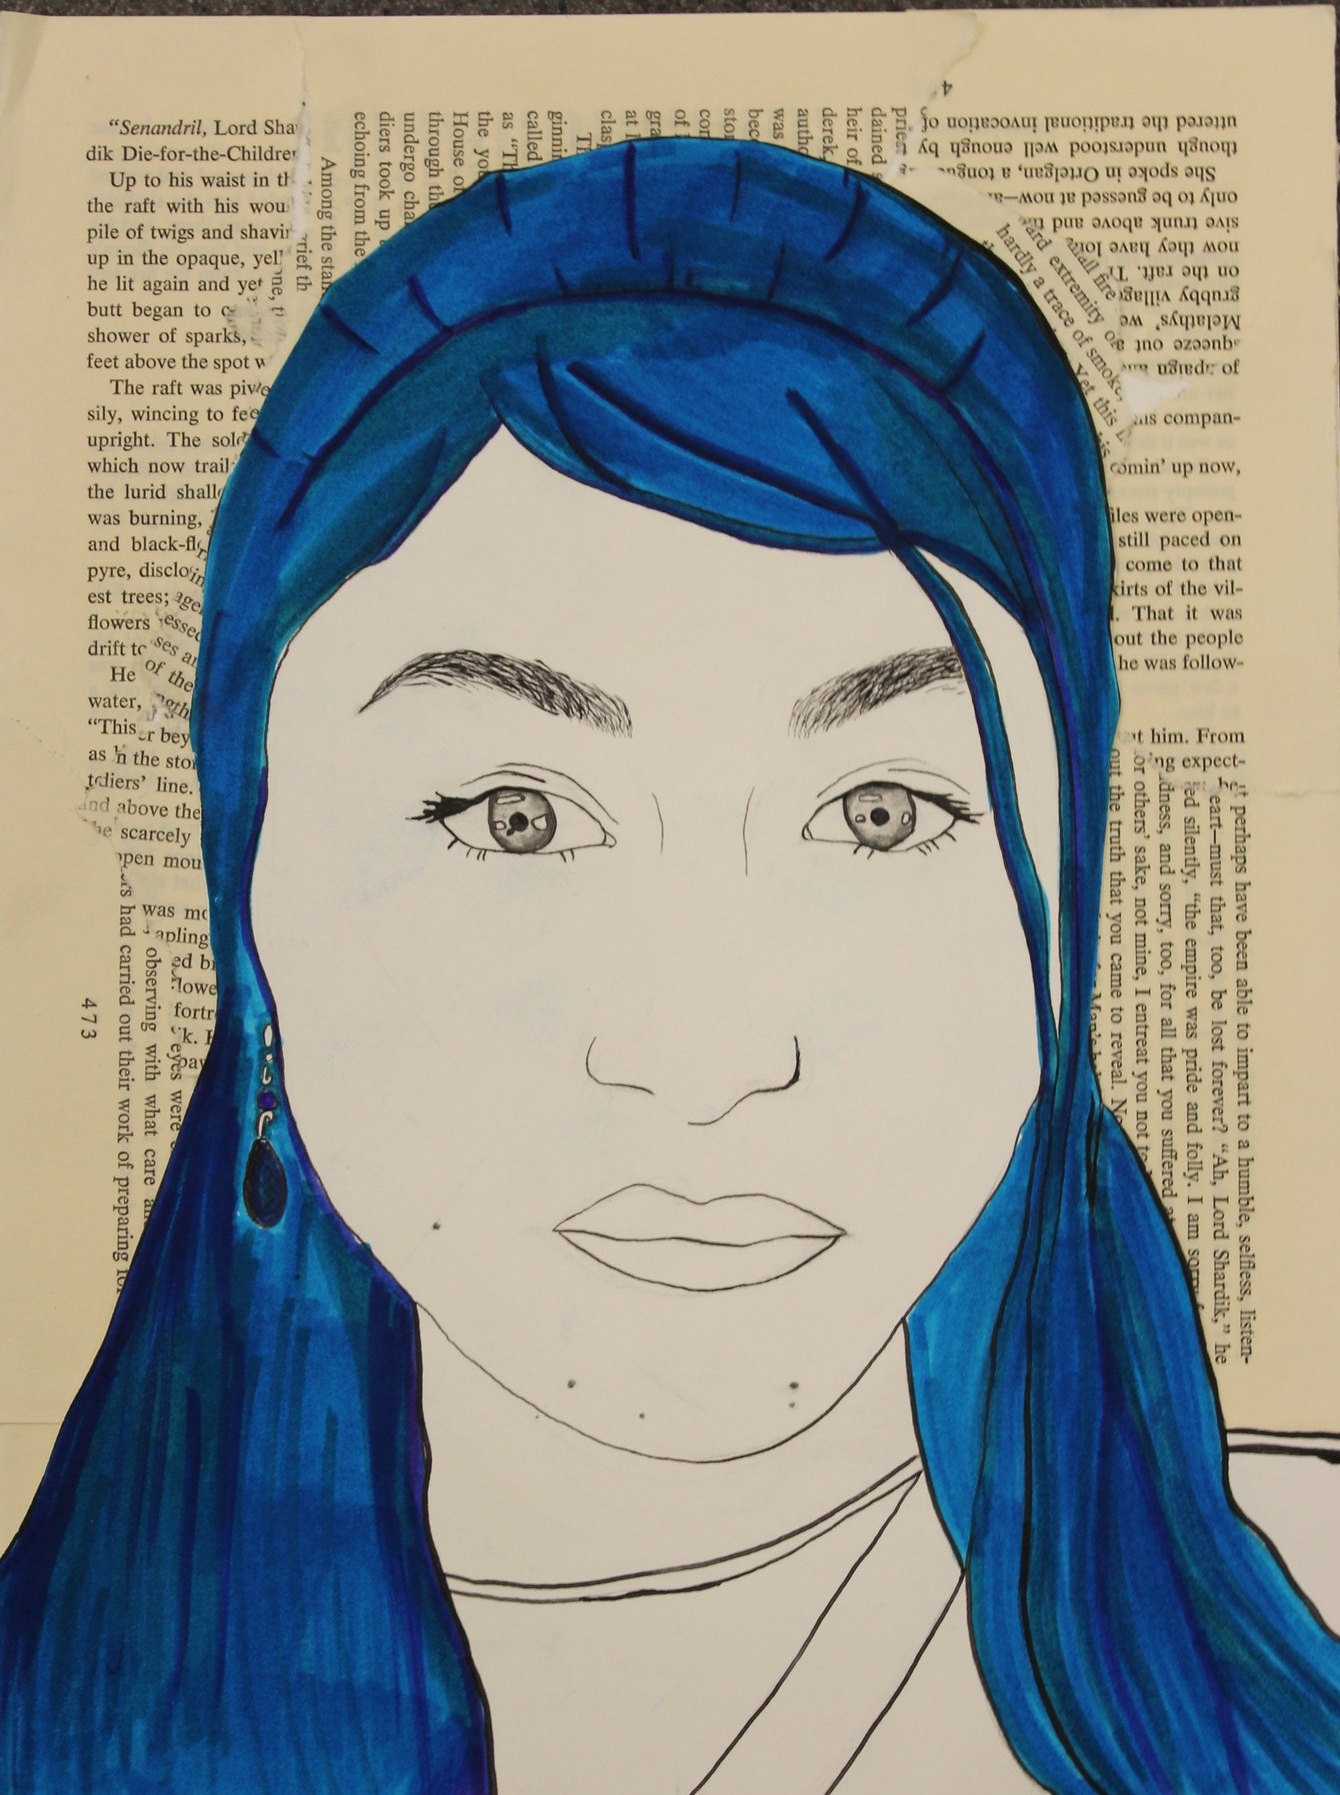
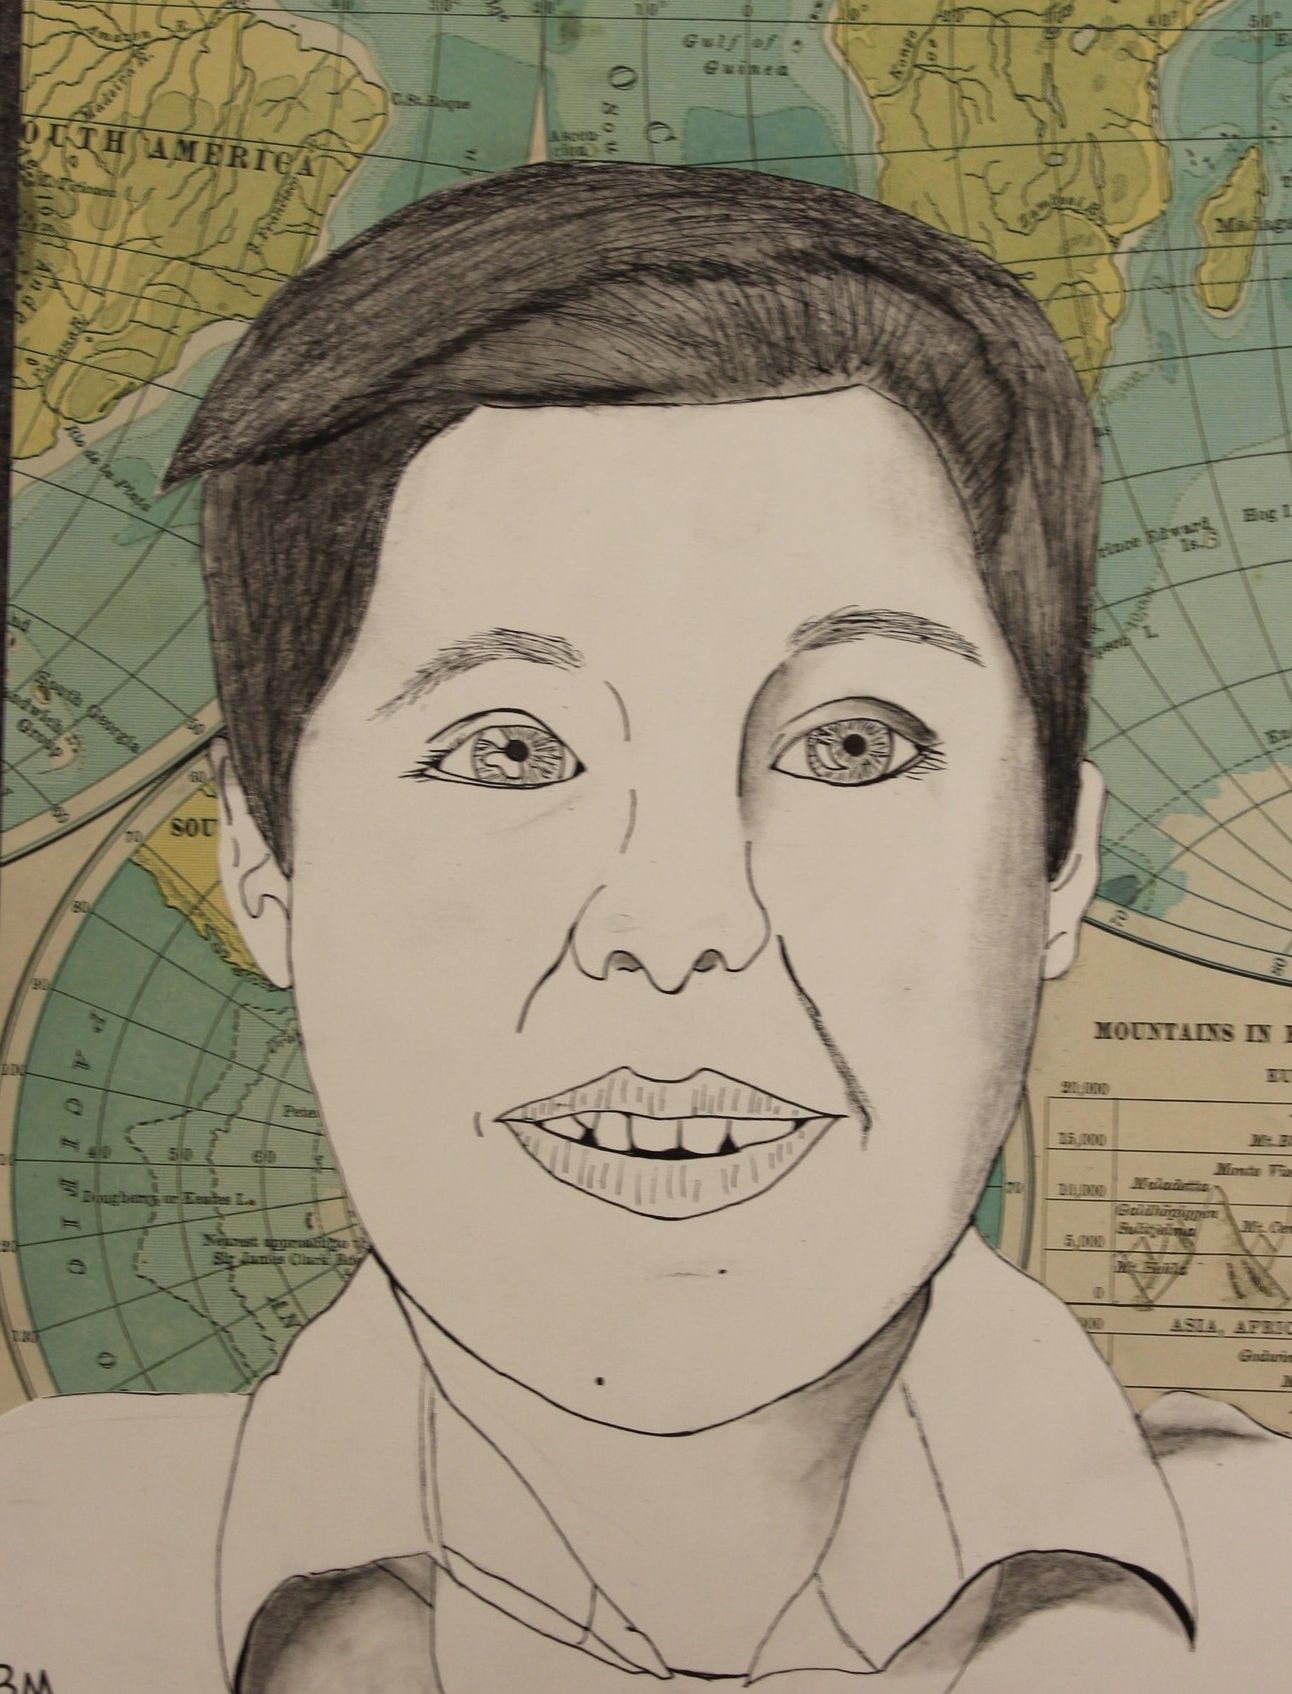
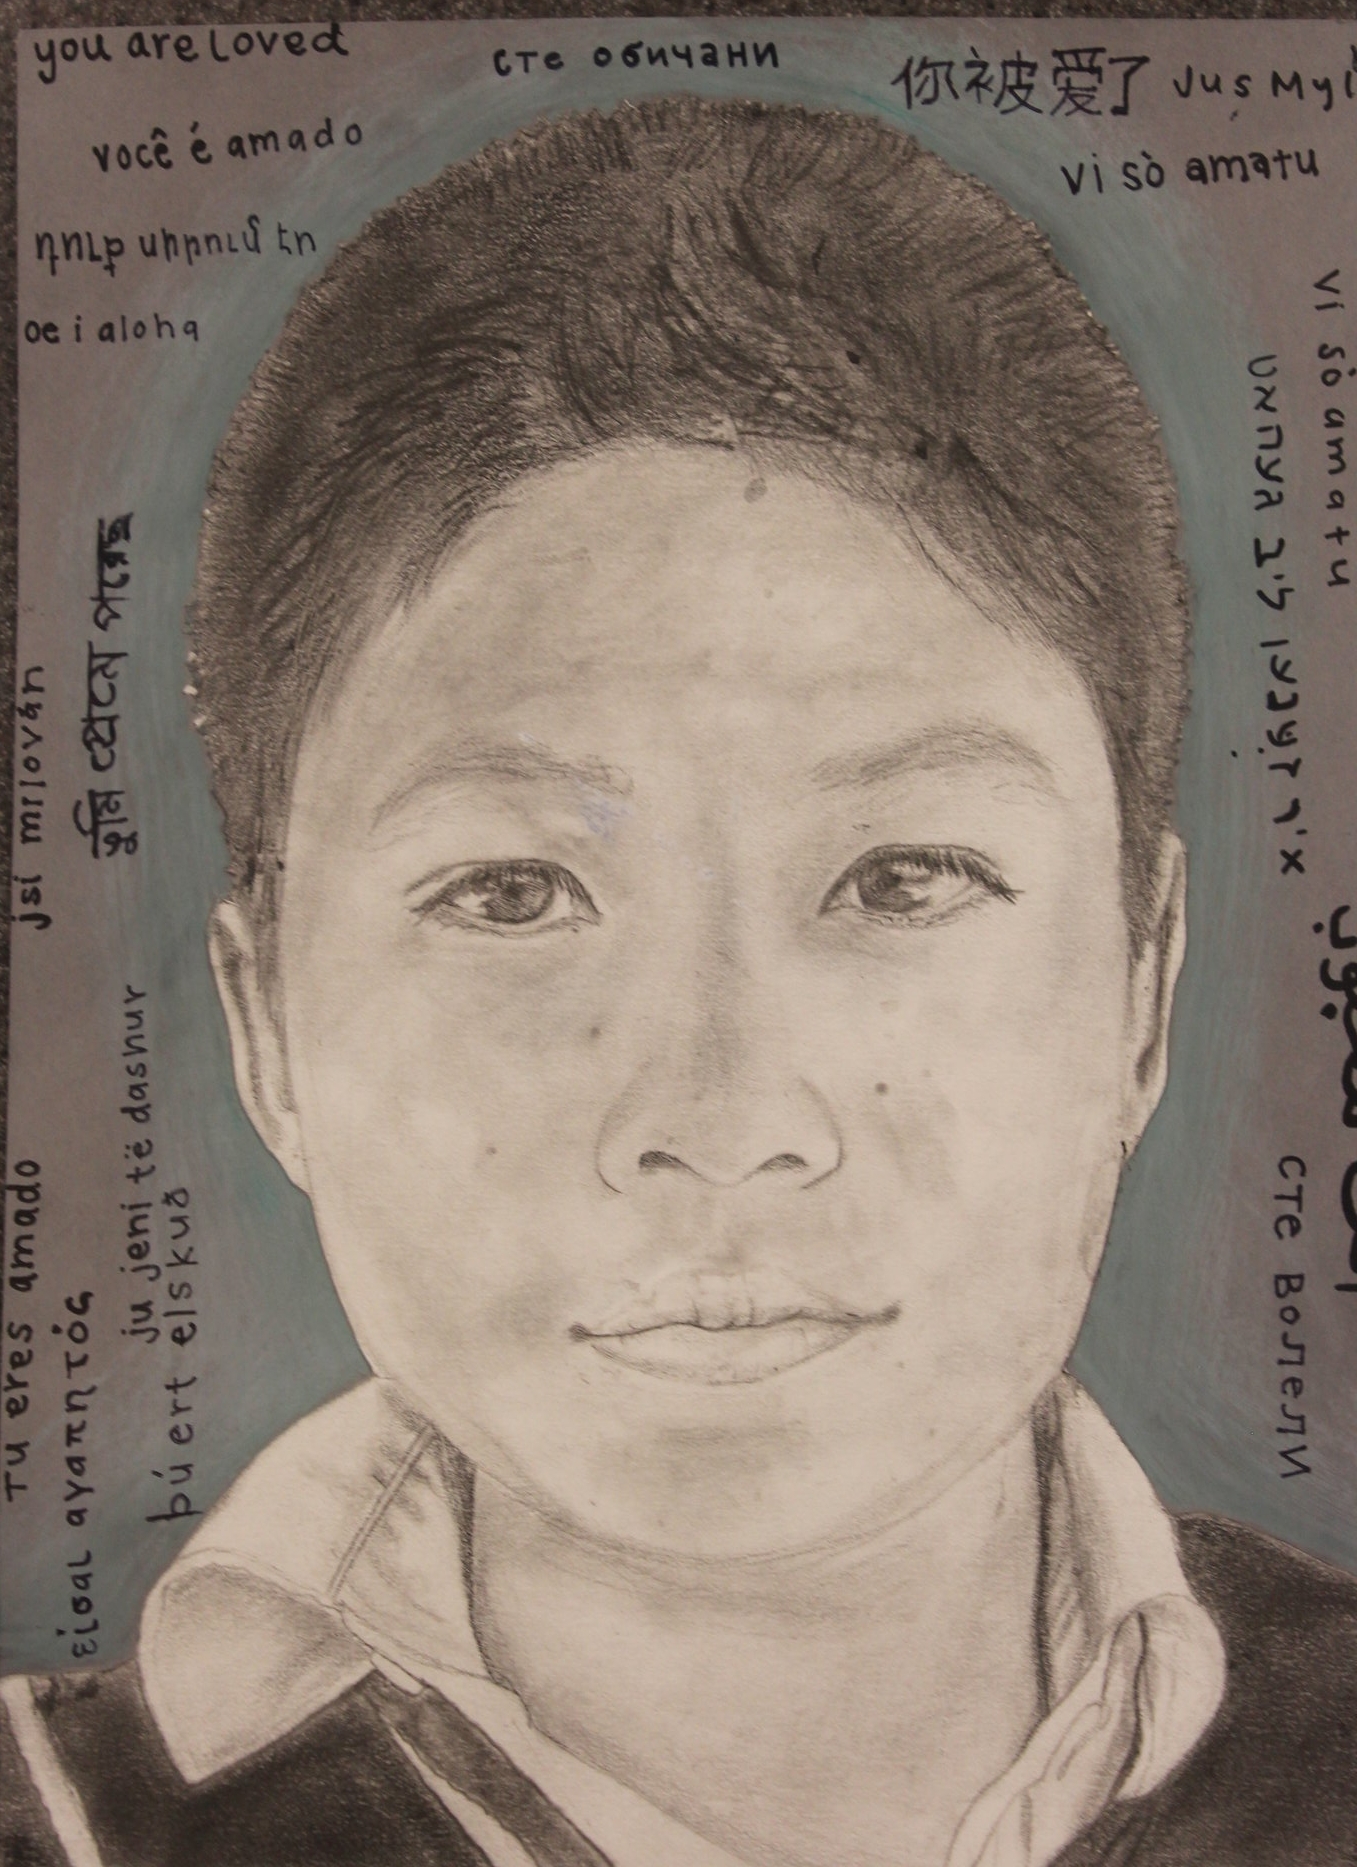
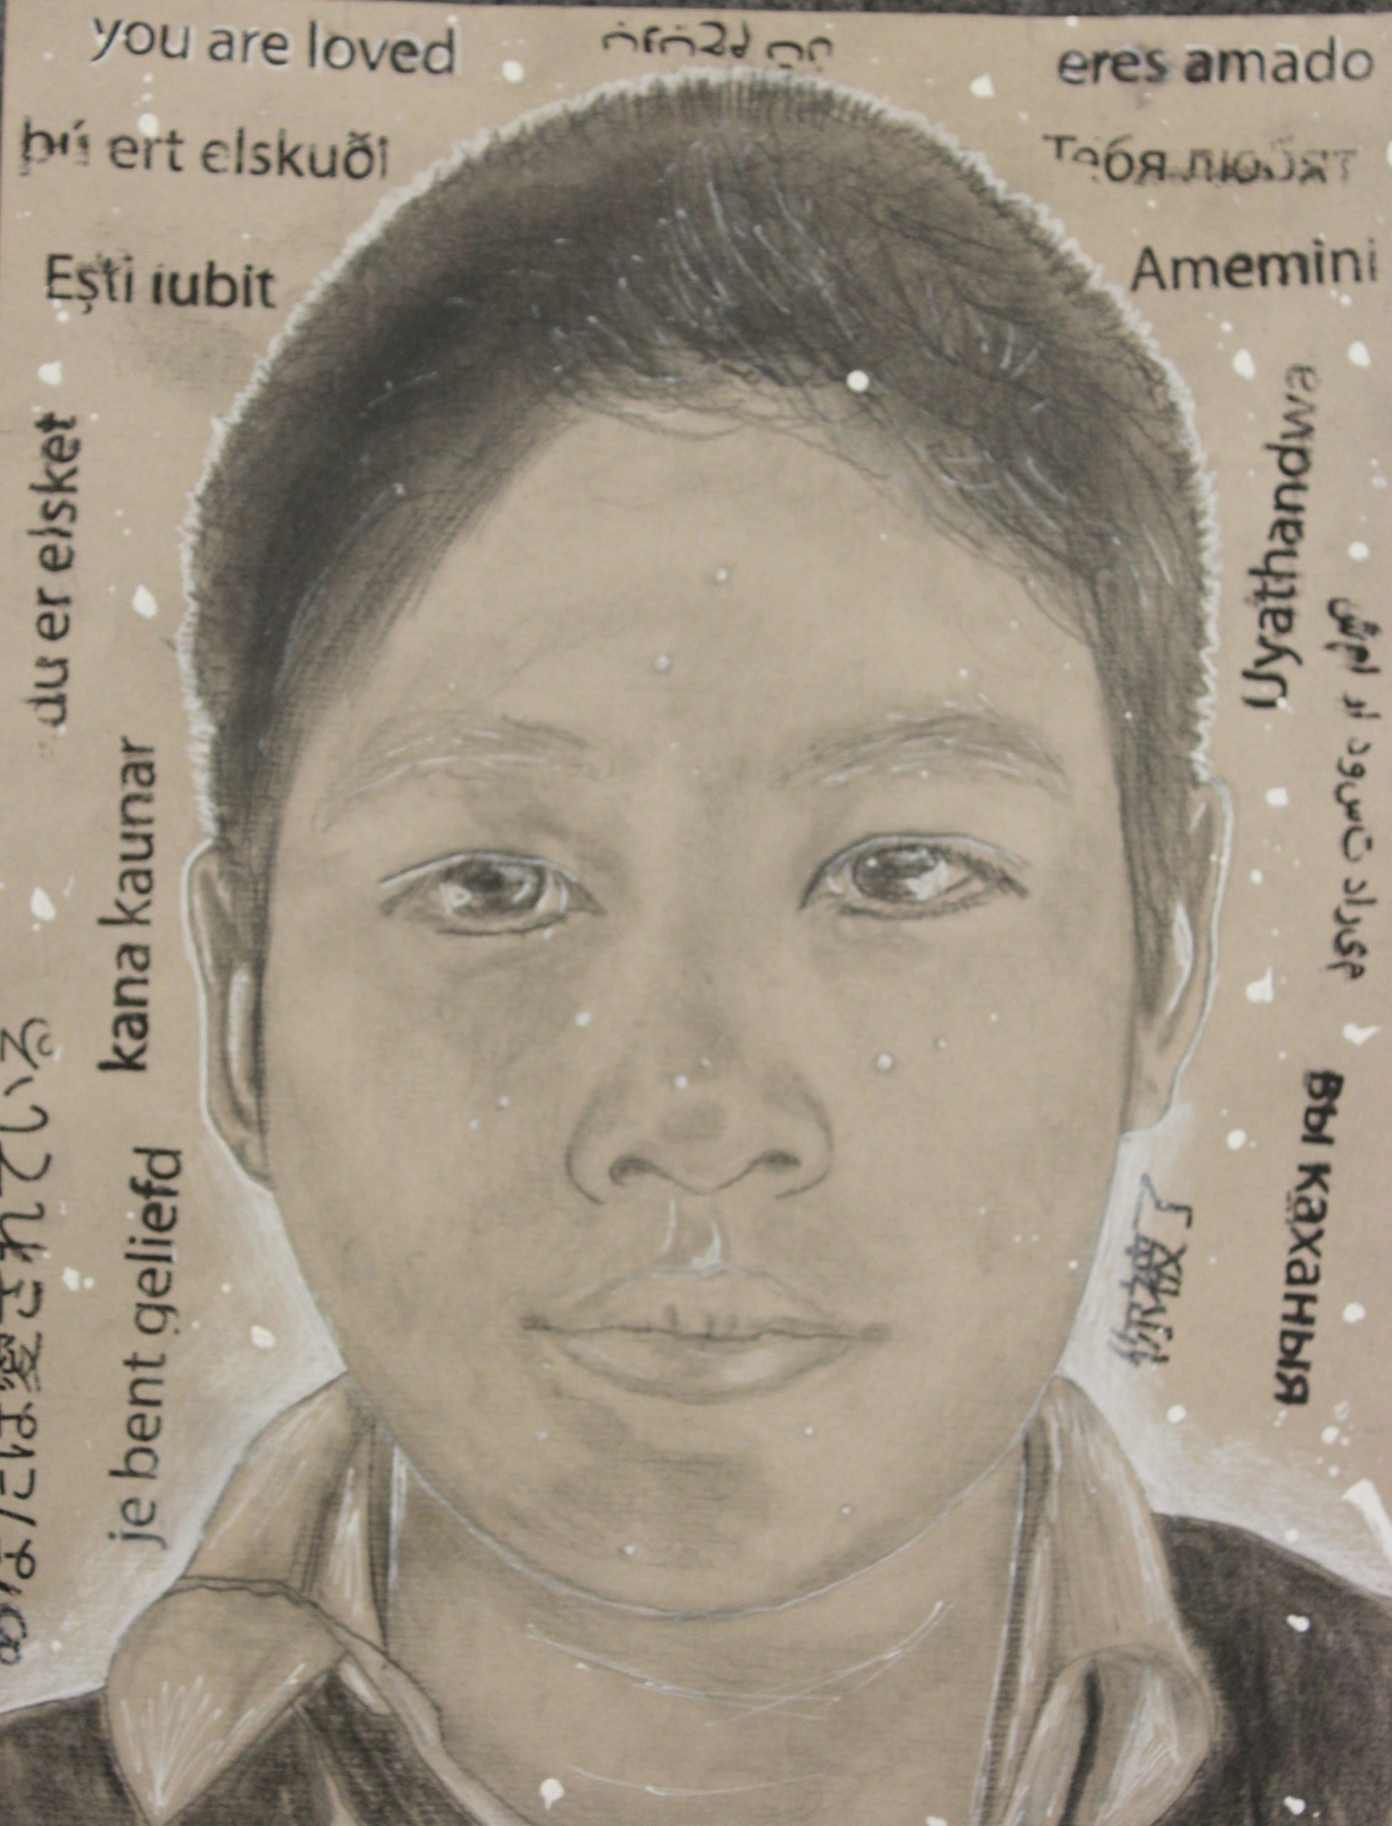
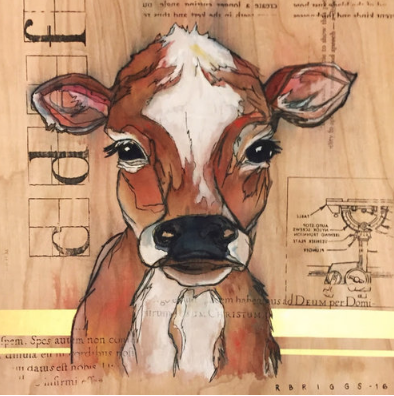
I get asked all the time how I do the text in the background of my artwork, and so I thought I would let you in on my most favorite secret! I use this technique with my Drawing 1 students, teaching them how the background of their artwork is just as important as the foreground and subject matter. I also use this technique to take my Drawing 2 student’s sketchbook drawings and turn them into final pieces. Teaching them that the prep work, can lead to final results that are incredible! So here is my little secret, if you decide to use it… send me pictures of what you and your students create!

Supplies Needed:

Birch Panels (5x7) (a ton of different sizes available!)

Chartpak Colorless Blender Marker (there is also an awesome pen caddy for your classroom!)

Text to Transfer (Must be a Mirror Image, and Must be a TONER copy)

Embossing Pens  (VersaMarker Pen)

Embossing Powder (Ranger Embossing Powder Metallics)

Prismacolor Colored Pencils/ Watercolor Painting Supplies

Nitrile Gloves (2)

Heat Gun (I use this one, but pretty much any heat gun will do!)


Directions for Transferring:

  1. Start by creating a contour drawing of an animal directly on your wood panel, and outline in pen *waterproof pens work best, so they do not bleed into the wood grain.

  2. Using your text copies, add text or images into the background of your drawing.

  3. Place your Text face down on the area you would like to transfer it, secure it with tape.

  4. Use the Chartpak Colorless Blender on the back side of your paper, while wearing gloves, and use the cap of the marker to rub the area abrasively to transfer the toner onto the wood.

  5. Lift your paper up, and see how it looks!

      1. Tips & Tricks

        1. You can have your students draw their contour on a separate piece of paper, and then make a copy of it to transfer it! This is fun for students, because they can play with composition, sizing, etc. Most libraries have copiers that have a “mirror image” setting, and “copy ratio” which allows you to increase the size of the image, or decrease it!

        2. The lighter you press when transferring, the more vintage, distressed, or light your transfer will become.

        3. Once you have transferred something one time, you cannot go back and transfer that same text again. You have one chance!

        4. Xylene (the chemical in the transfer markers) is toxic, remember to keep your doors open in your classroom while using it, and insure that your students are being responsible (wearing gloves, and preventing skin contact).

        5. Have your students do their transfers in the hallways, or outside to prevent air fumes in the classroom.

        6. YOU CAN USE THIS IN PHOTOGRAPHY!!! I have my students print their photographs (in color or in B&W) and transfer their photos onto wood! Be sure to have students mirror their image in Photoshop before printing.

Directions for Embossing:

  1. Using the Emboss It Pens draw where you would like to add your metallic pop of color.

  2. Lightly sprinkle the Embossing Powder over the area you put your embossing liquid. You do not have to work too quickly.

  3. Tap off the excess powder onto a scrap piece of paper. (You can reuse this later!)

  4. Once you have powder in your desired area, use the heat gun to melt the powder- you can see that your powder has now become shiny and metallic!

  5. Let your embossing dry completely before touching it! It will smear if the powder is still melted when you touch it.

      1. Tips & Tricks:

        1. Hold the heat gun about three inches from the embossing powder to seal/melt your powder into place.

        2. Use the embossing as highlights in your drawing to add that little glimmer of light!

        3. Metallic embossing looks awesome near the eyes of your subject matter (next to the catch light) to make the eyes sparkle!

        4. Metallic Lines in the background of your image can add to the text transfers and tie everything together.

        5. If your heat gun has a low setting, start there so that the powder does not end up flying away :)

Painting/ Drawing Techniques To Teach Your Students with this Project:

  • Teach your students CONTOUR DRAWING. Contour Drawing trains your students mind/eyes to actually LOOK at what they are drawing. In Drawing 1, I start students off my doing contours of their hands, but in Drawing 2 I let them do an animal!

  • Line Quality. Teach your students to add line quality into their contour drawings by adding areas of thickness where they want the viewers eyes to be drawn. Encourage them to create smooth, cohesive, and sure lines rather than the chicken scratch that they tend to do. For shading, you can teach them about hatching/cross-hatching with pen to add value.

  • Teach students to create their own colors. Make it a rule that they cannot use BLACK or BROWN in these paintings/drawings. This will force them to see that other colors can be used to substitute for colors that are voids/distractions in their artwork.

  • Start BRIGHT & VIBRANT! Tell your students to start obnoxiously bright with their colors. You can always dull things down, but you can’t redeem a muddy drawing/painting!

  • MAKE THEM BE LOOSE. My students hate me for this, but I force them to be carefree with this project. My drawing students are told to use watercolor pencils, starting with very bright colors. I come around the room with a spray bottle and spay their artwork unexpectedly. This gives their artwork a loose bottom layer and adds texture. Then as this bottom layer drys, they can start building up the animal’s details with a bit more control.


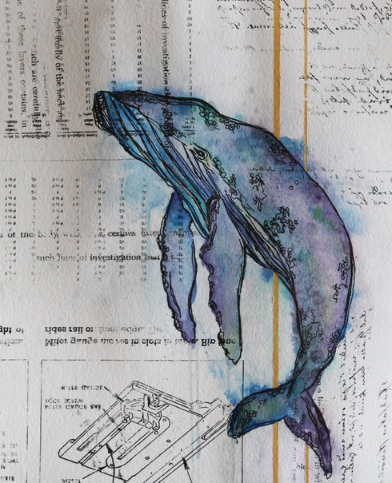
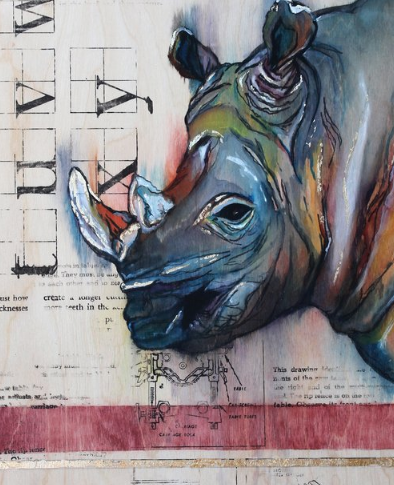
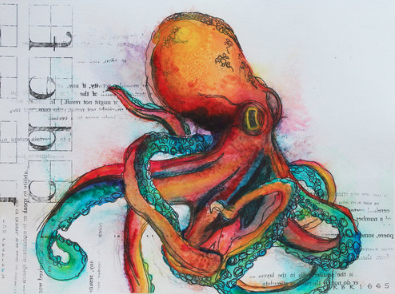
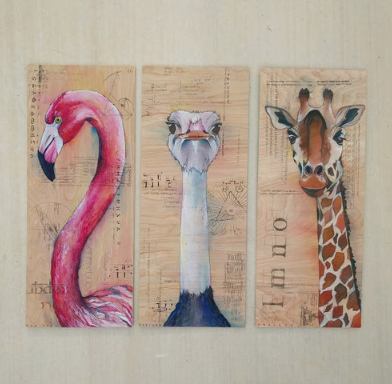
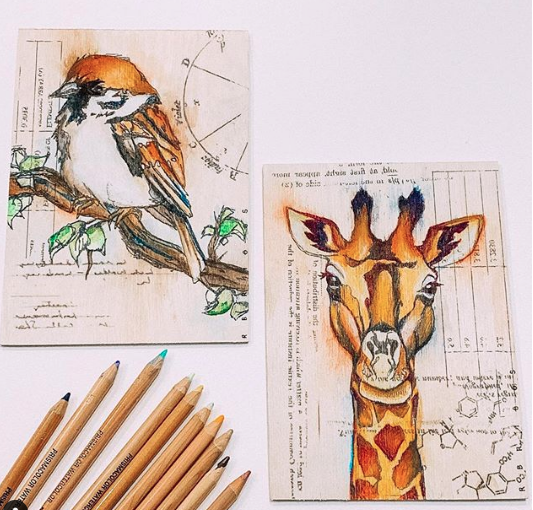
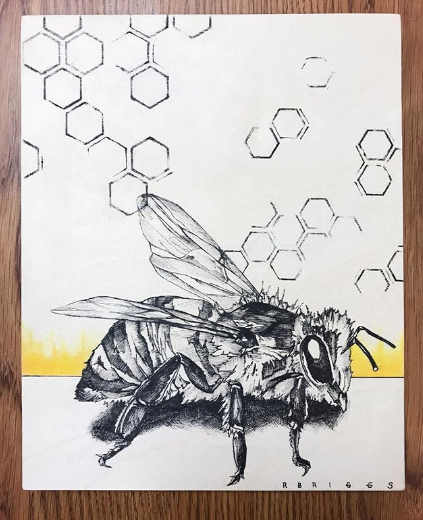
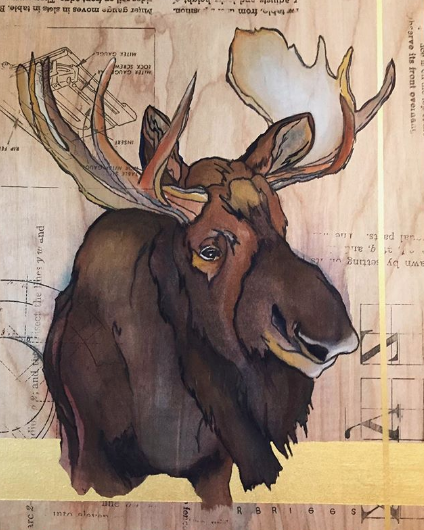
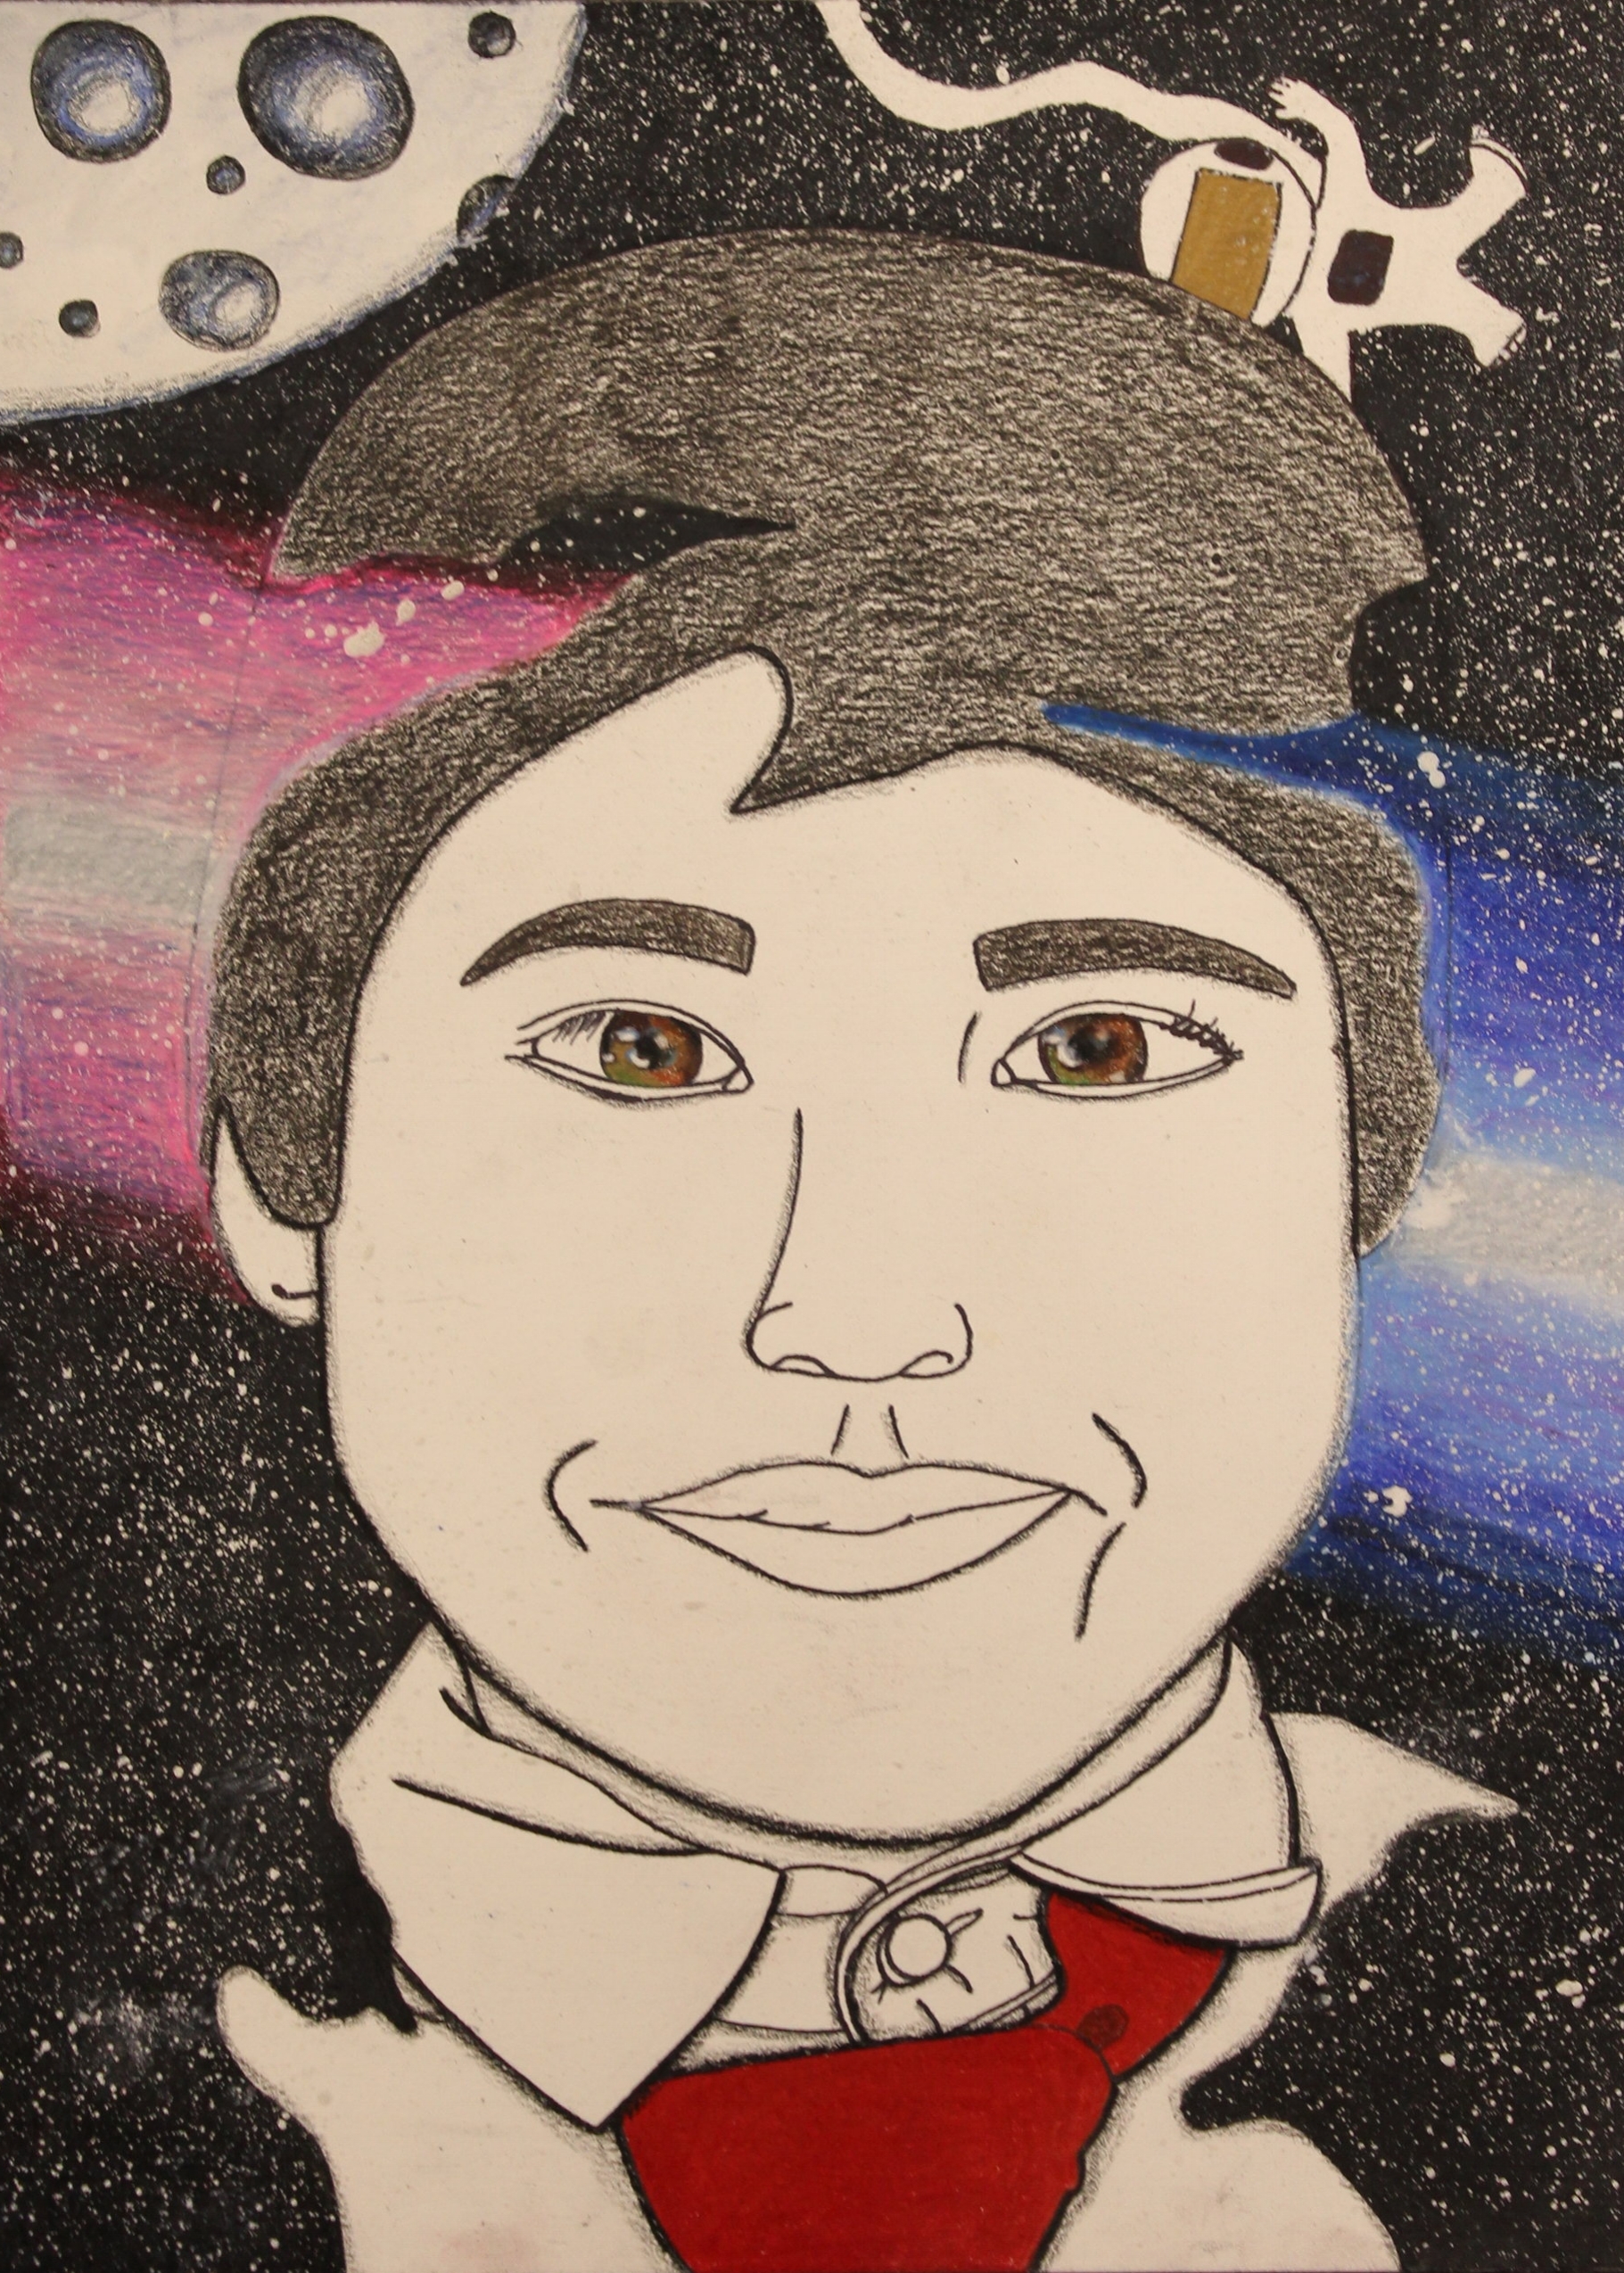
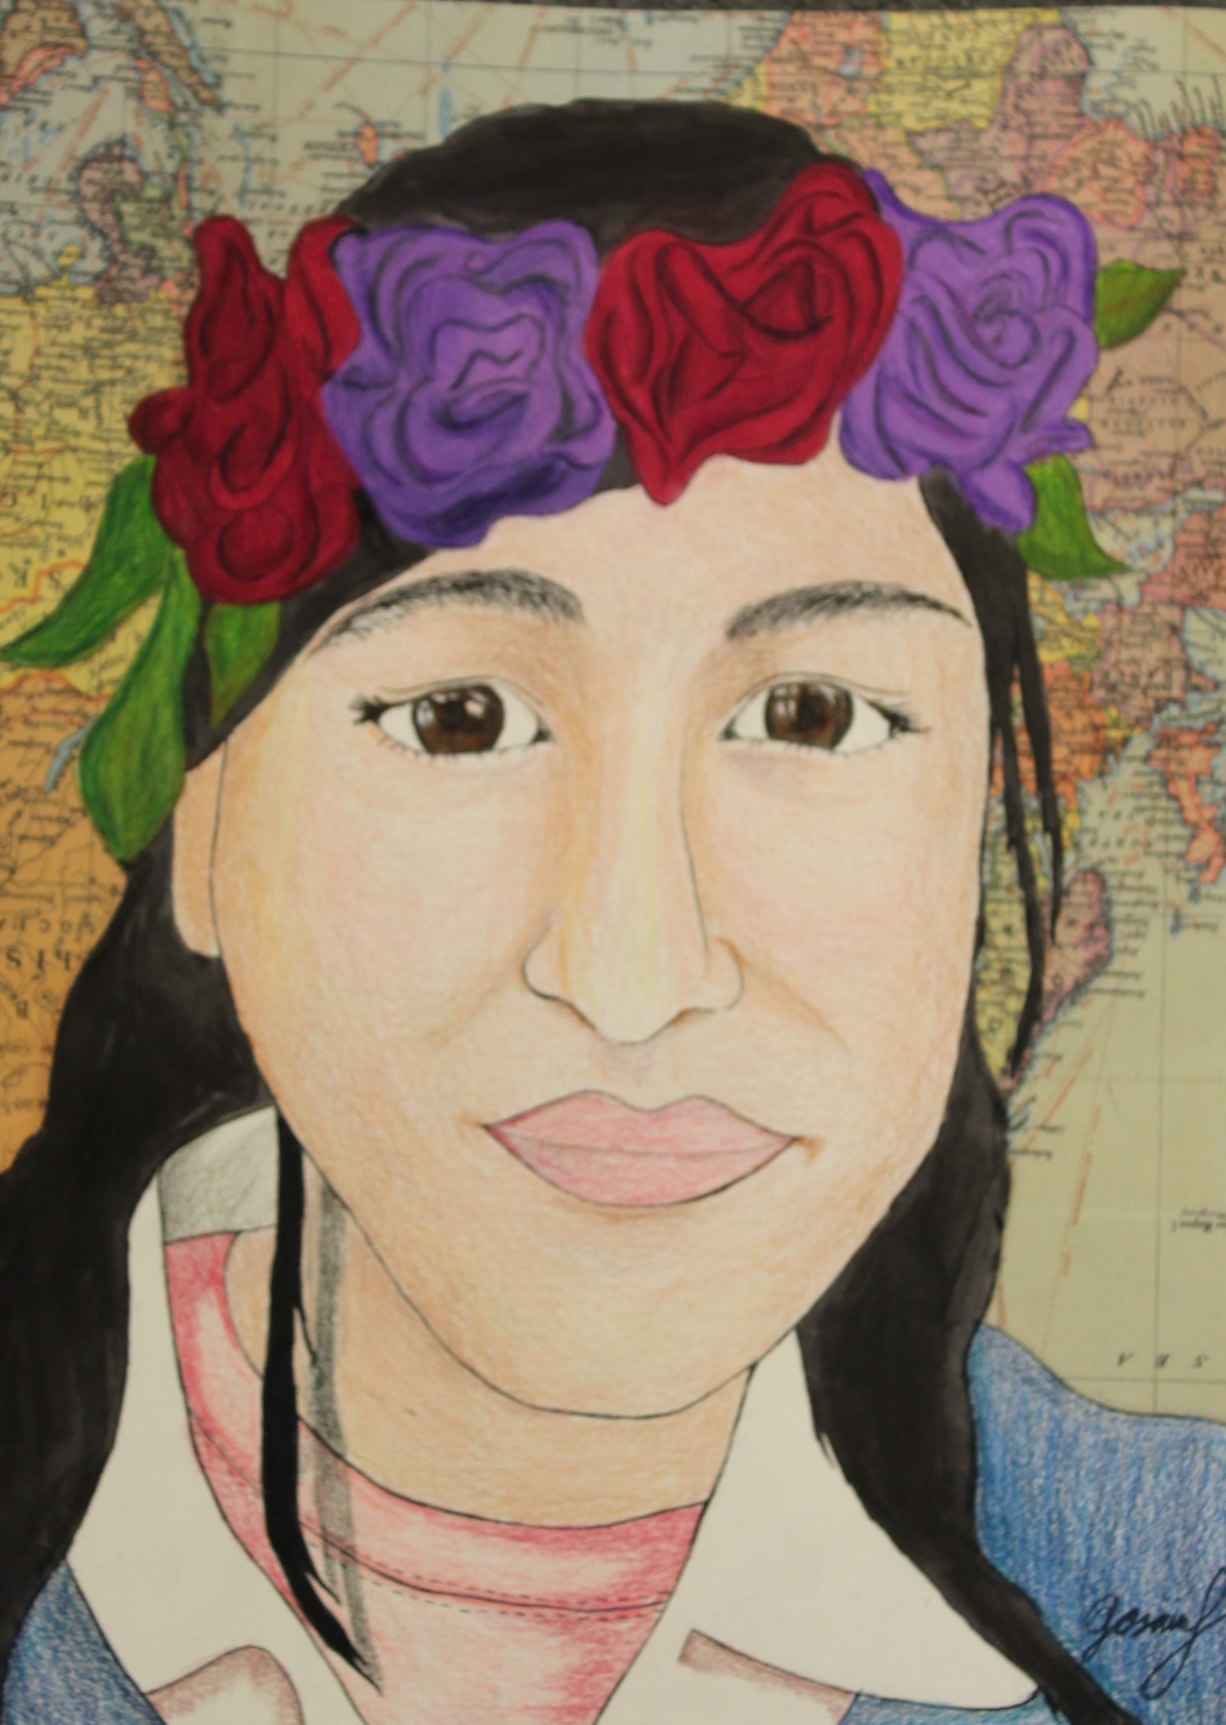
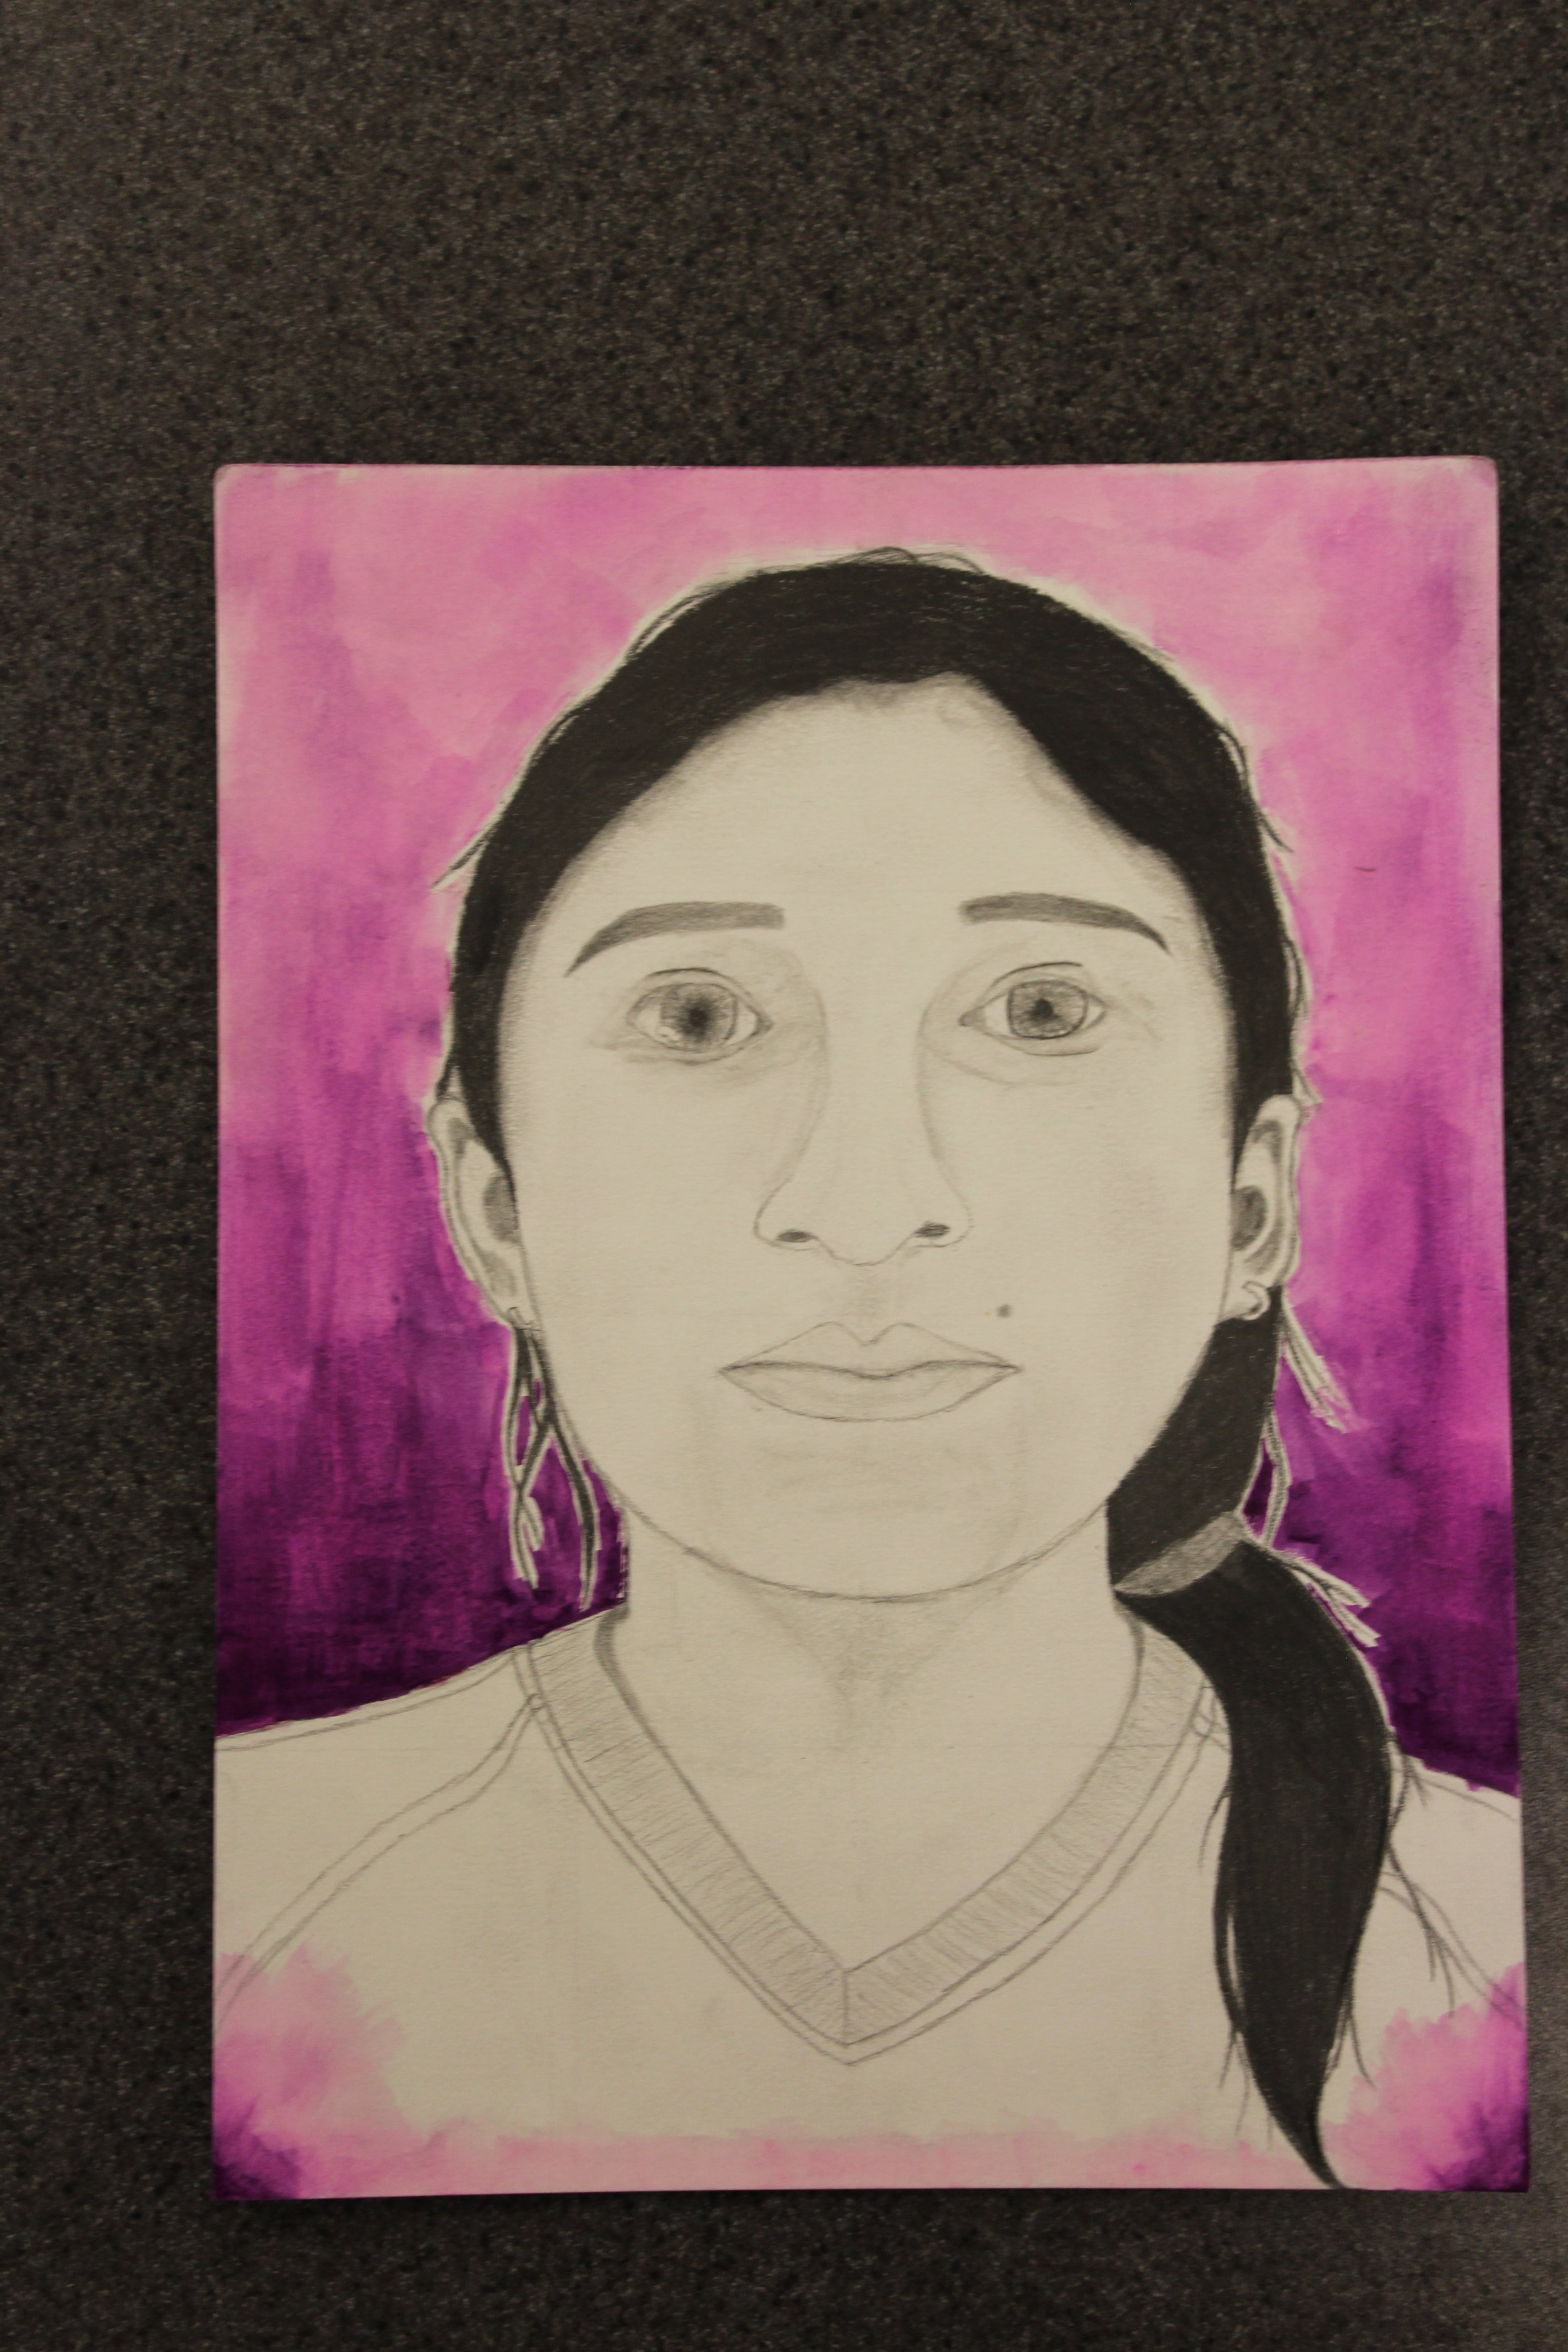
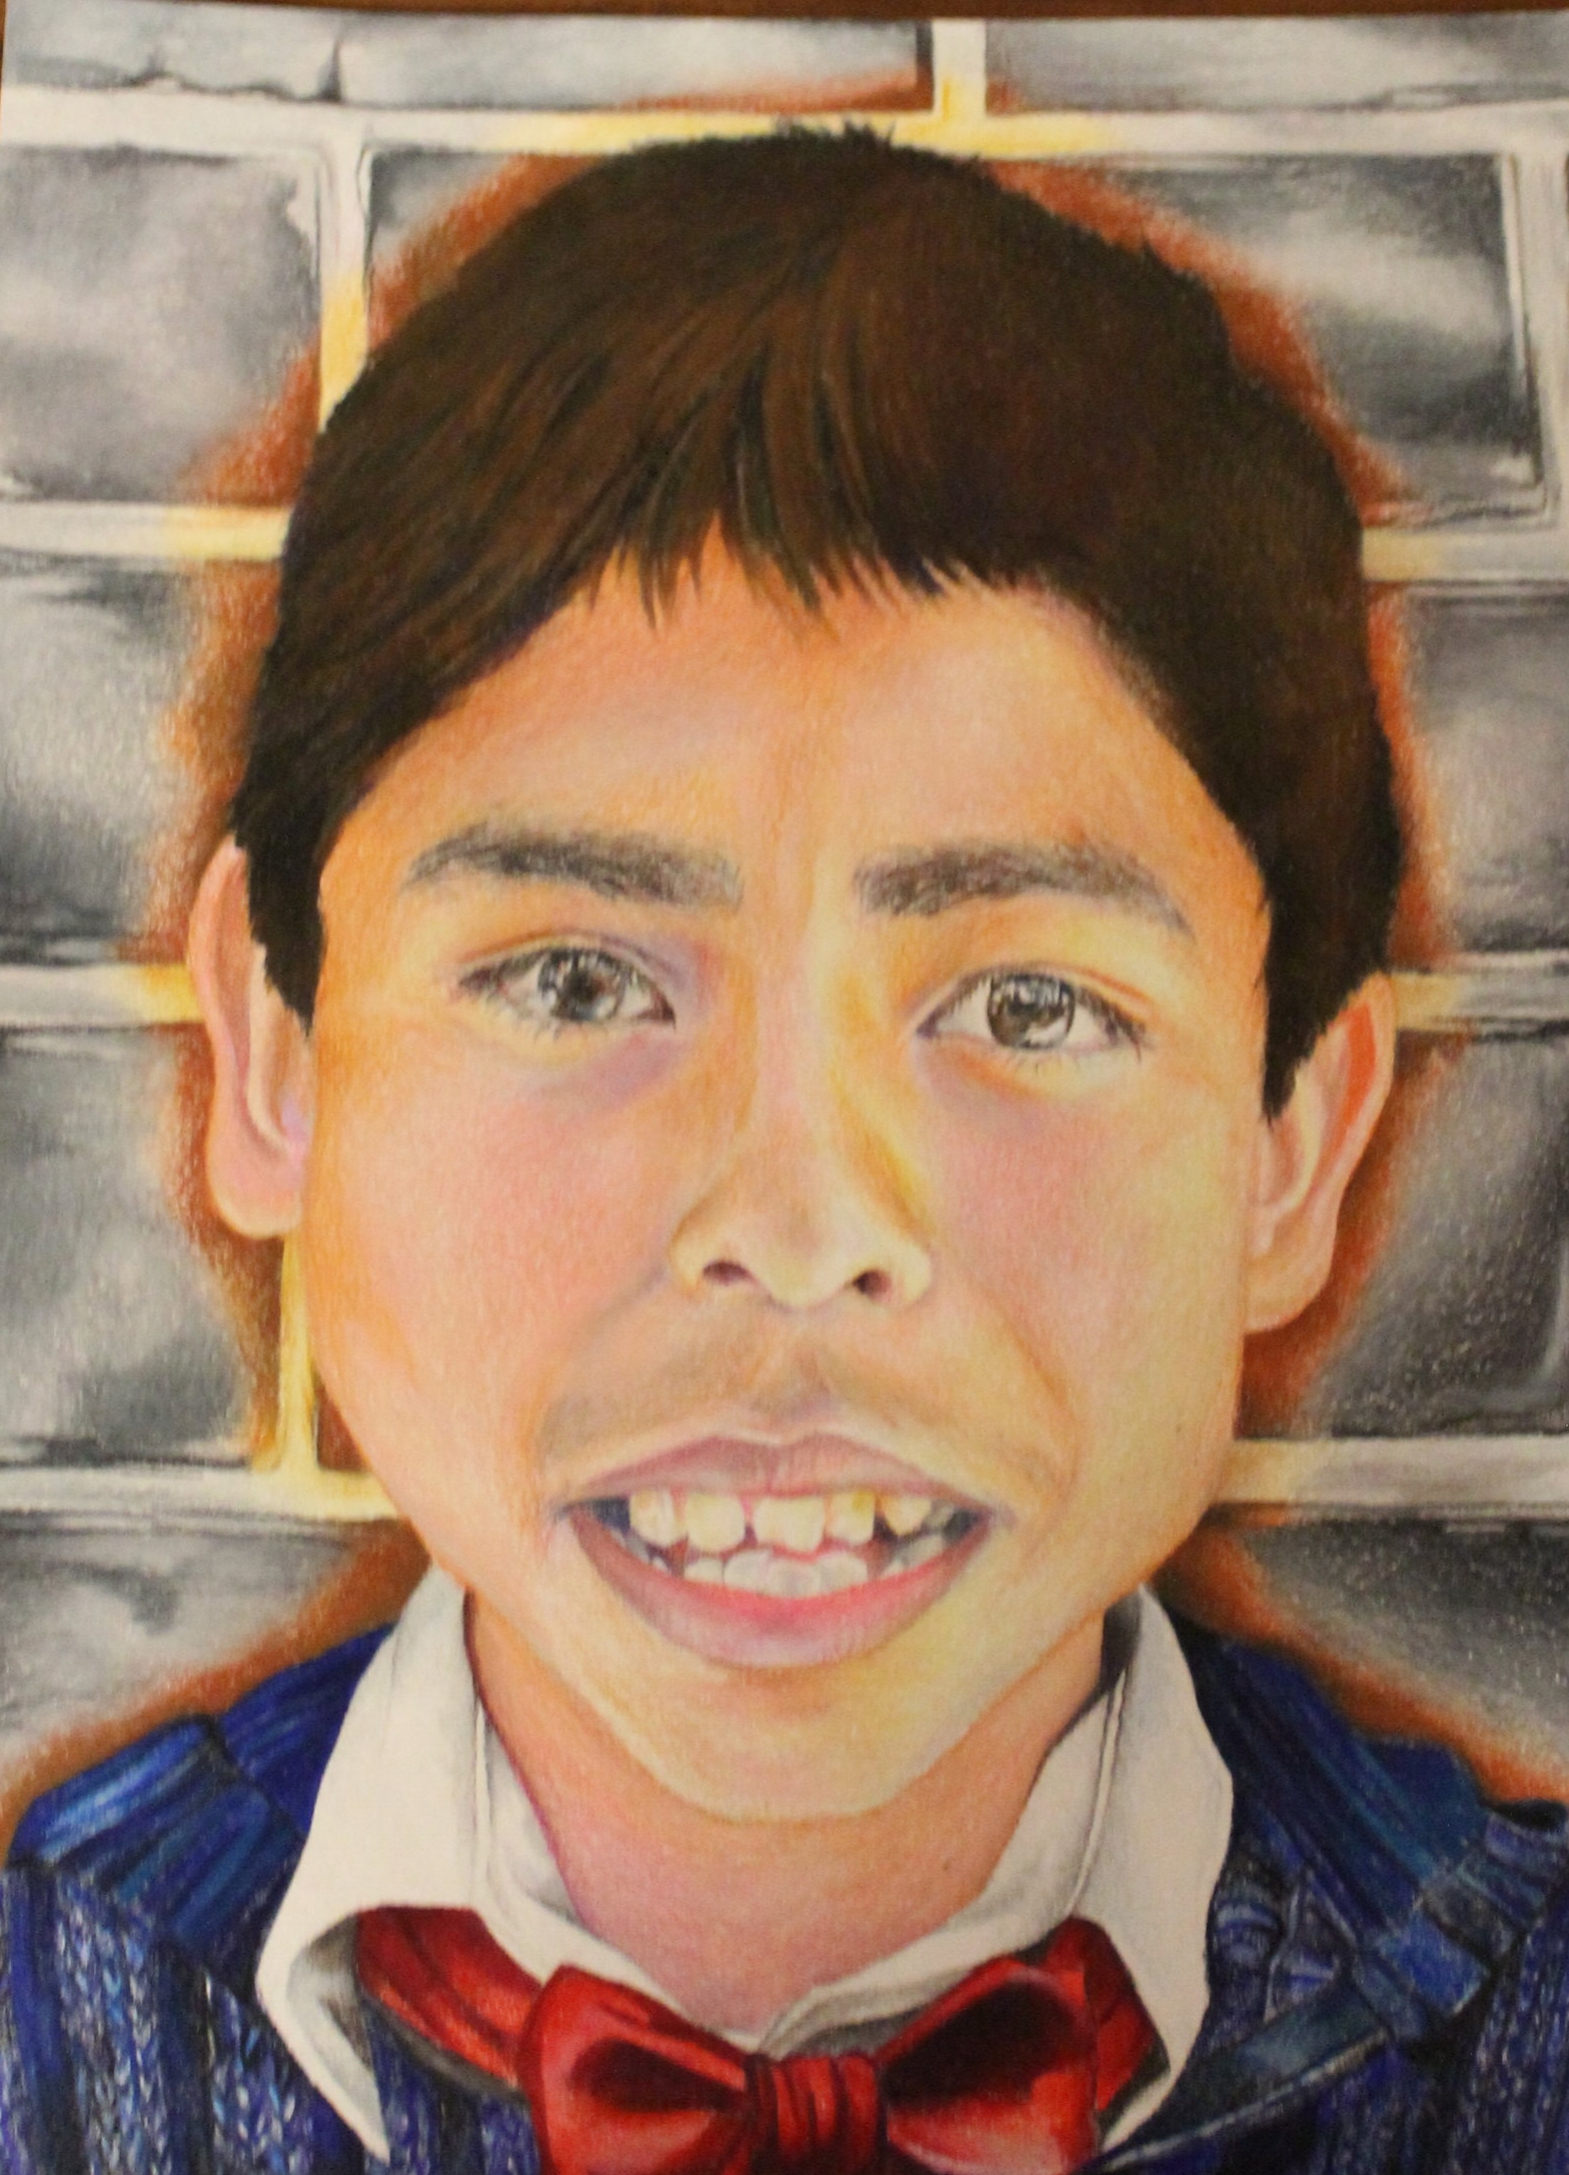
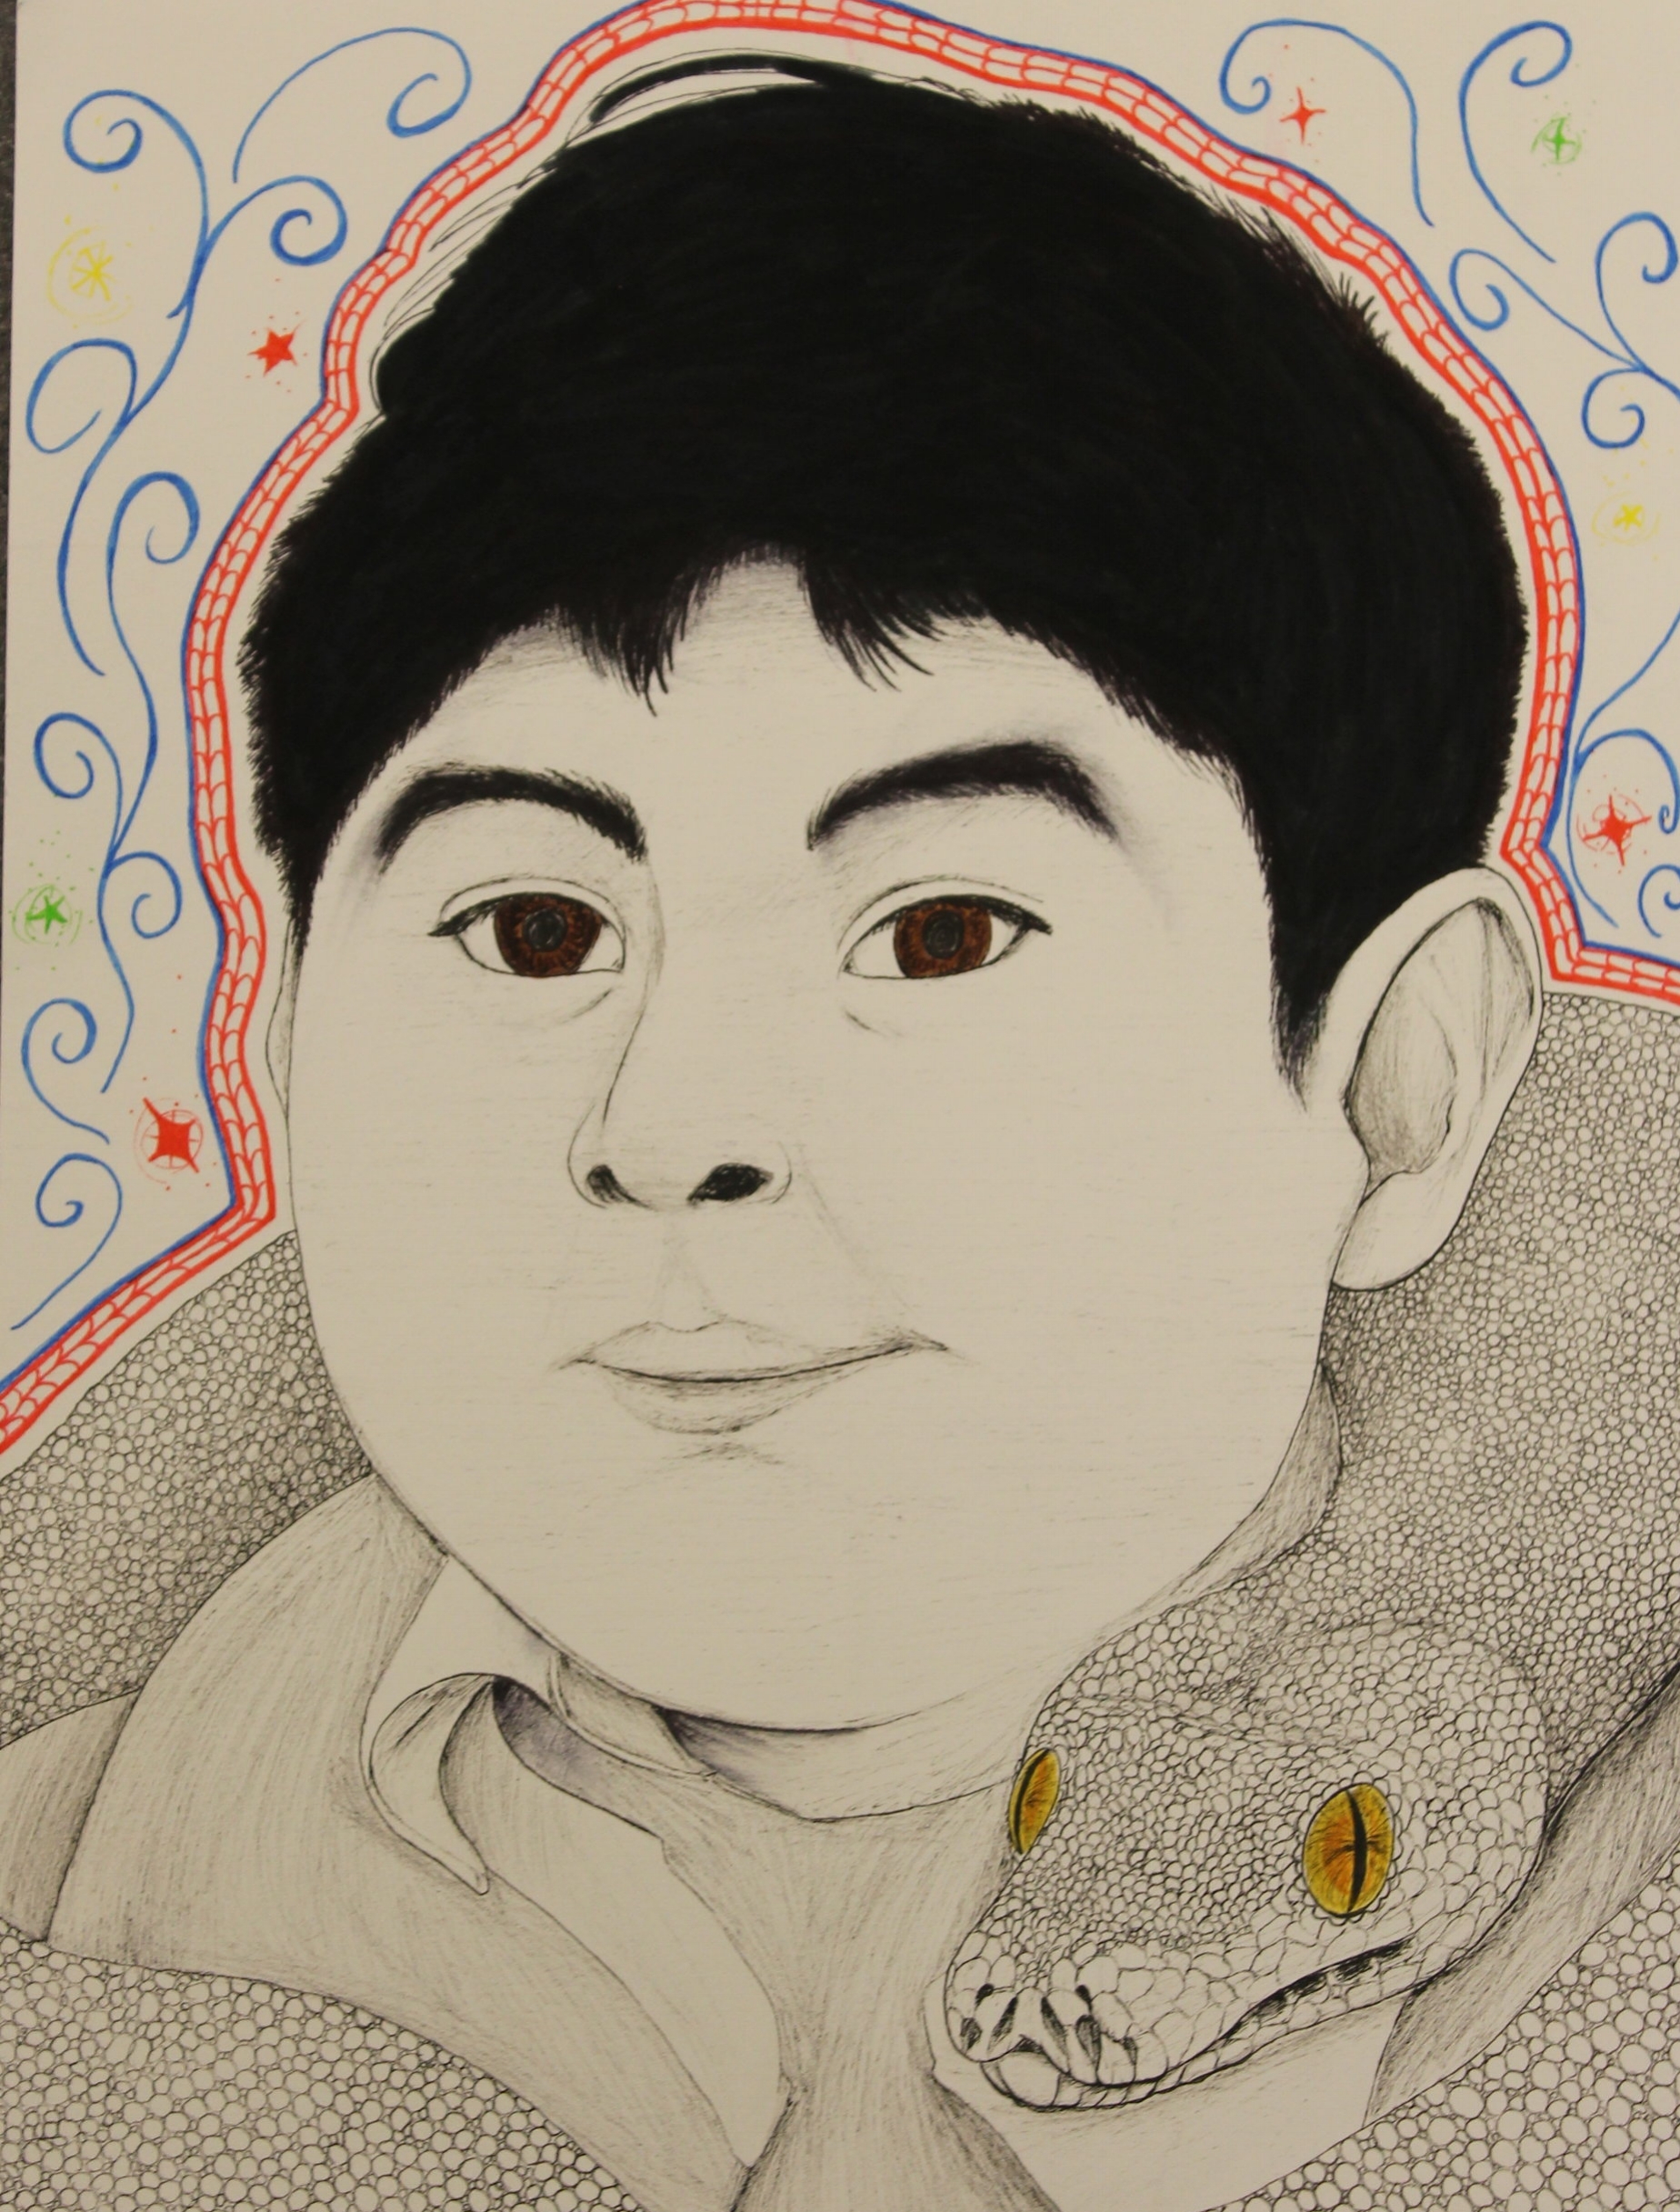
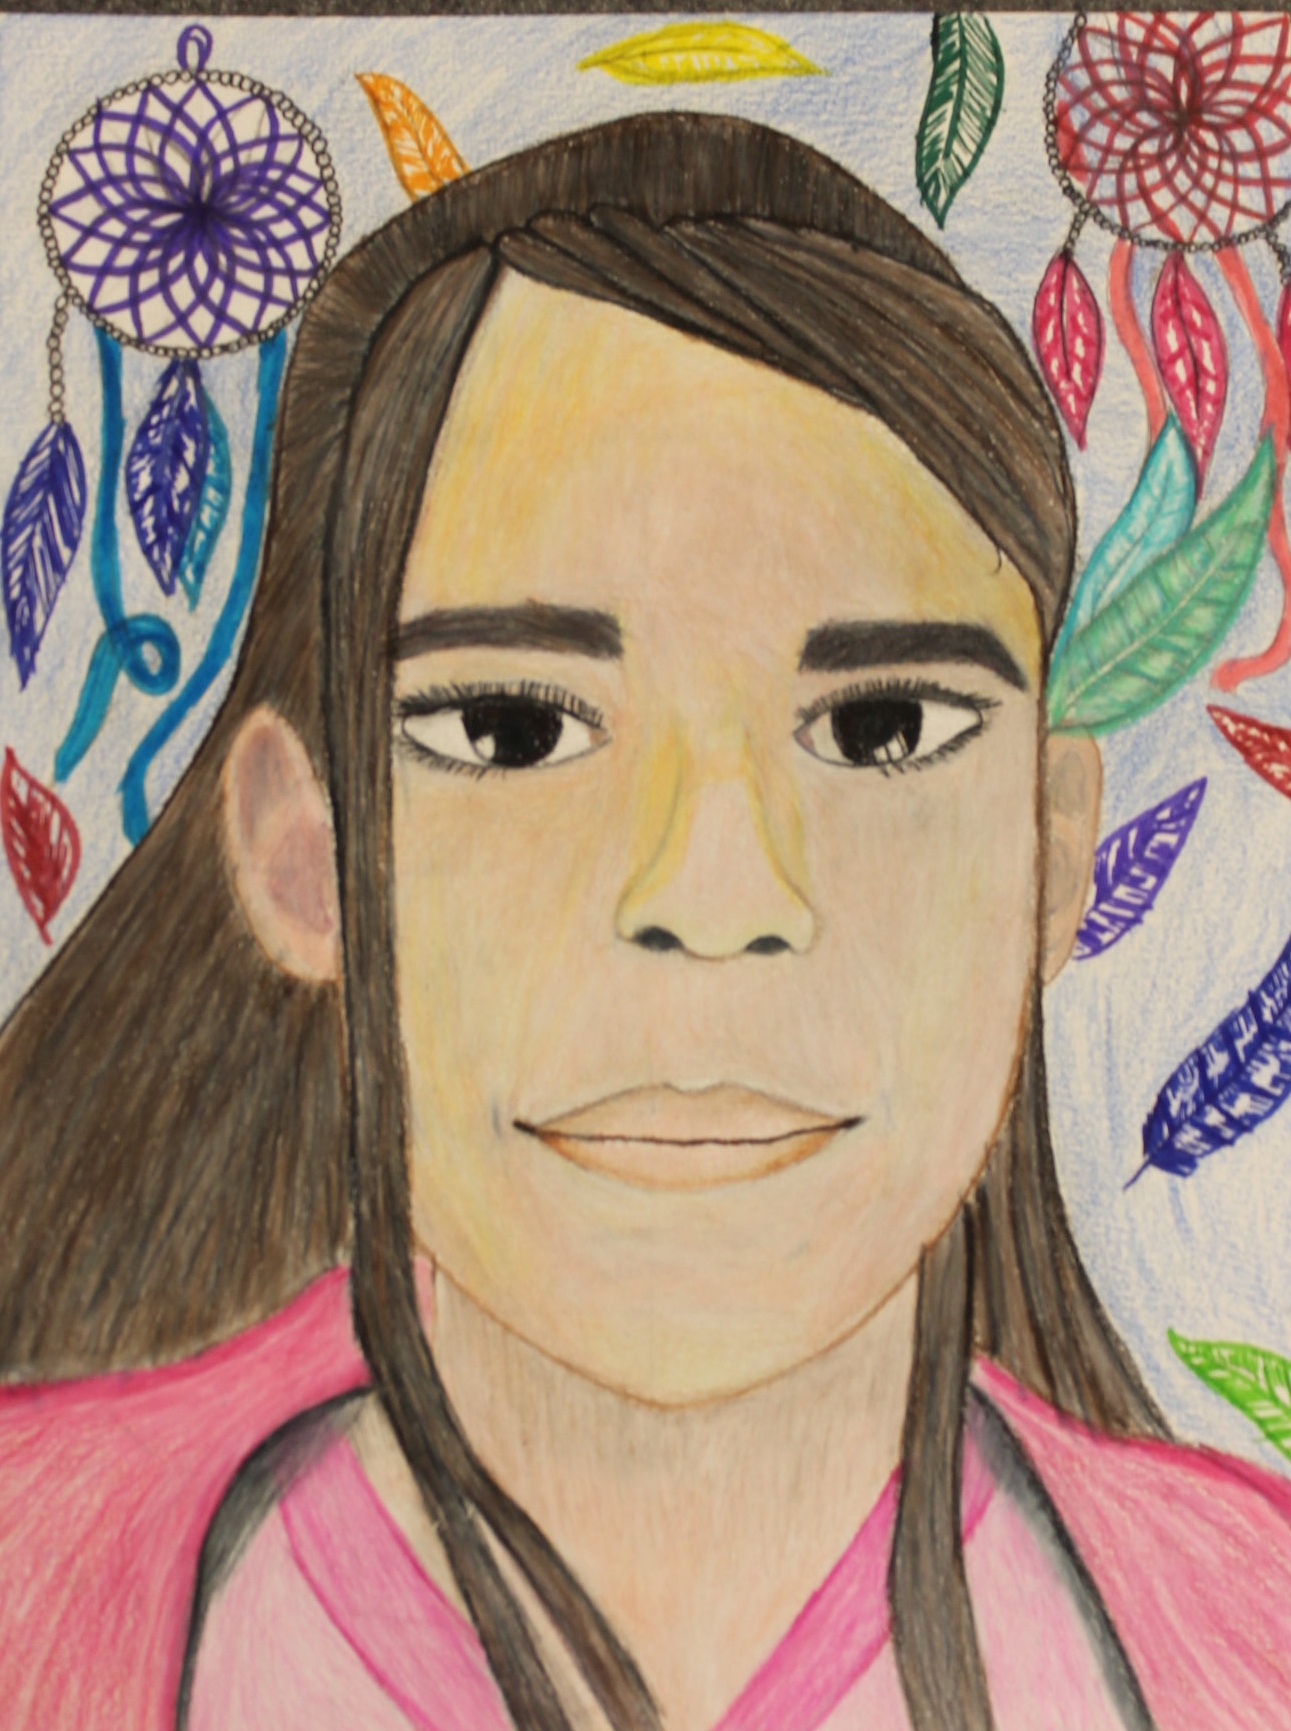
Below are some of my personal examples using Xerox Transfers and/or Embossing! Follow me on Instagram to see more of my personal artwork @rbriggsart.

10 Step Guide to Developing Your Inner Artist

You all asked for a few tips/recommendations to help develop your creativity. So here are my top 10 tips. There is no doubt in my mind that I am not the perfect artist, or the person that should be even giving this advice out. I still have so much to learn from all of you. But here are 10 tips that I work on daily to cultivate my artistic abilities. 

Hope you enjoy & find this helpful. 

Love, 

Robyn 

Screen Shot 2018-03-28 at 5.37.16 PM.png
Screen Shot 2018-03-28 at 5.37.29 PM.png
Screen Shot 2018-03-28 at 5.37.46 PM.png
Screen Shot 2018-03-28 at 5.38.08 PM.png
Screen Shot 2018-03-28 at 5.38.15 PM.png

Seven Magic Mountains, Henderson

We decided to take a trip down to Henderson, NV to see my family for the 4th of July. Growing up in Henderson, the heat never affected me, but now I really realize how intense it is! So most of the week was spent in the pool, cooling off. But early on Thursday, Dylan and I decided to go check out Ugo Rondinone's large scale art installation called "Seven Magic Mountains". This installation is near the Jean Dry Lake Bed off Interstate 15 & it is a quick 10 miles from Vegas! The installation is a series of brightly colored boulders stacked over 30 feet high. The installation will be coming down on May 11, 2018 so I felt I really needed to check it out! 

Plus, we all know I would go through any heat for some rainbows!  


IMG_0833.JPG
IMG_0828.JPG
IMG_0831.JPG
IMG_0829.JPG
IMG_0835.JPG

Currently.

Wanted to update you guys with my progress on my most current commission piece of the Tuiaki family.  This piece has been a long time coming, and I ain't kidding! This realistic family portrait measured 36x48 inches and is the largest commission I have ever done. Wanted to show you all a few photos from the journey! 


IMG_9899.JPG
IMG_0468.JPG
IMG_0544.JPG
IMG_0551.JPG

FINALLY FINISHED!  


IMG_0553.JPG
IMG_0554.JPG

Graffiti Alley, SLC

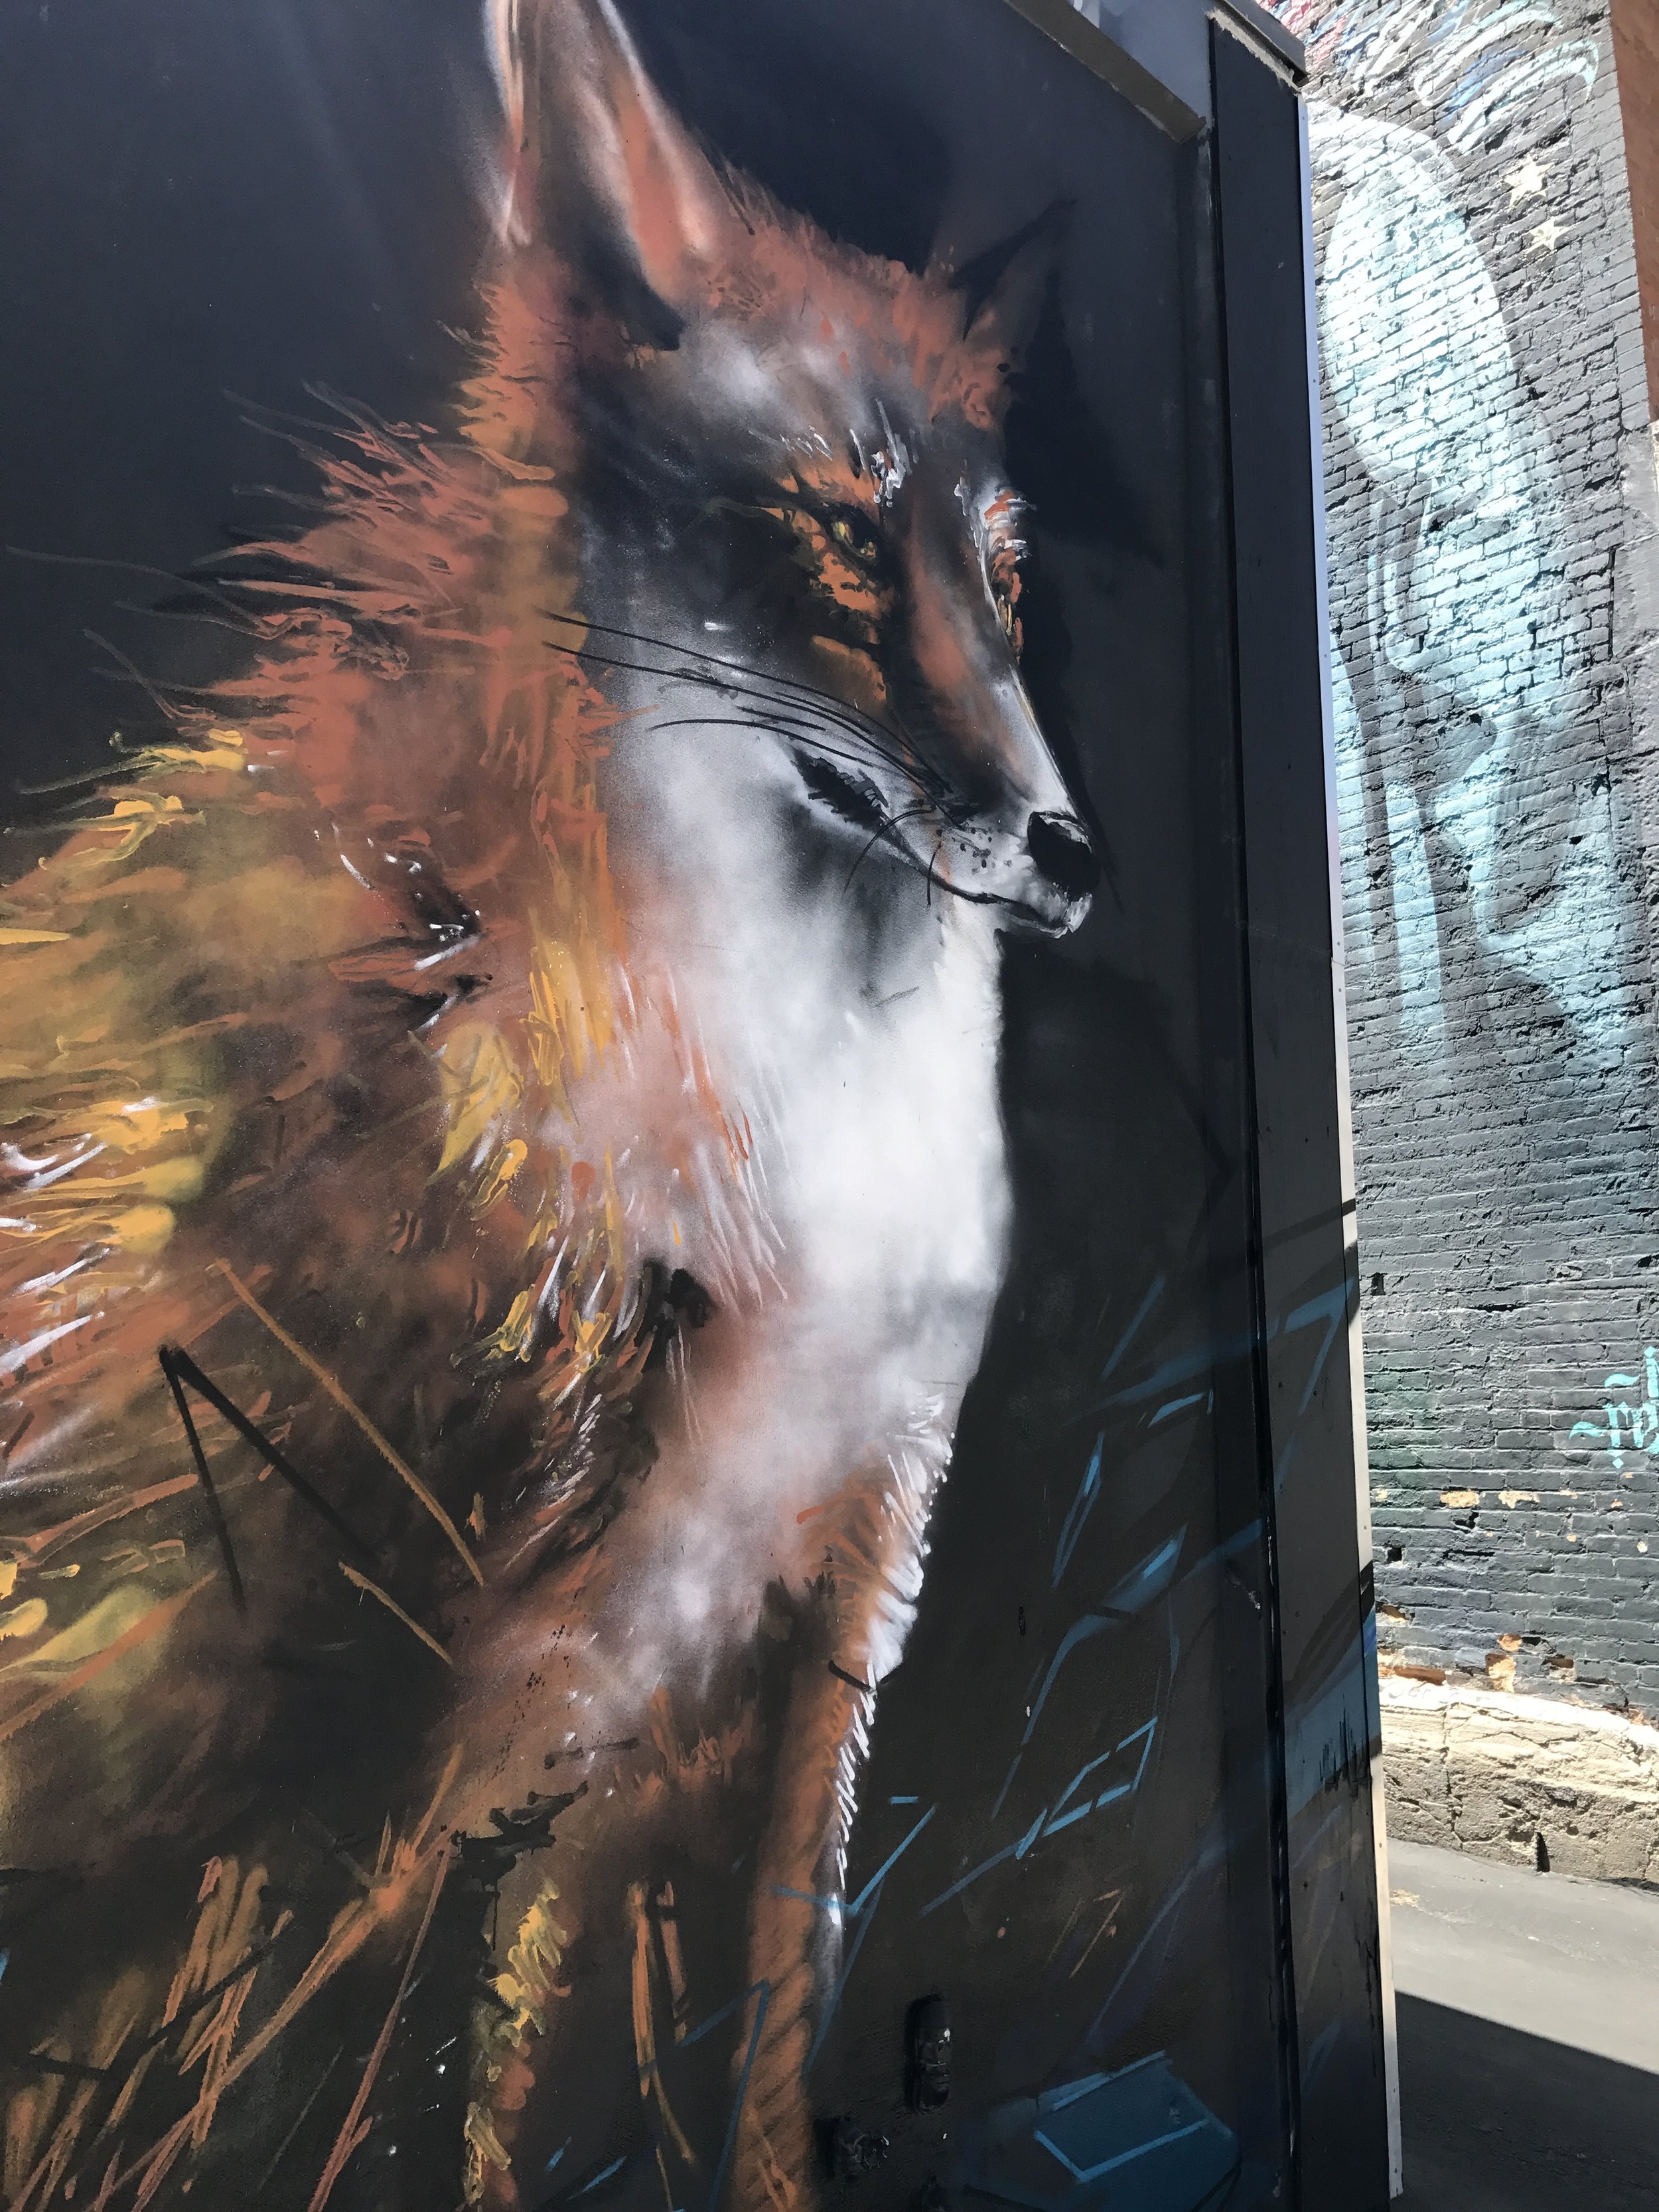
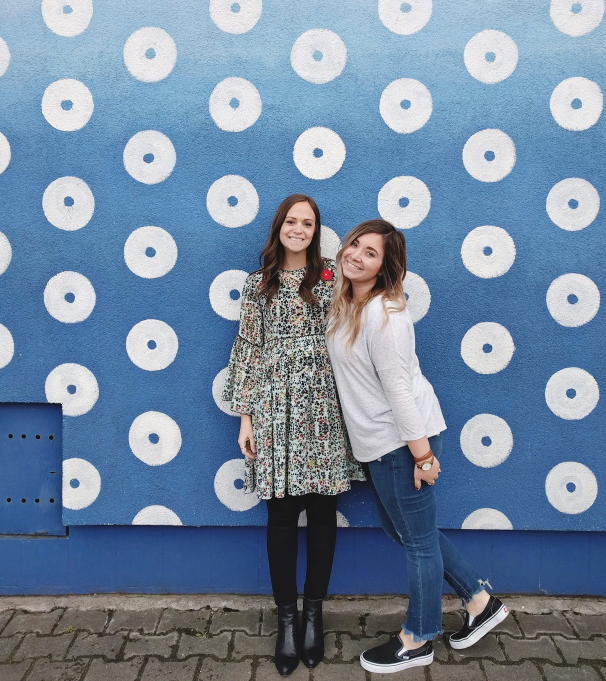
Took a quick tour of graffiti alley which is in downtown Salt Lake City. Dylan and I love exploring our city bit by bit & we always find new adventures around every corner. We would definitely recommend this little spot to everyone!


IMG_0357.JPG
IMG_0358.JPG
IMG_0369.JPG
IMG_0379.JPG
IMG_0381.JPG
IMG_0373.JPG

Sundance, Utah

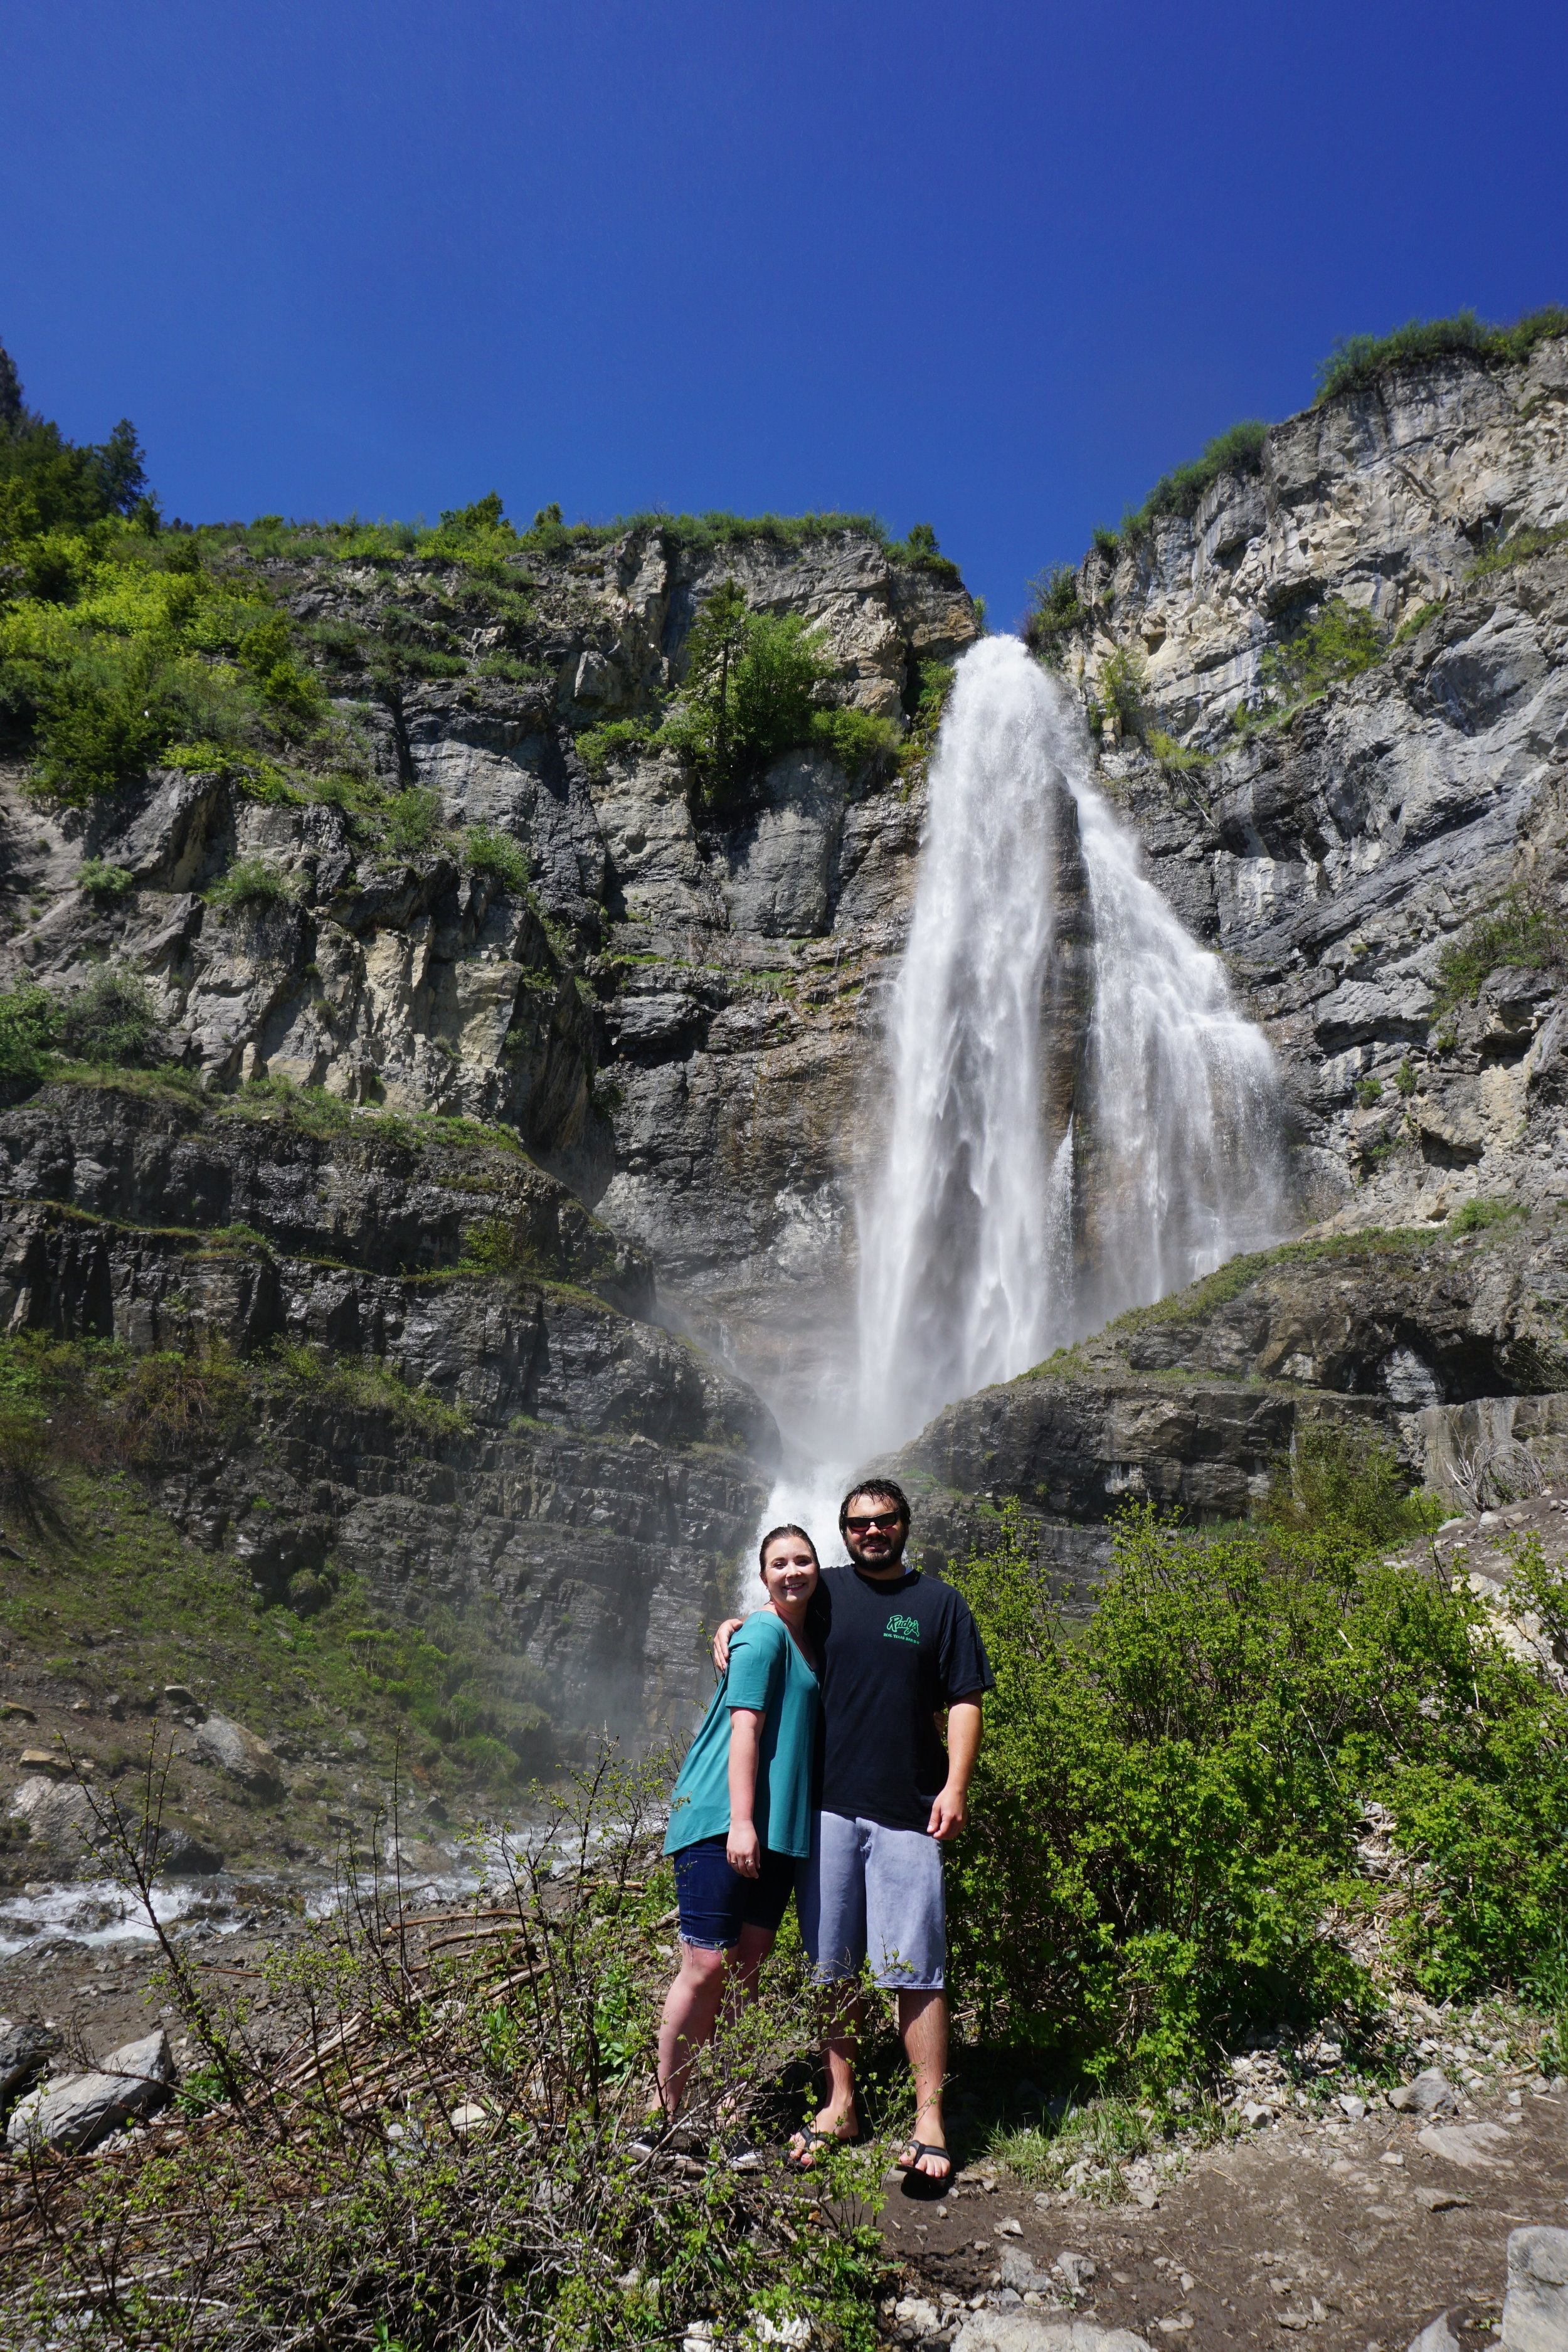
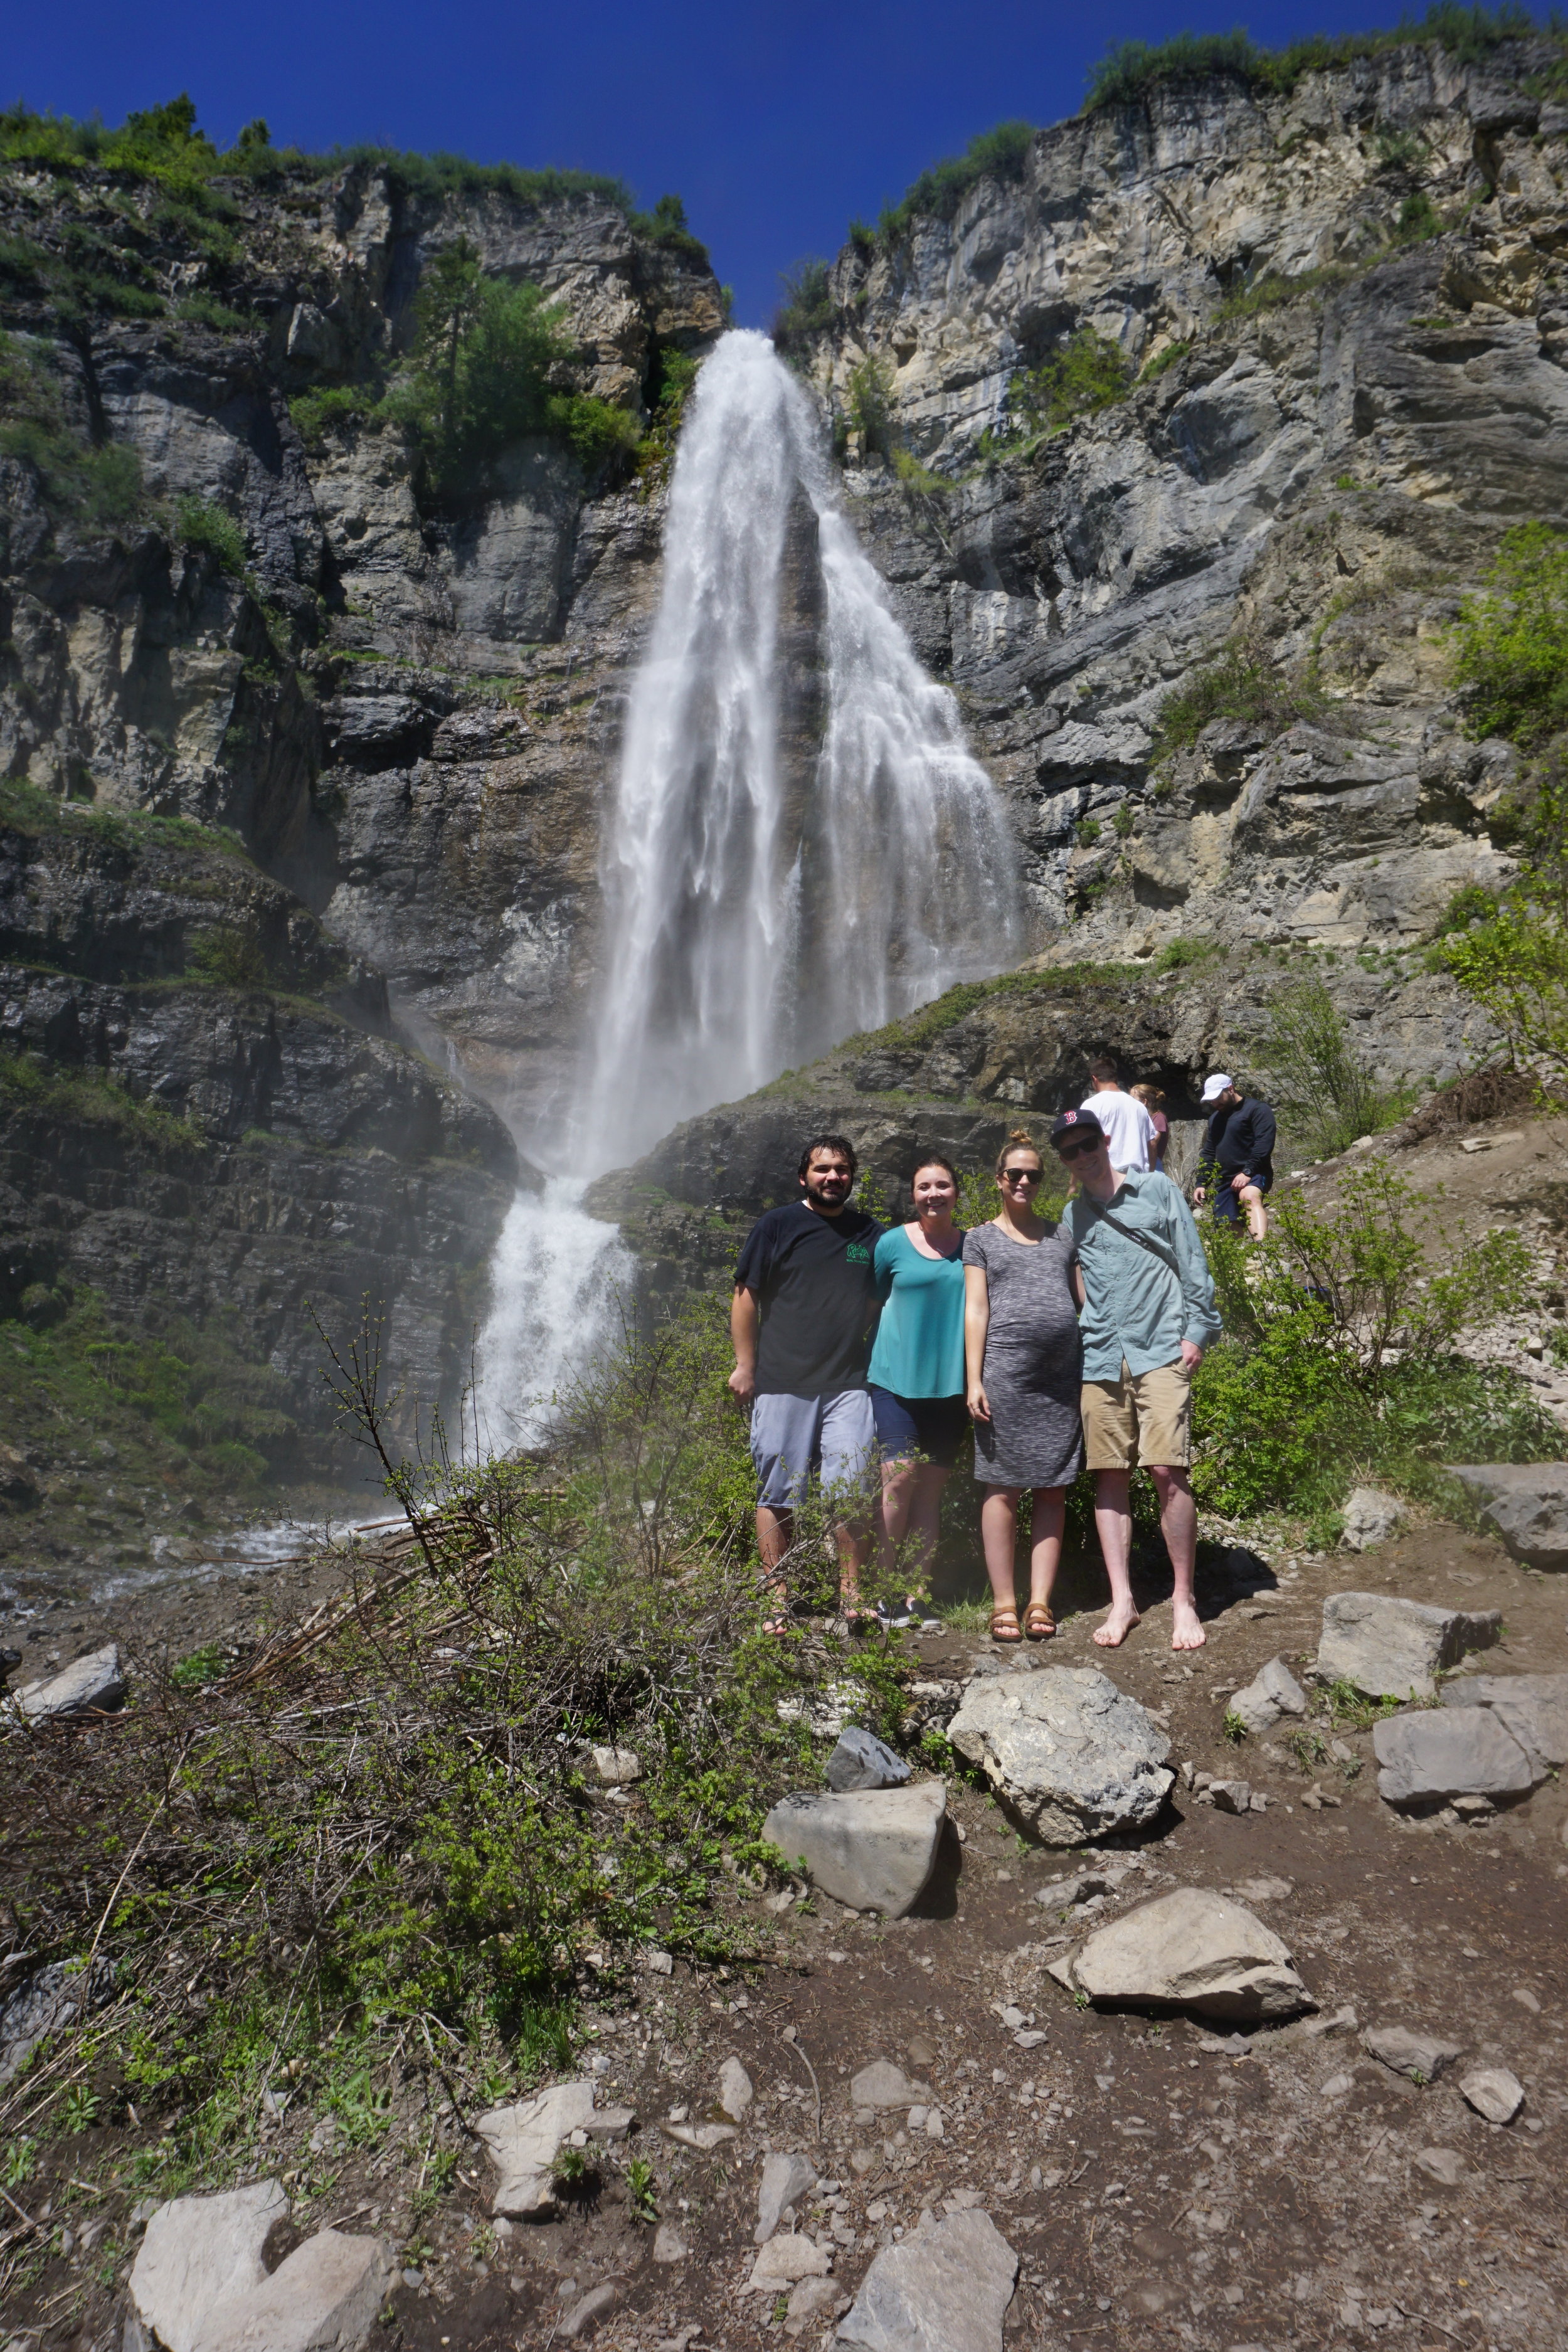
Took a quick trip up to Sundance, Utah with my husband, brother, and sister-in-law! It was a fun weekend getaway, and we have some amazing pictures to prove it! We are so blessed to have the best family.

Mantua Poppy Fields

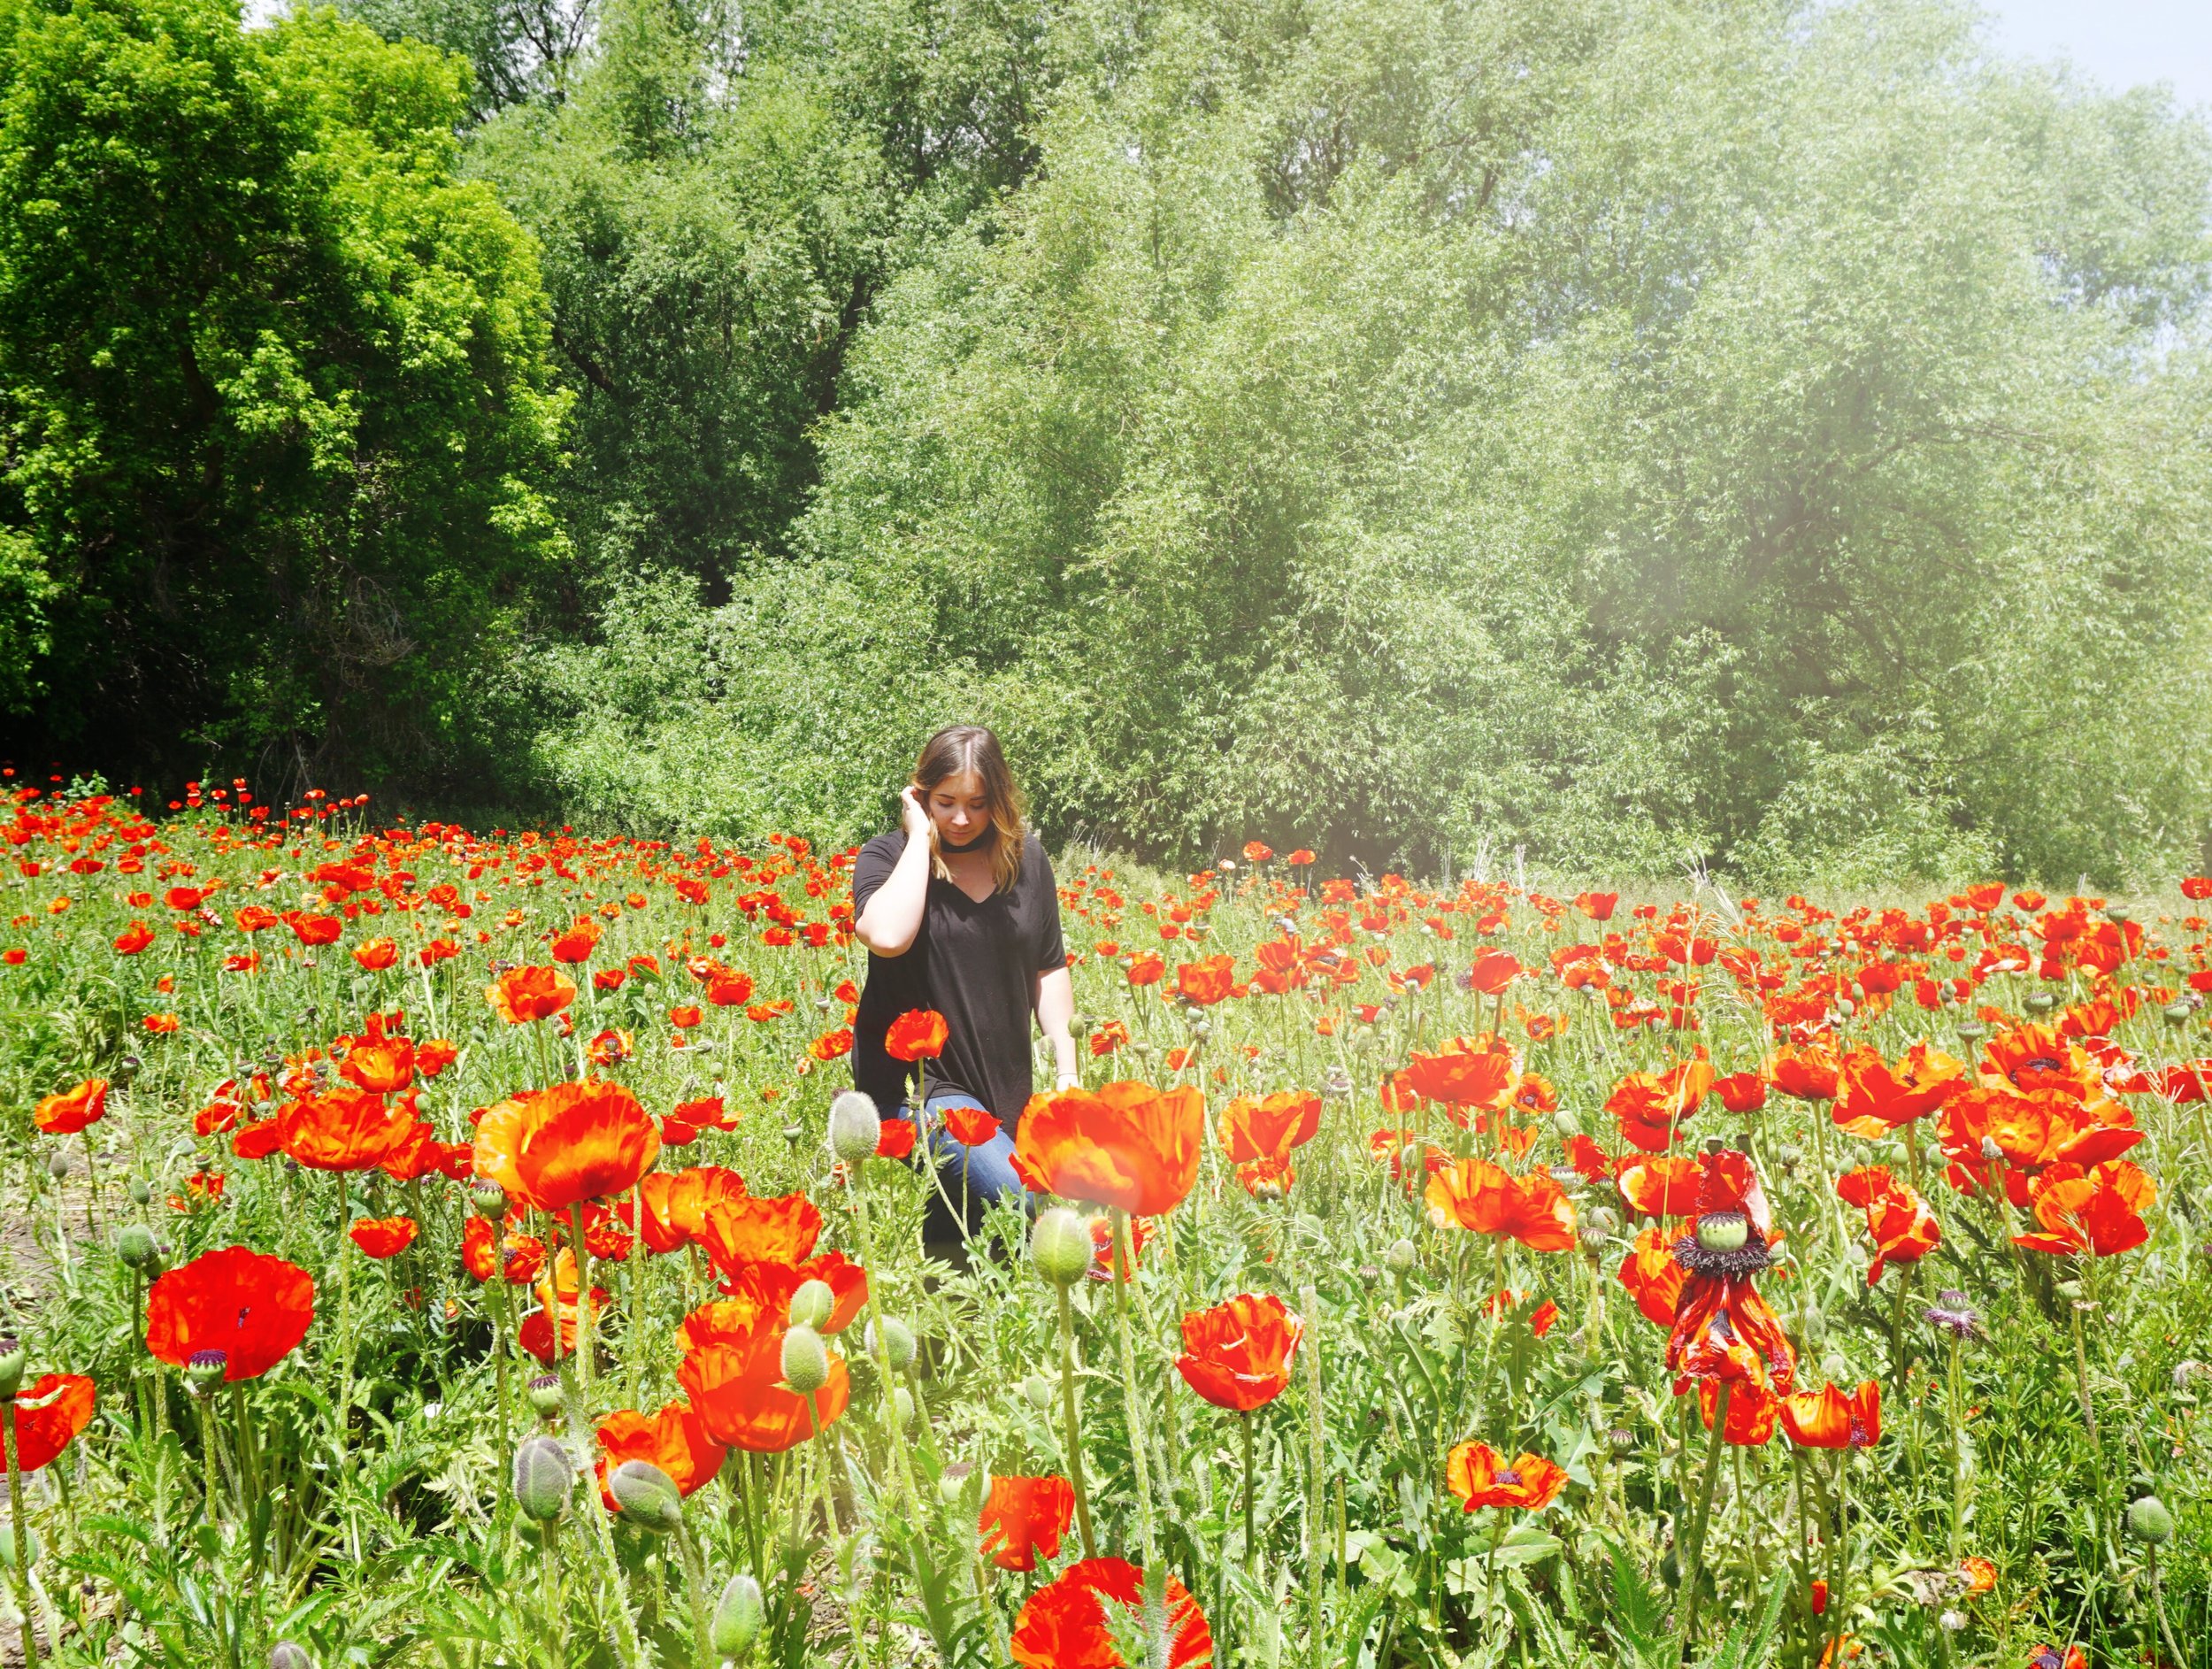
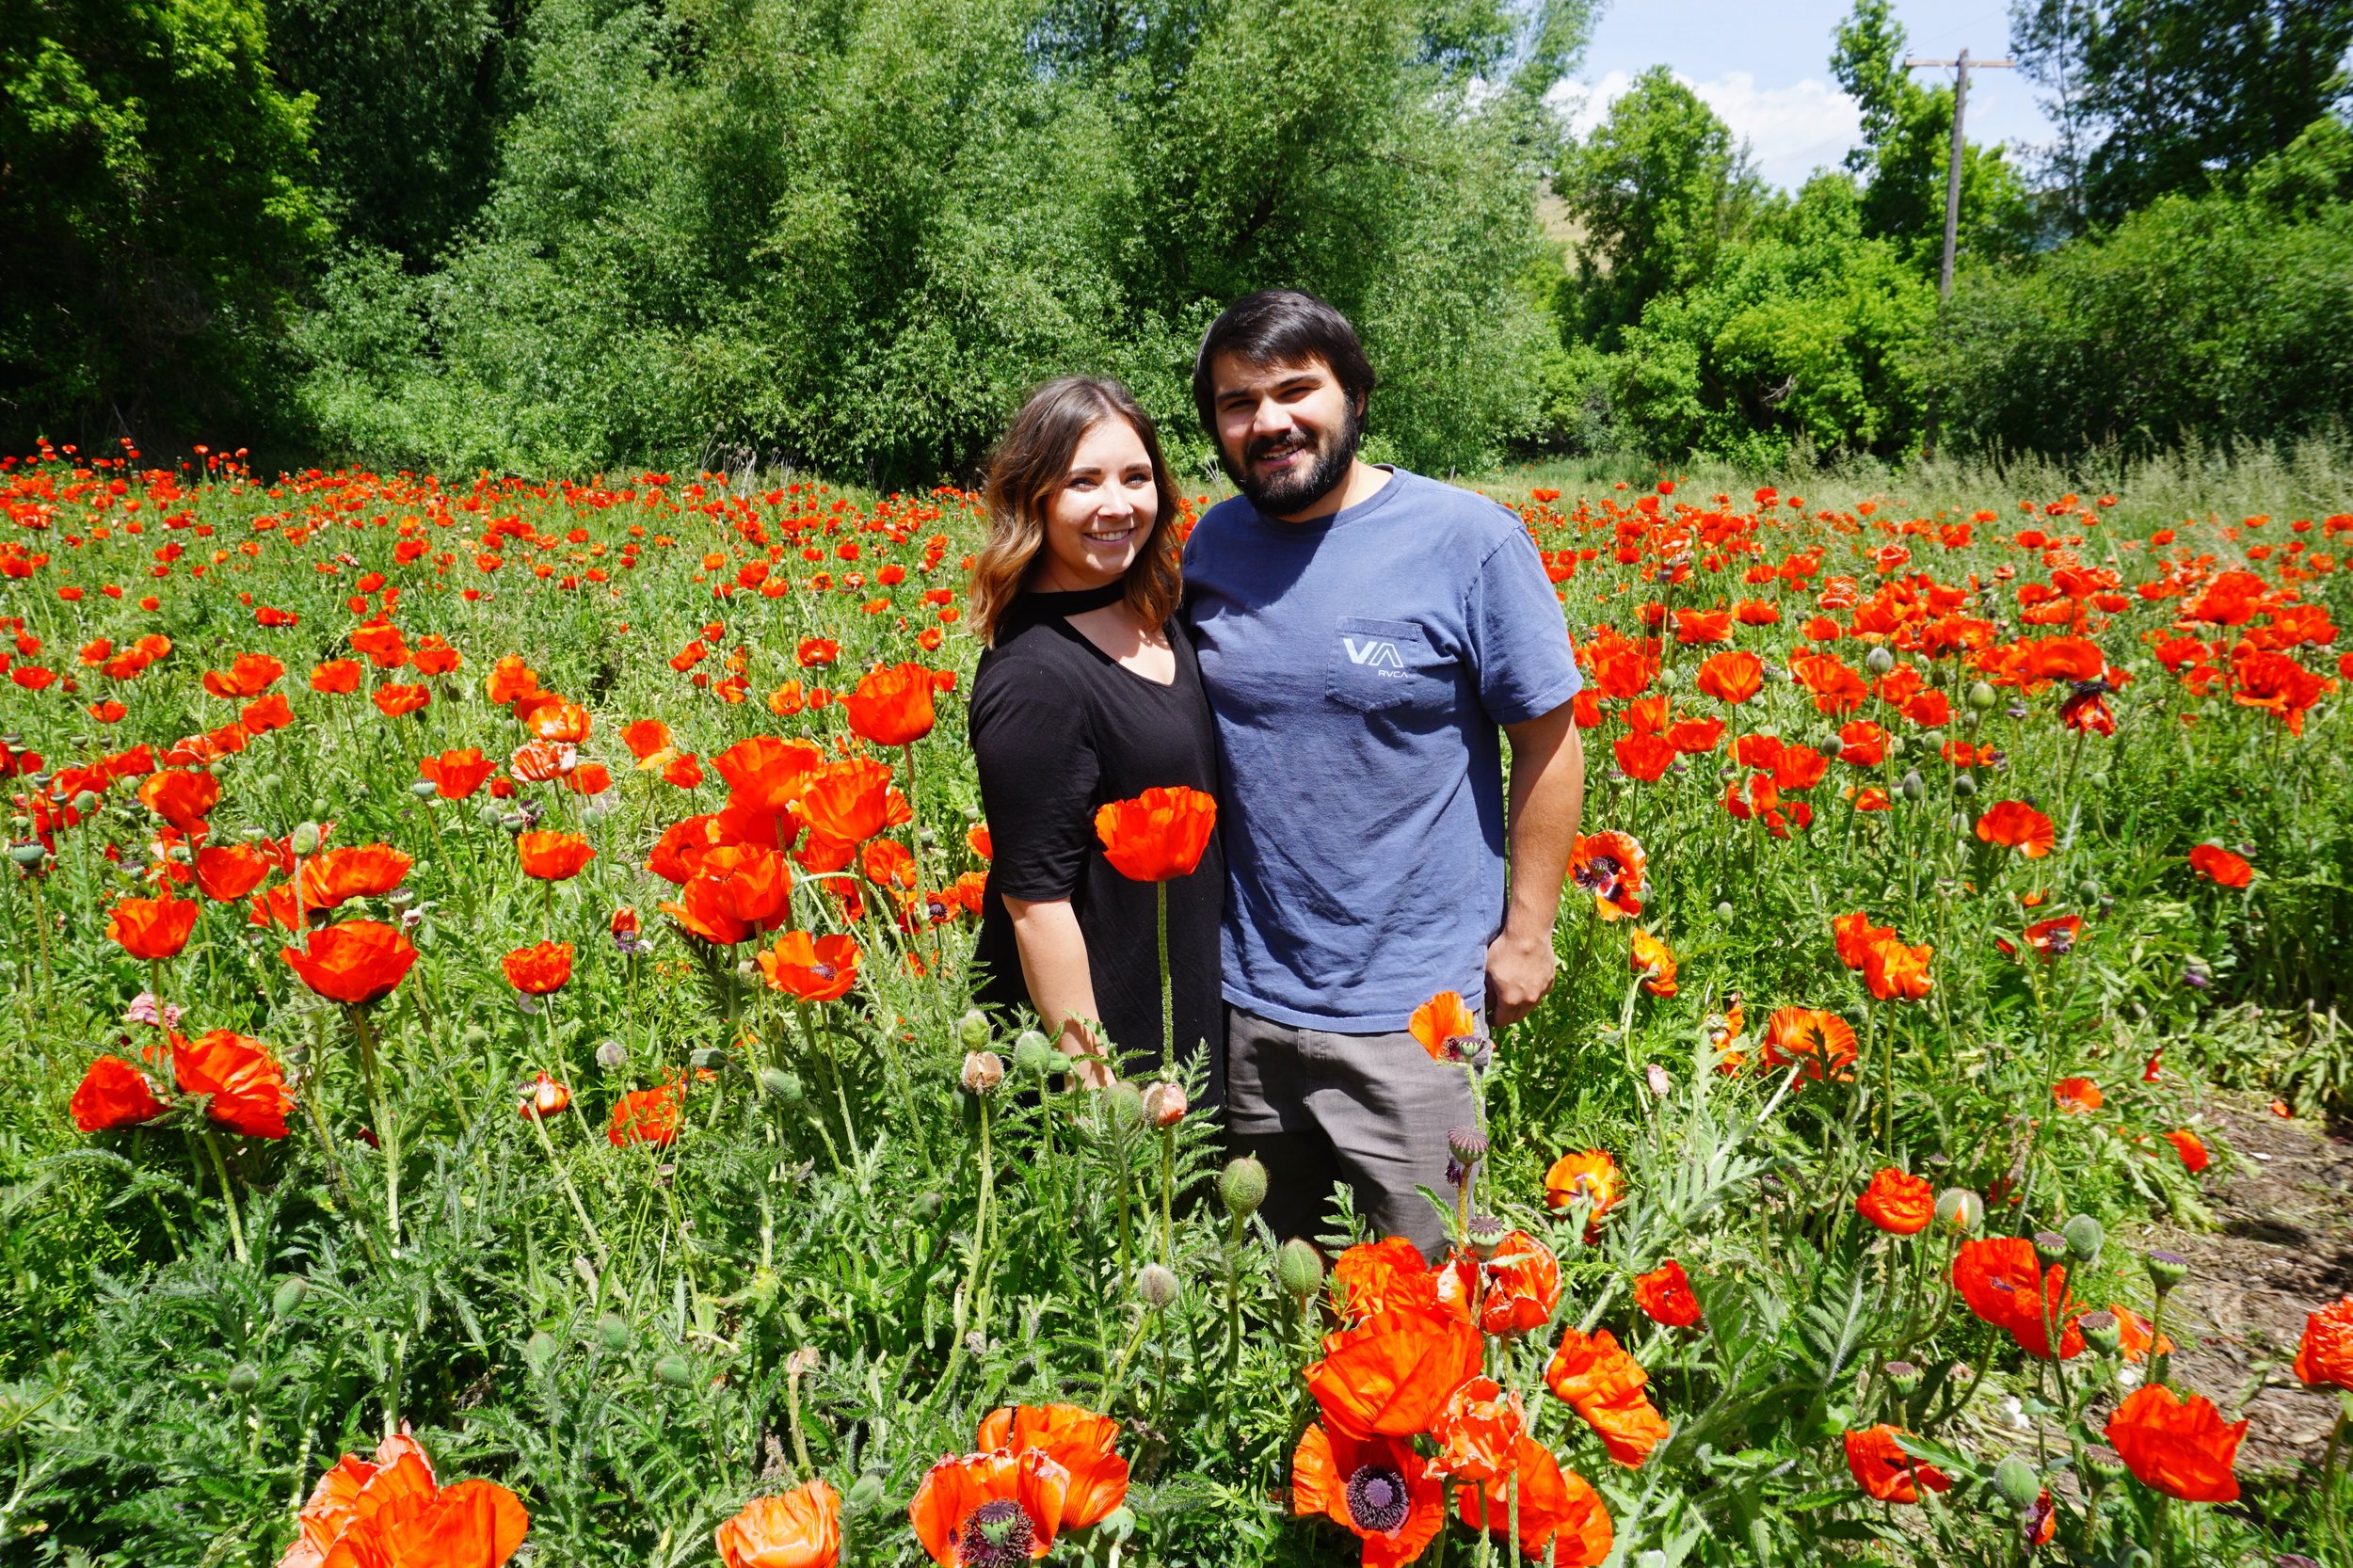
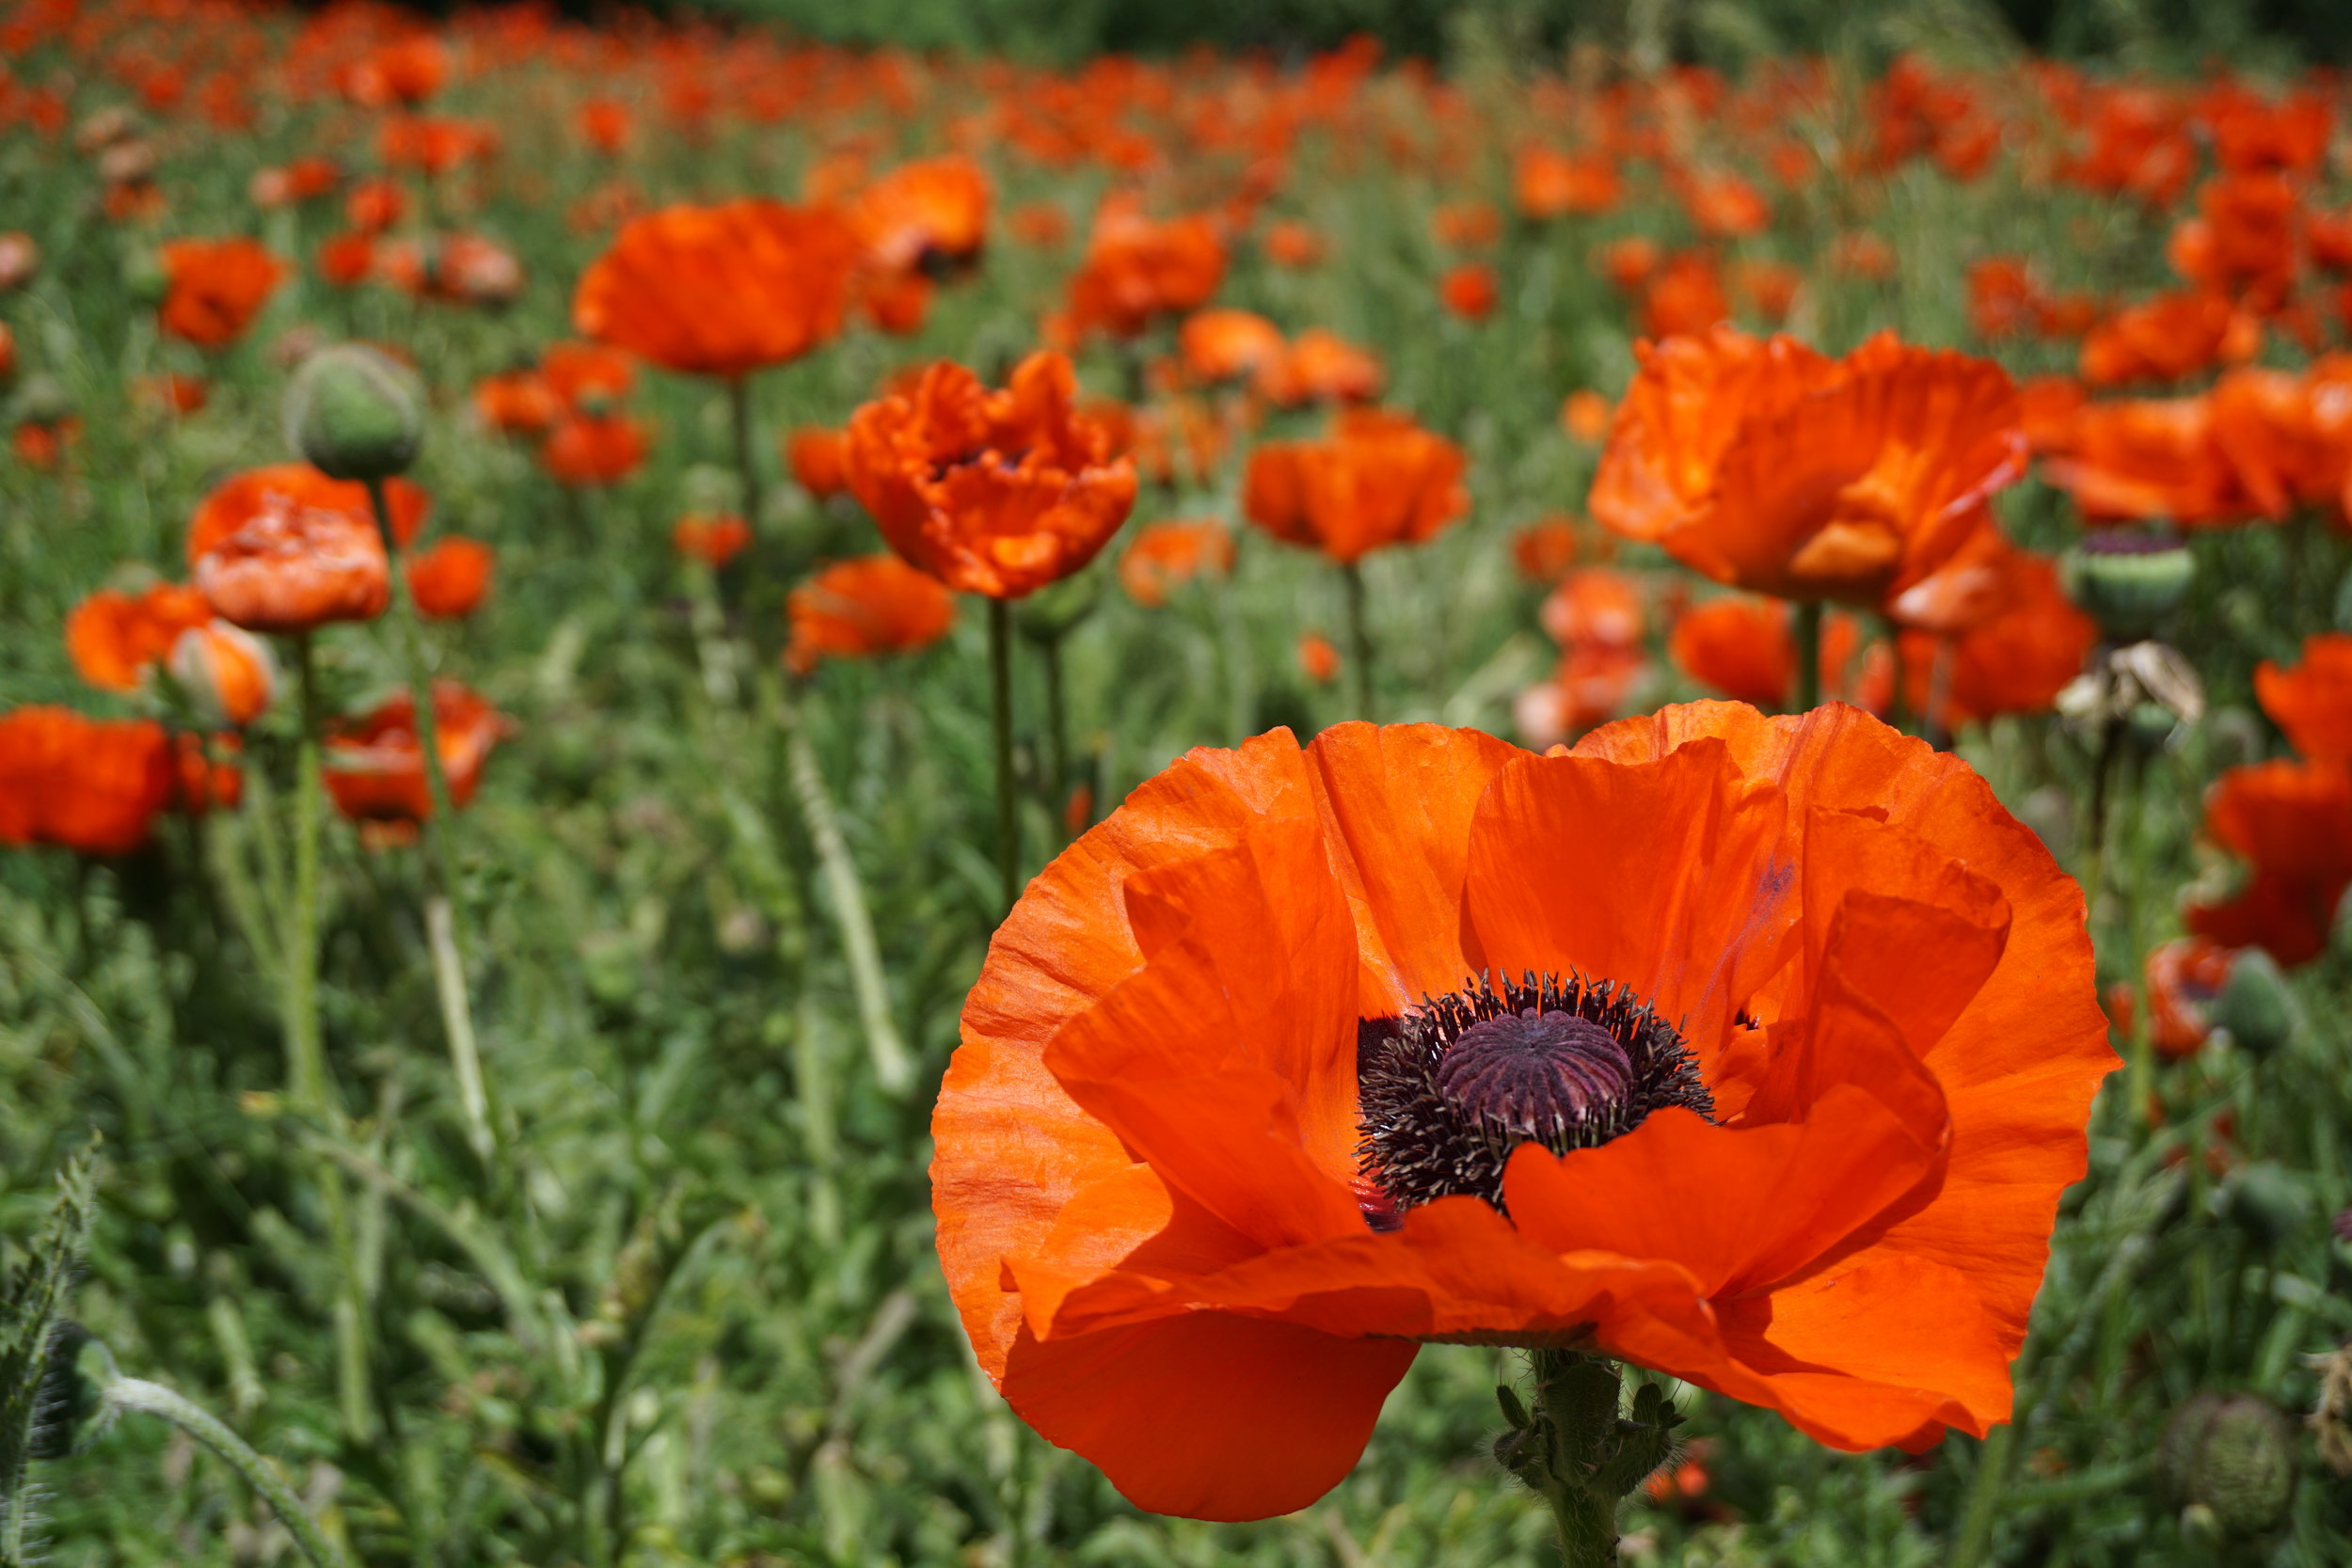
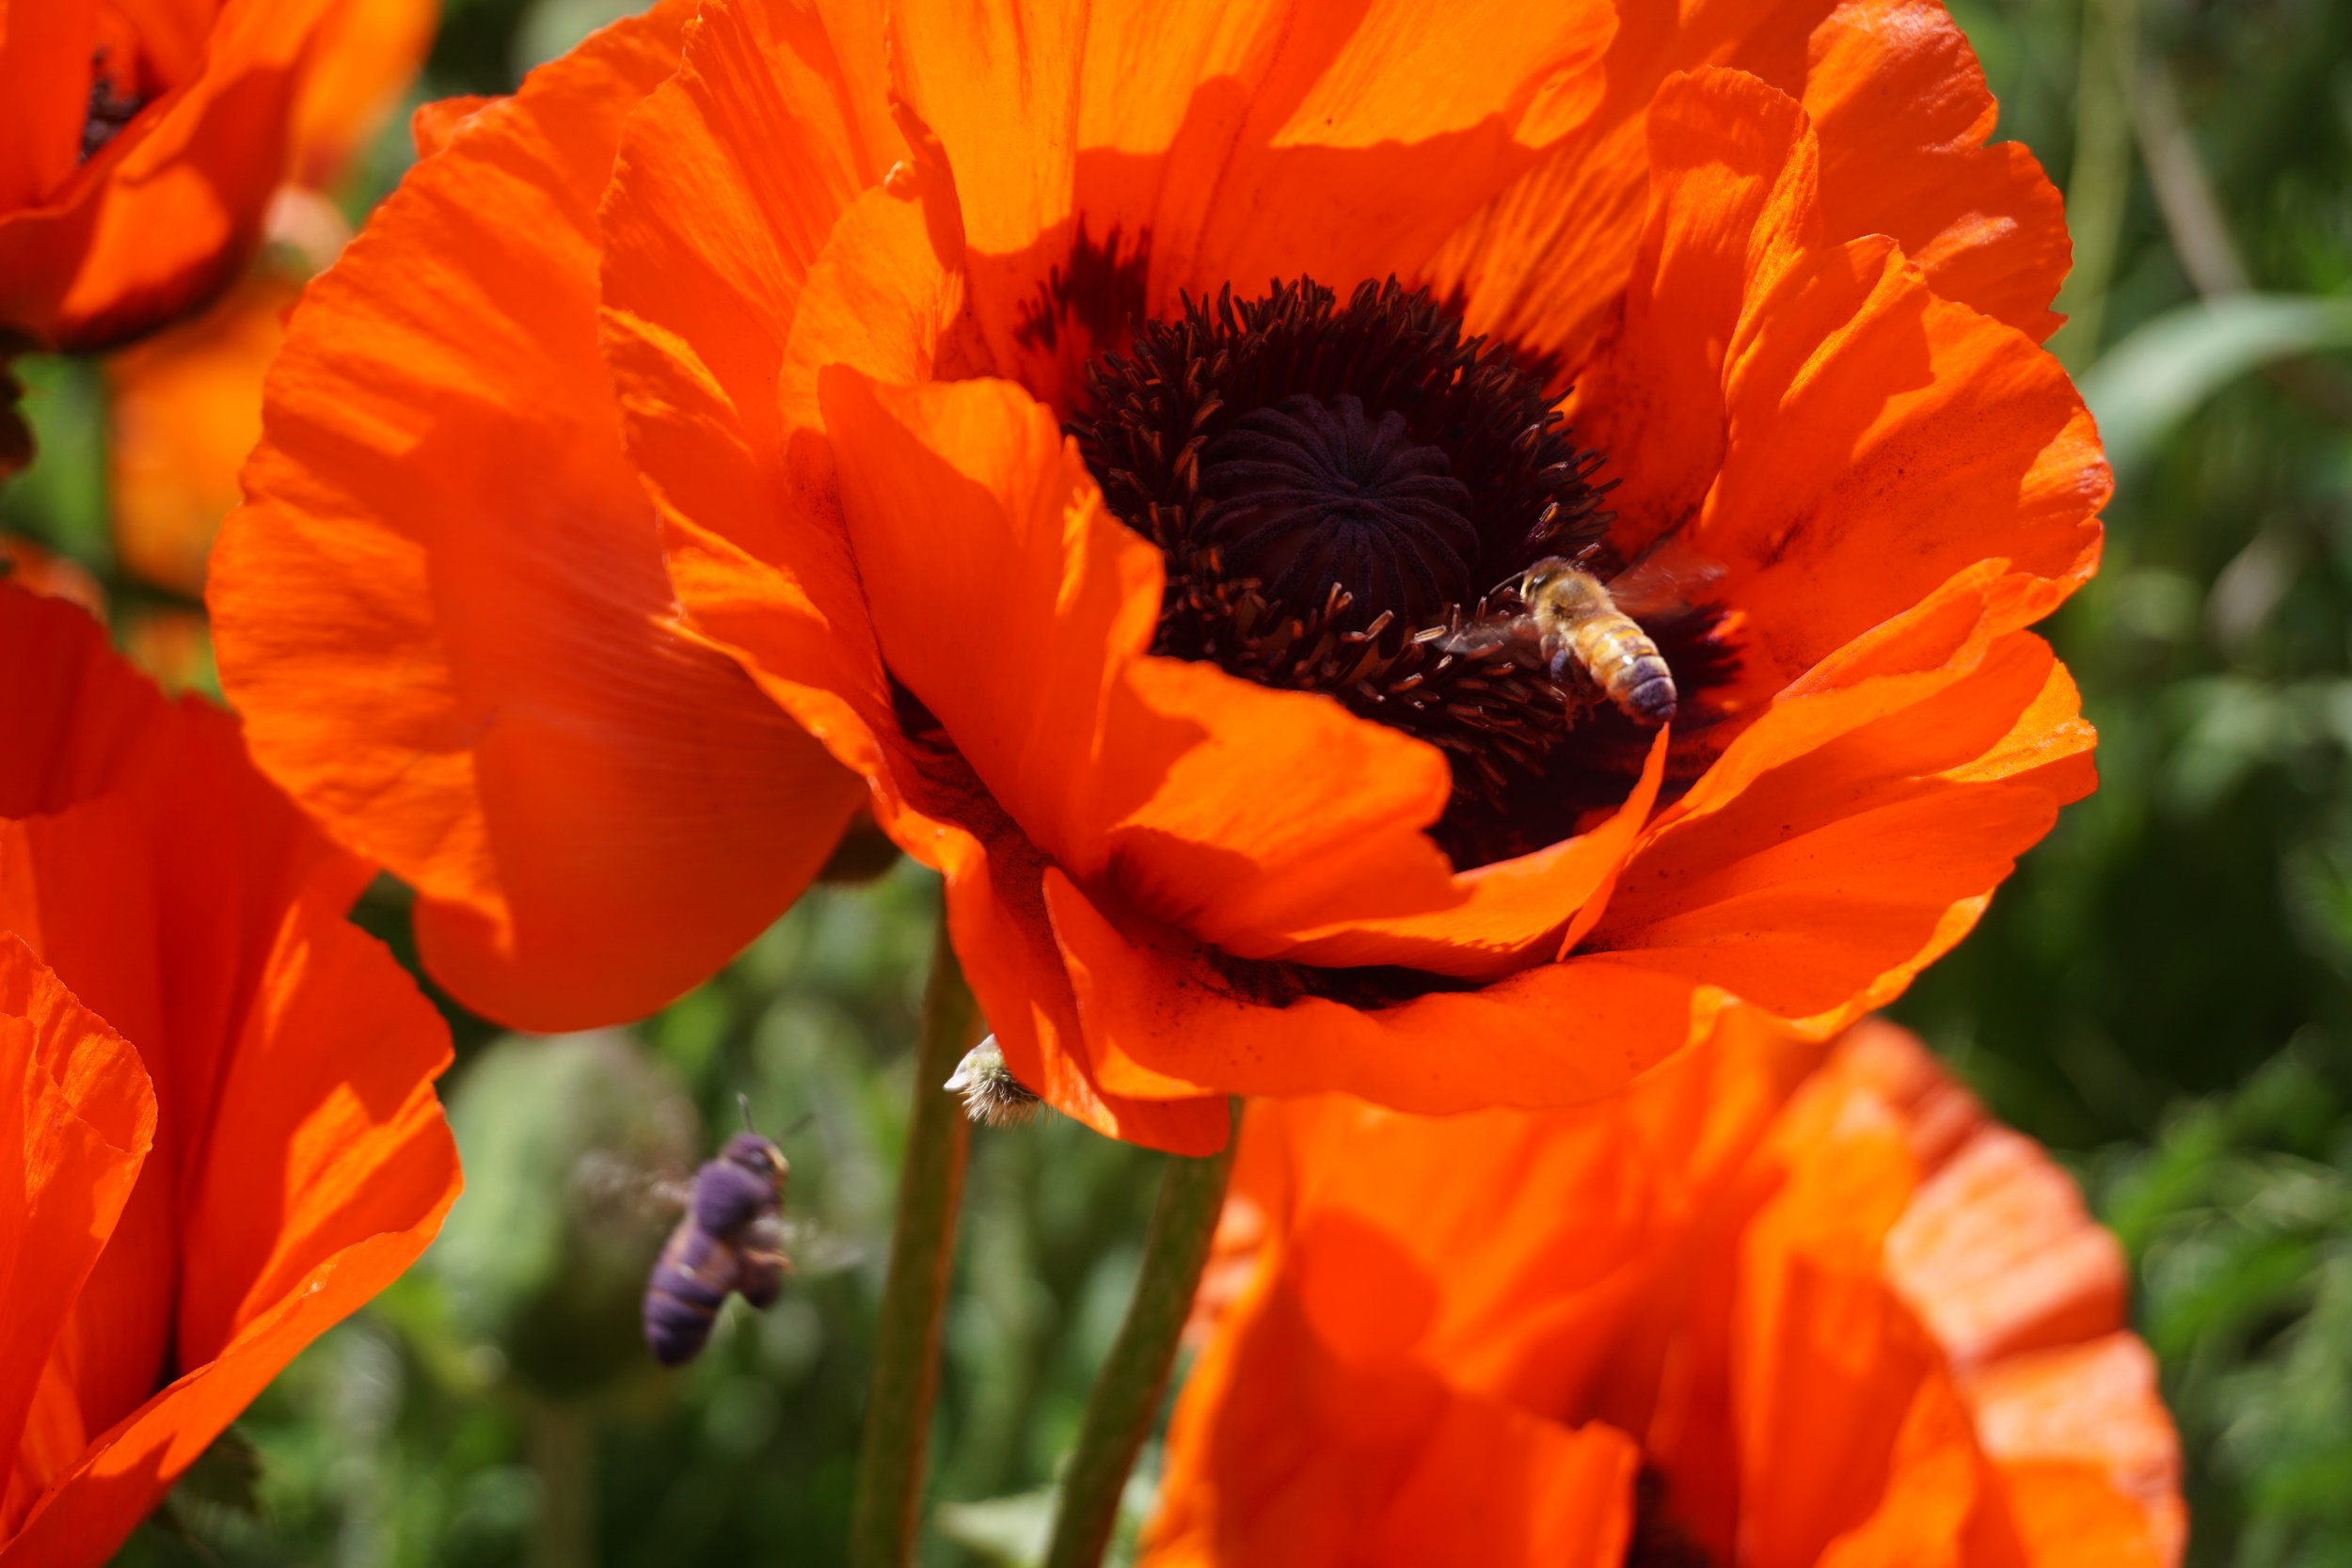
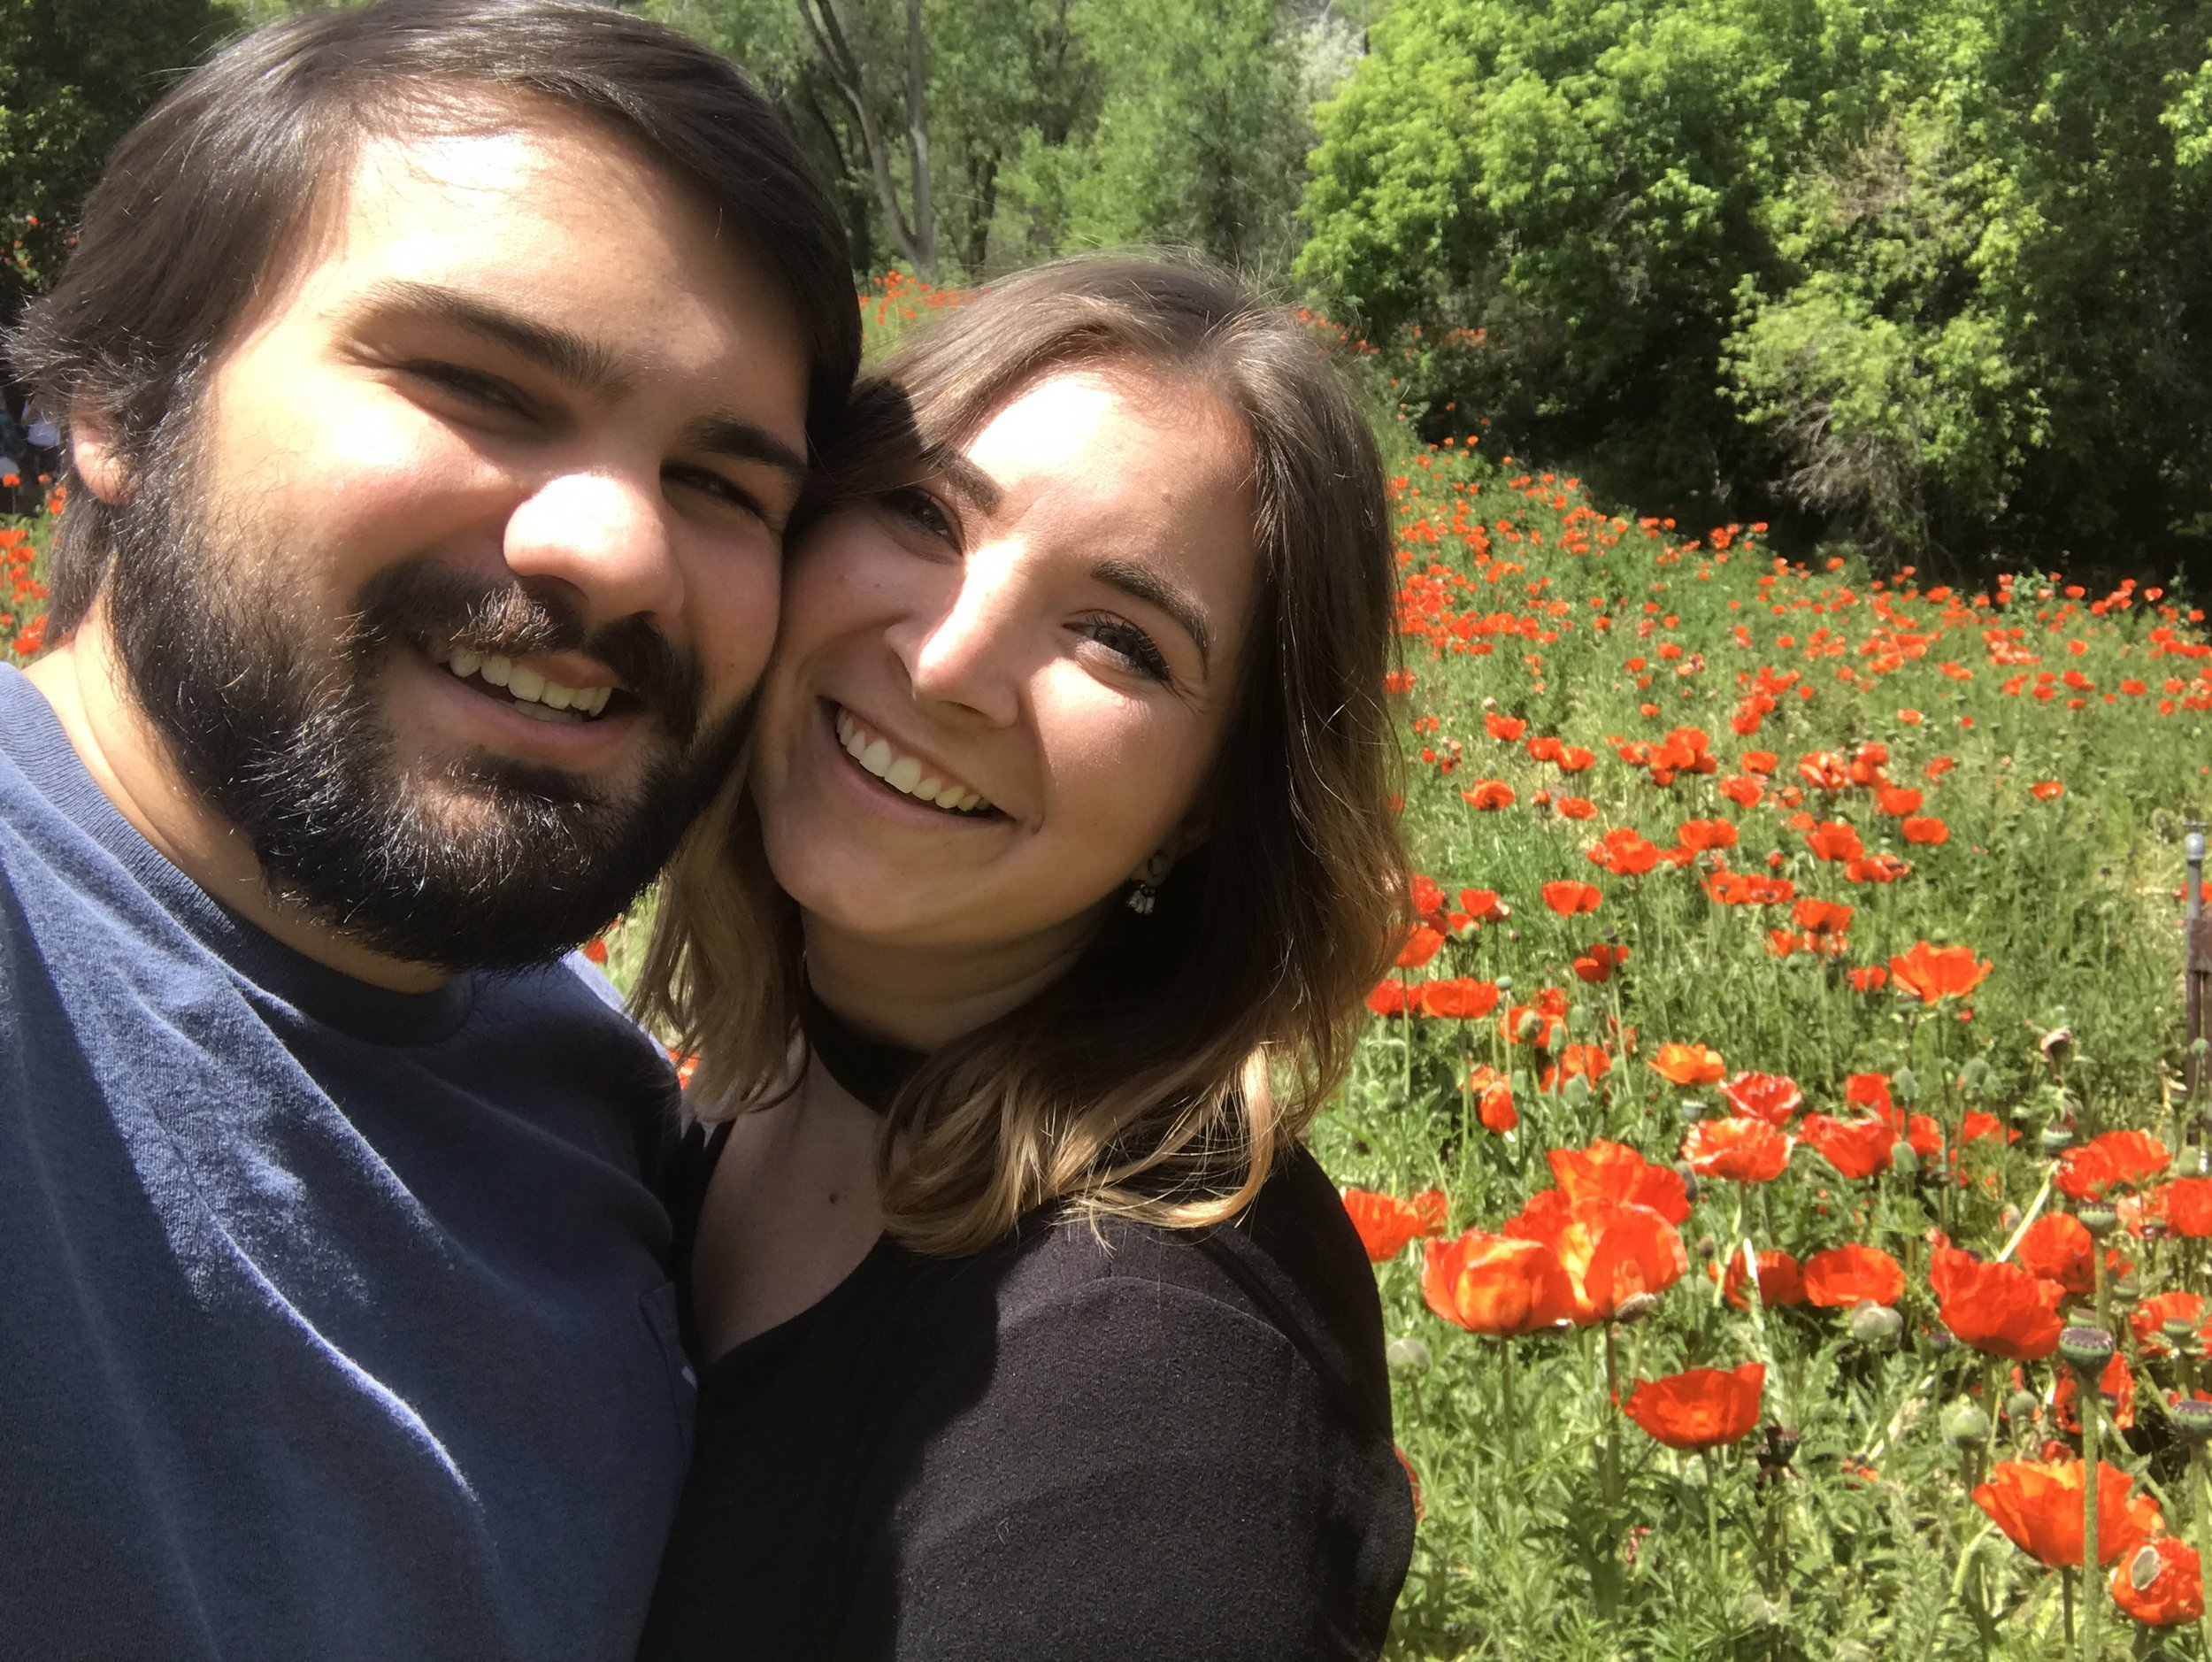
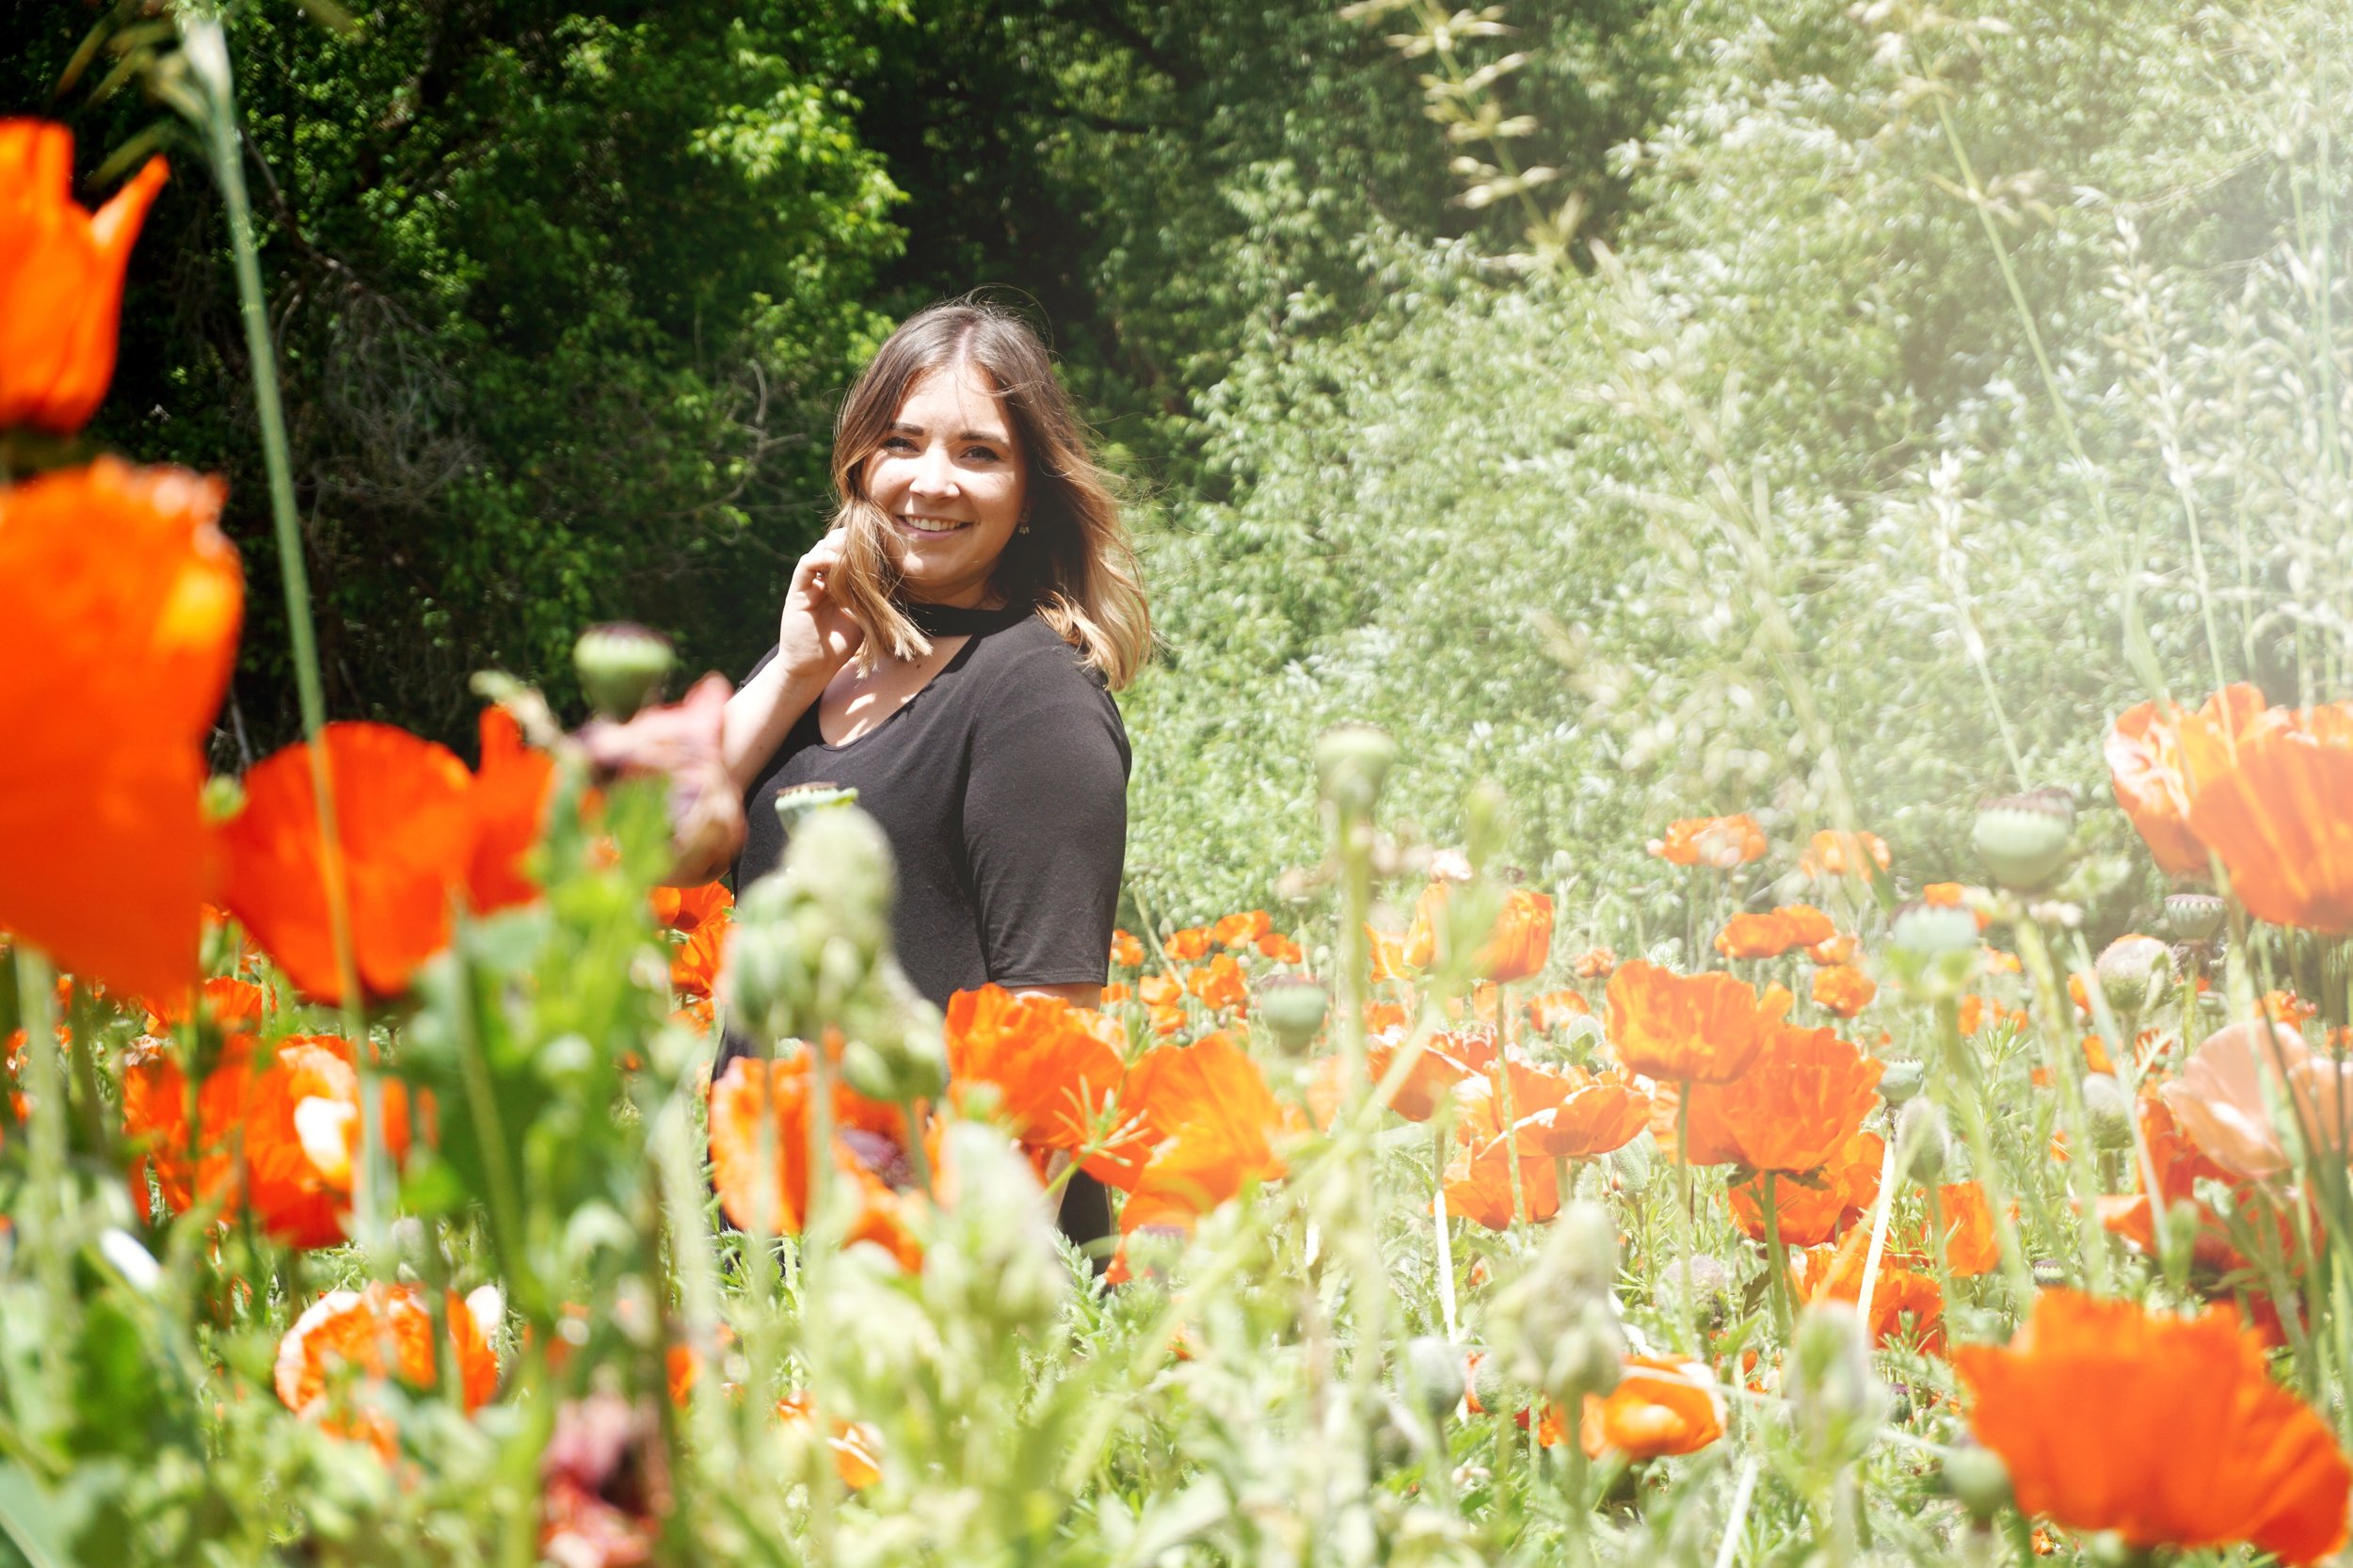
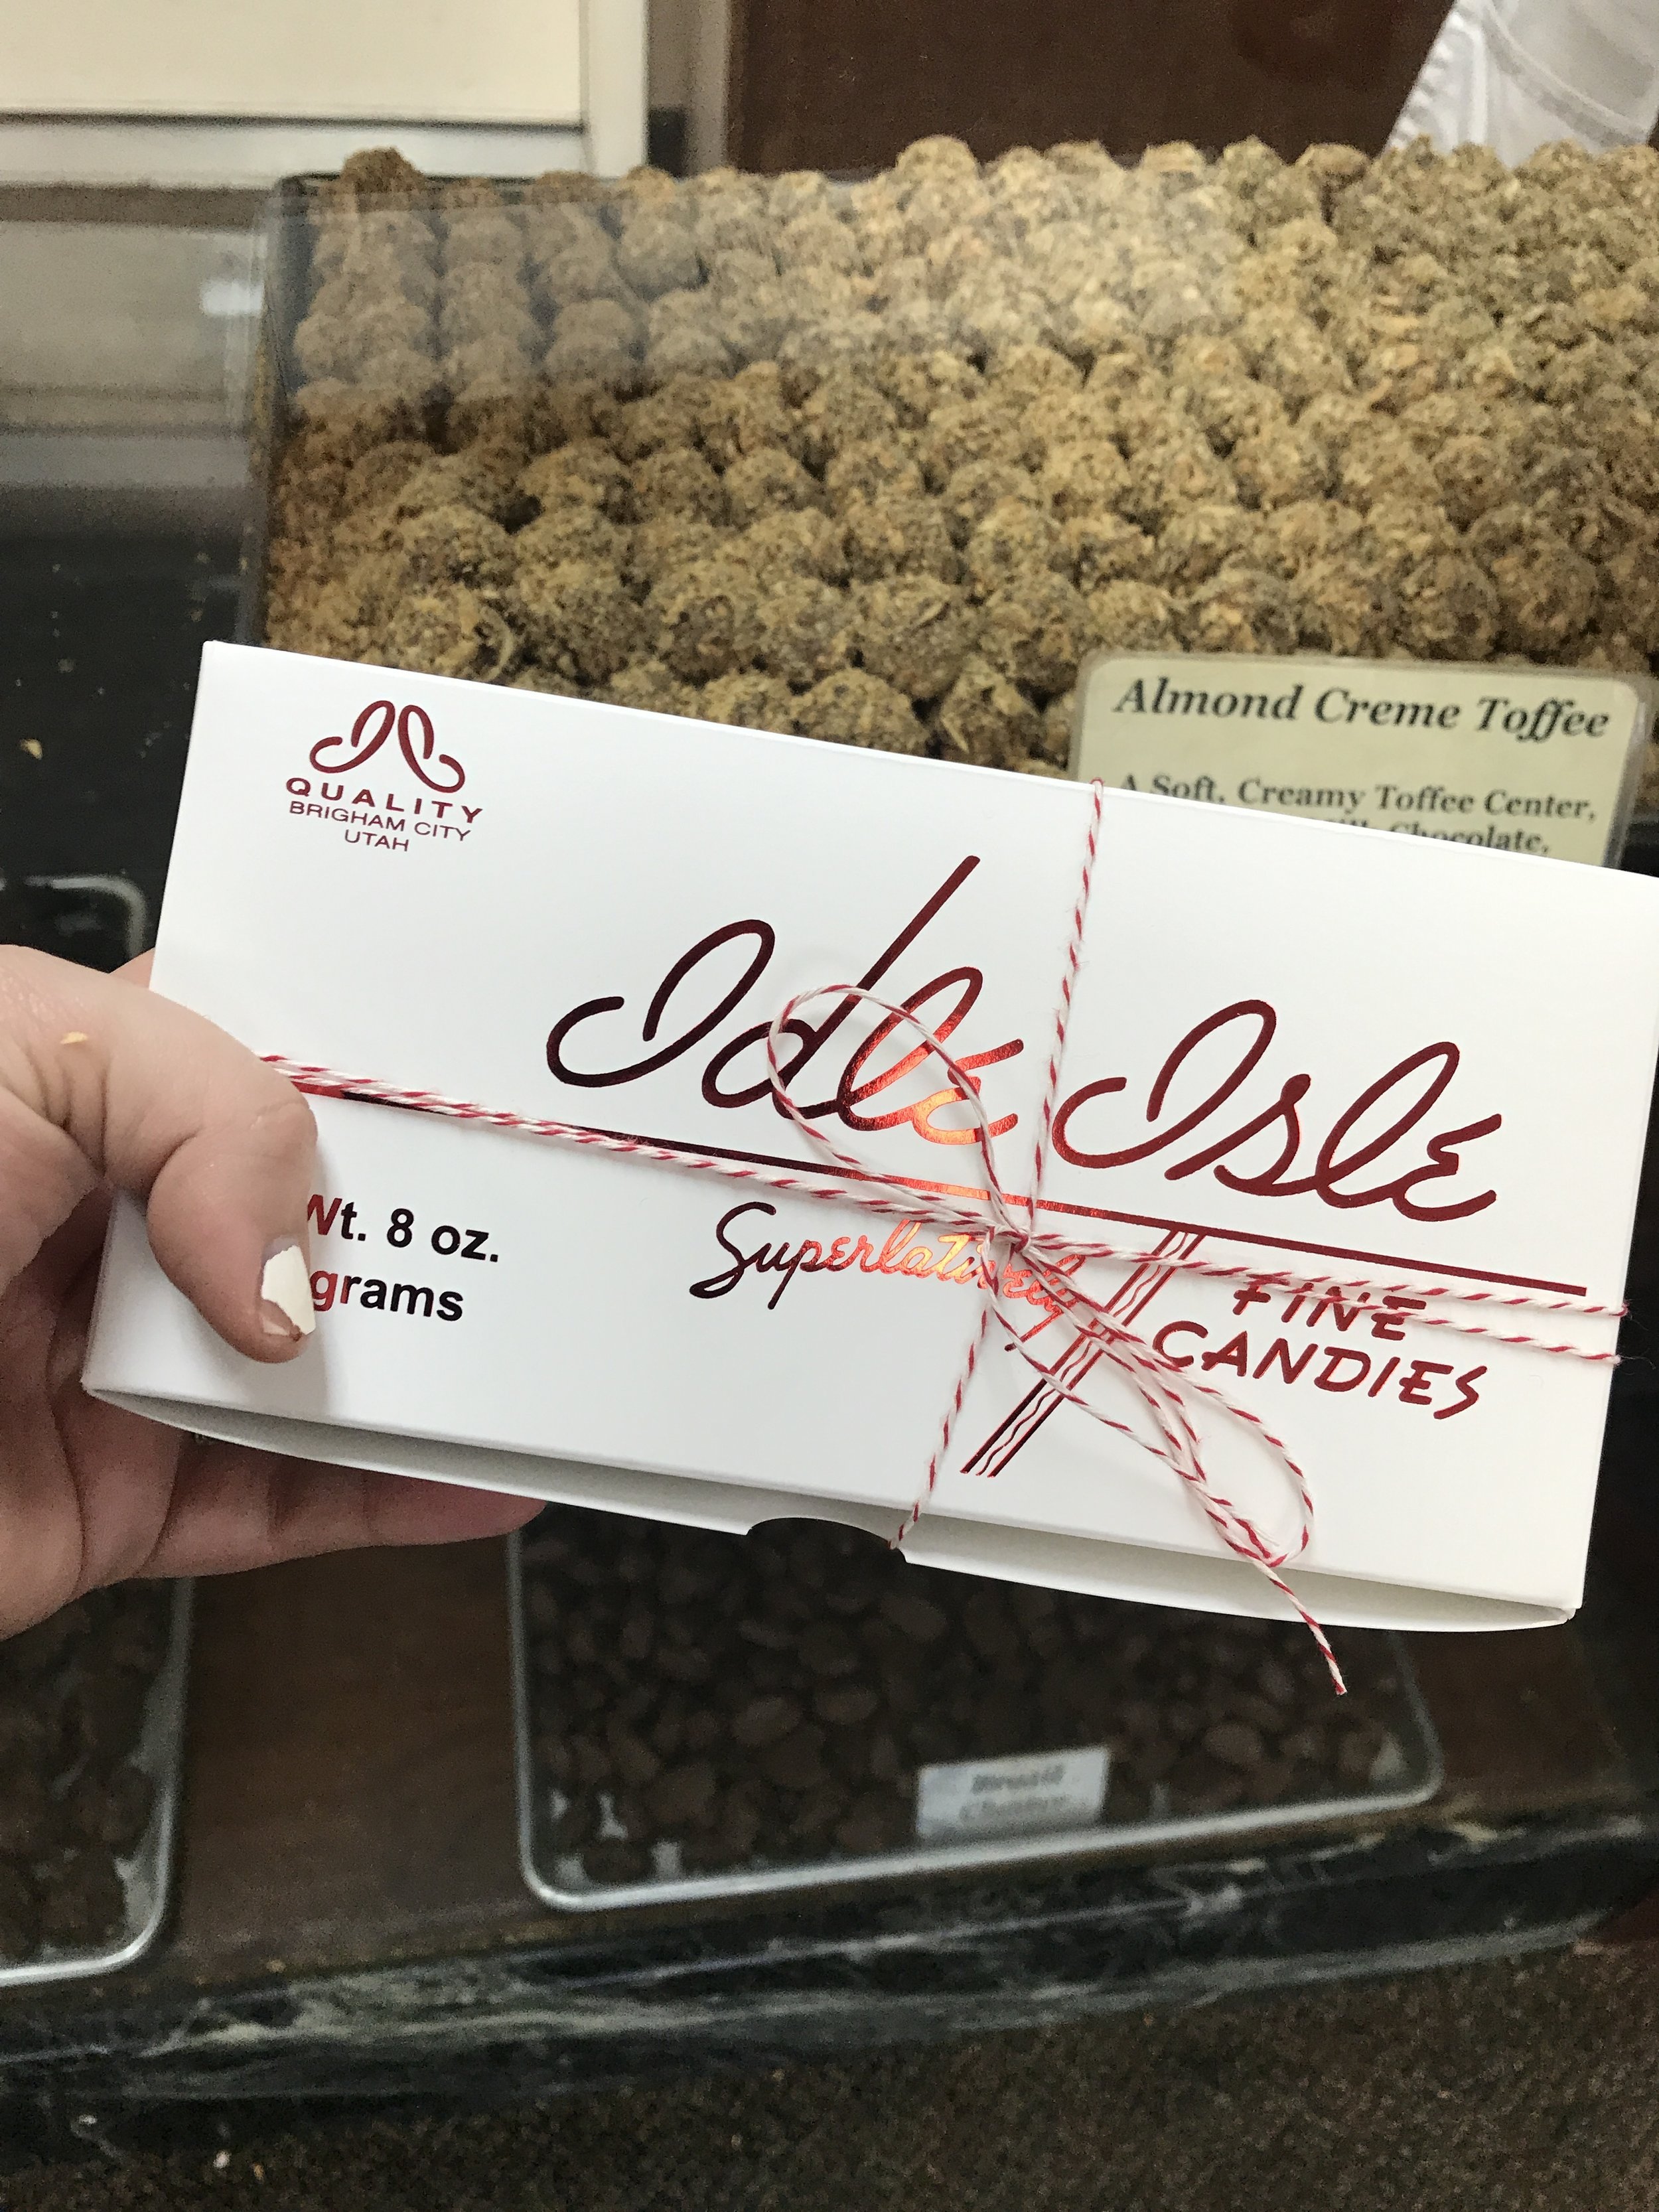
As I was scrolling through Instagram the other day, I found this beautiful photographer's work out of Utah. The photos had this incredibly huge field of poppies, and I was determined to figure out where this was. I found out- Mantua, Utah was only a quick hour away from Salt Lake City. My cute husband woke me up in the morning, "Babe, if we are going to find these poppies, you gotta get up!".  He is just the cutest. So off we went, and found this beautiful field. We stopped on the way home for my favorite candies at Idle Isles Candy Shop, and were home before dinner. Life is just complete bliss! 

Czech Republic and Poland

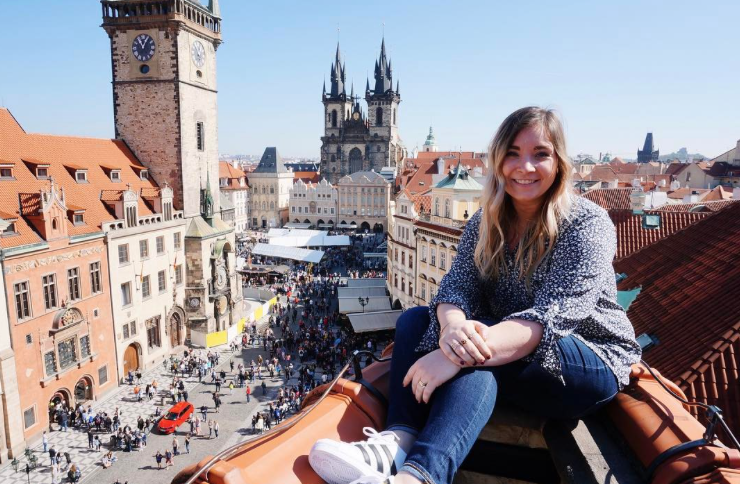
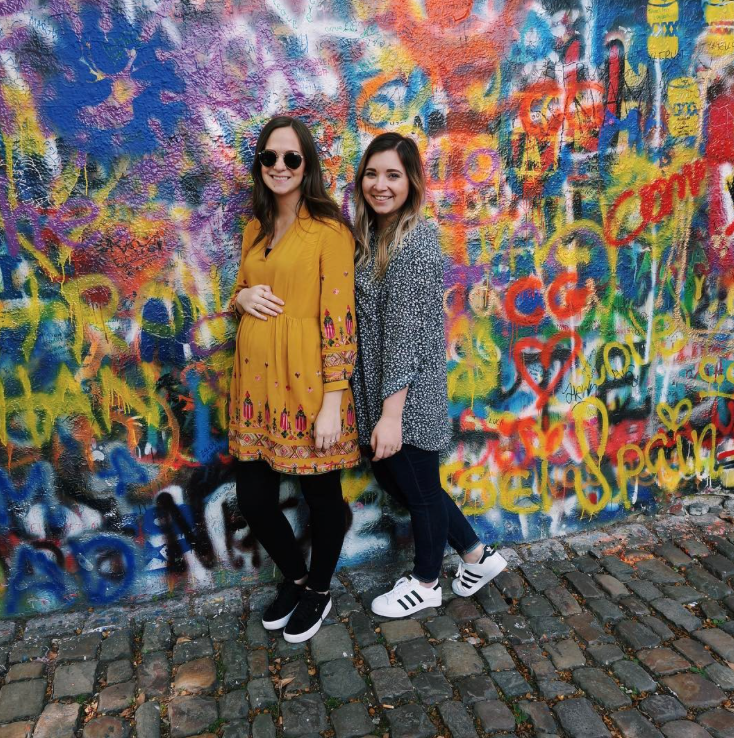
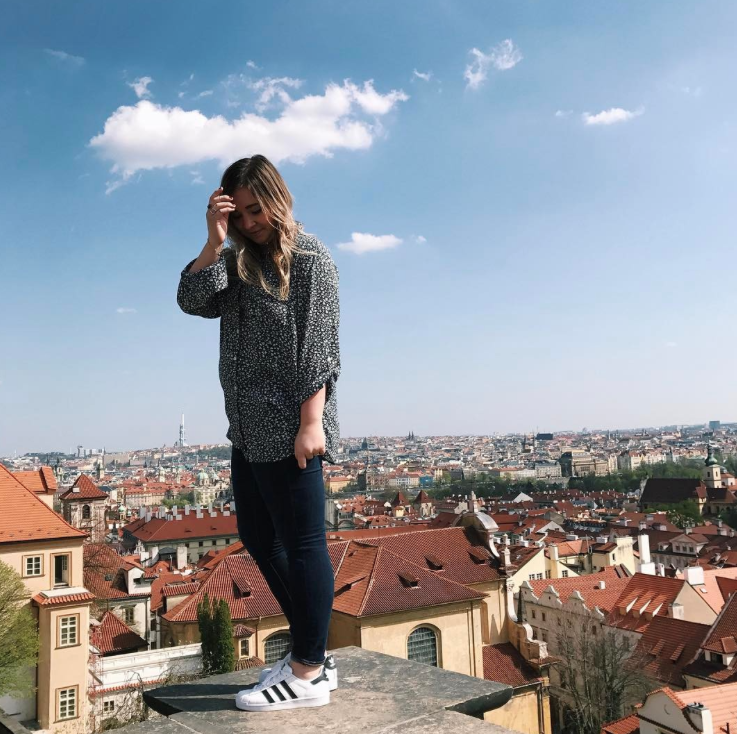
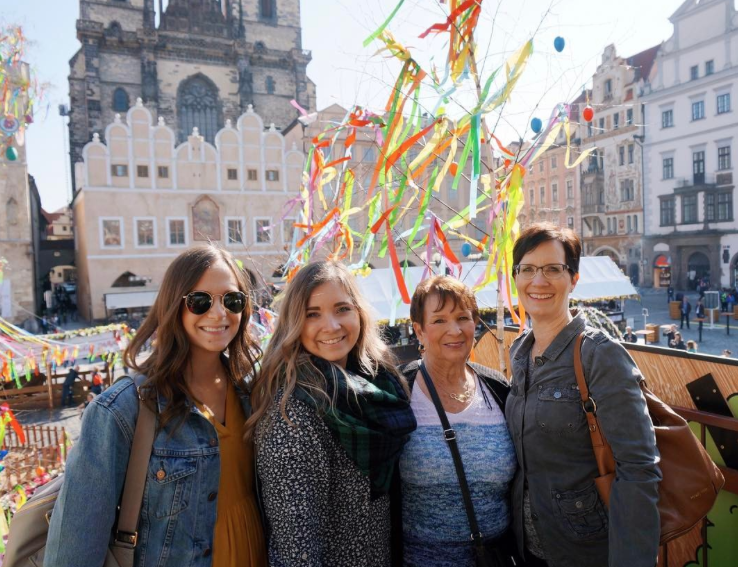
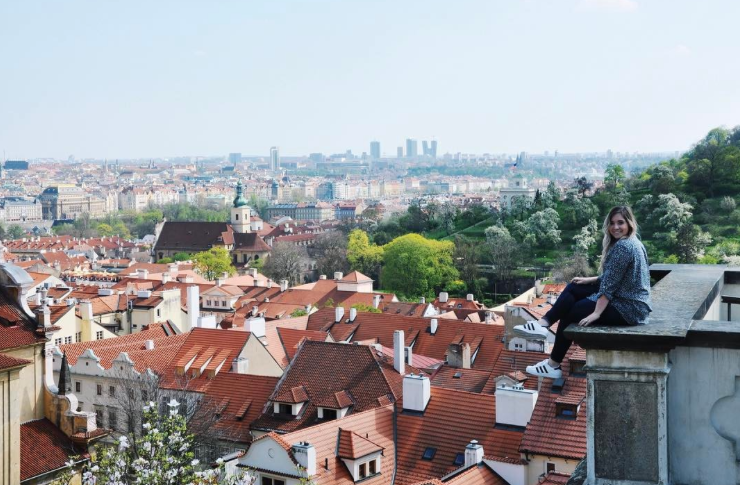
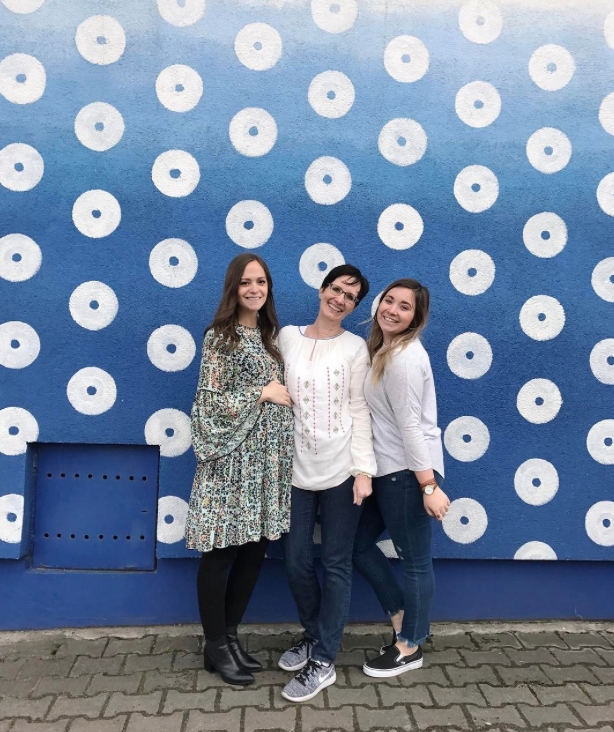
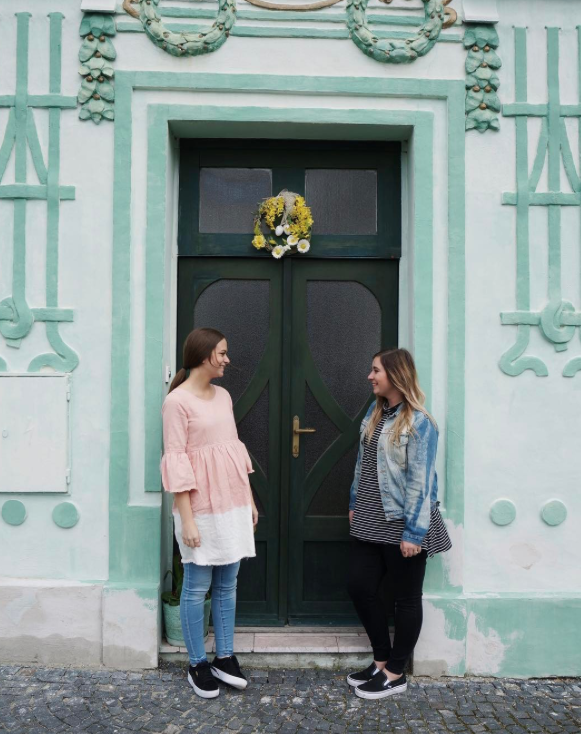
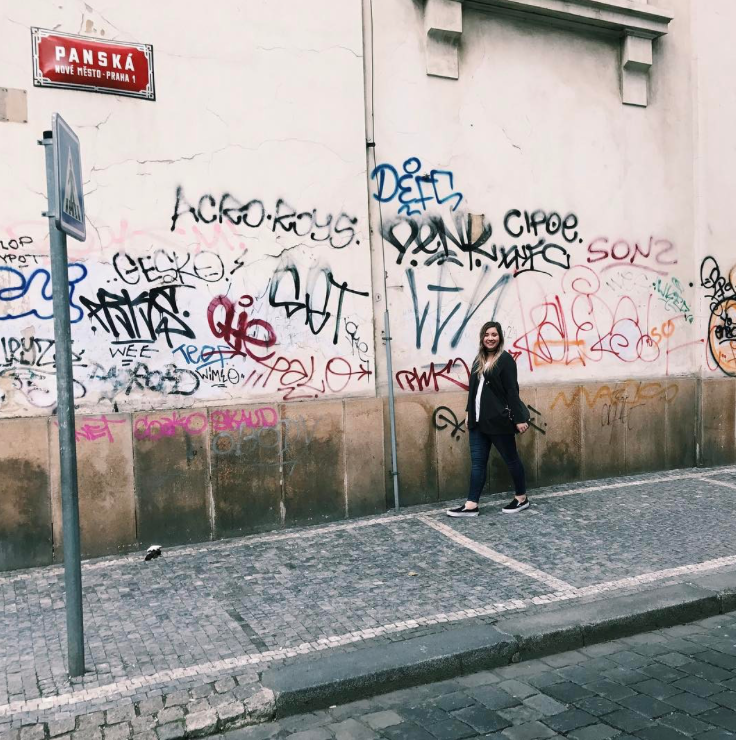
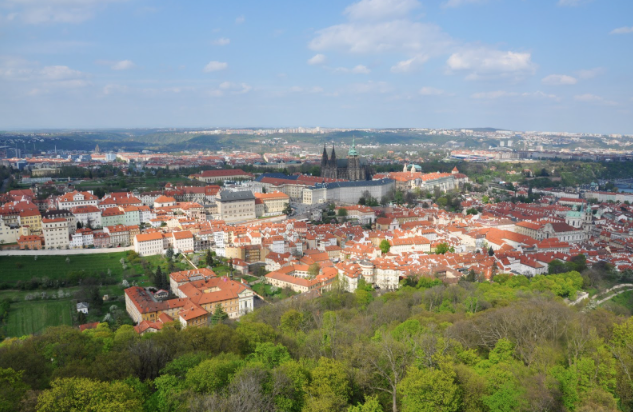
Another year, and another girls trip! This year we decided to take it to the Czech Republic. I have already been to the Czech Republic, but since it has been a while, it was so nice to refresh my memory and see the country again. This trip was too fun. We spent most of our week in Prague, but also took a little detour to Boleslawiec, Poland to do a little pottery shopping. Here is an overview of our trip! 

Tips for Traveling to Prague: 

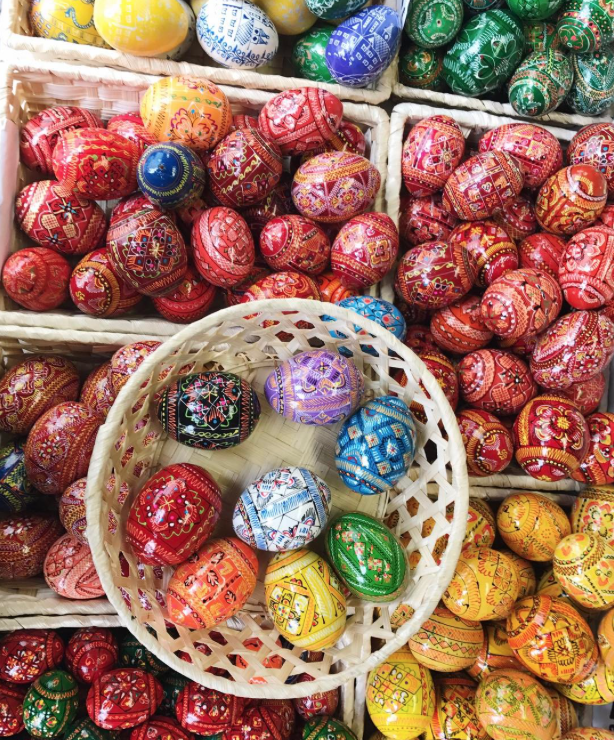
1. GO DURING EASTER. Easter is the biggest holiday in Europe. Europeans decorate the outsides of their houses by filling the trees with hanging eggs. All major cities have multiple huge Easter Markets to celebrate that are filled with delicious food, finely decorated eggs, and adorable petting zoos. 

2. Plan ahead. There are so many hidden gems in Prague that would definitely have gone unnoticed if it weren't for planning. We planned the sights we wanted to see out before we arrived so that we wouldnt miss anything. Be sure not to overplan and leave some time to wander! 

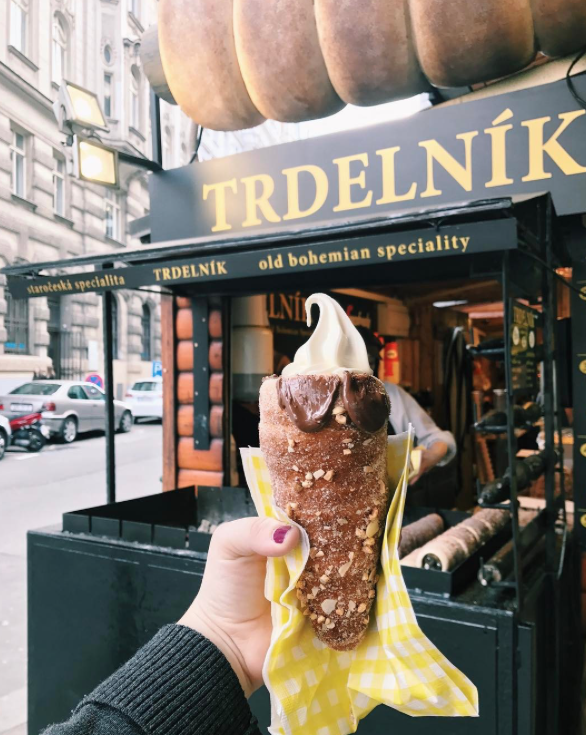
3. TRENDELNIK. Seems crazy, but eat as much Trendelnik (Pargue's most famous pastry) as you can! You will regret not having multiple when you get back to the USA. Plus, calories don't count when you are in Europe.... right? 

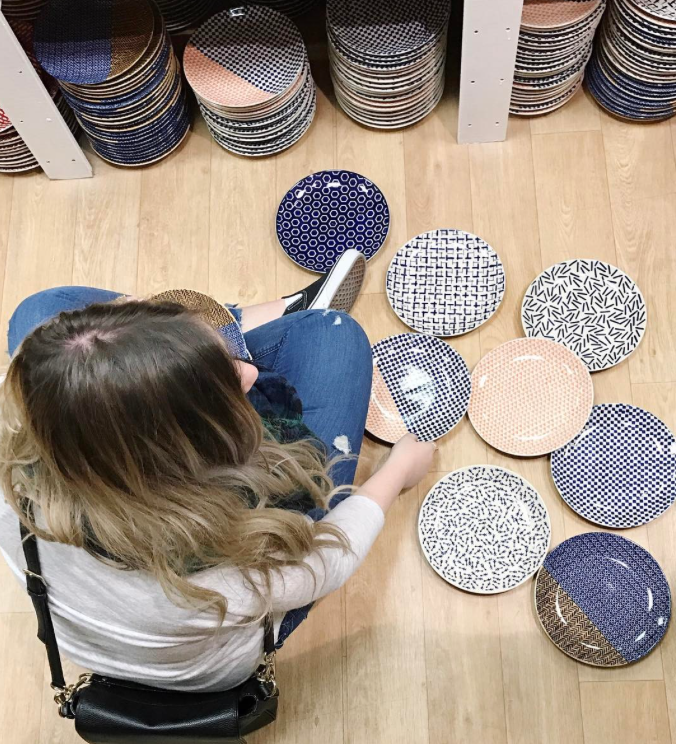
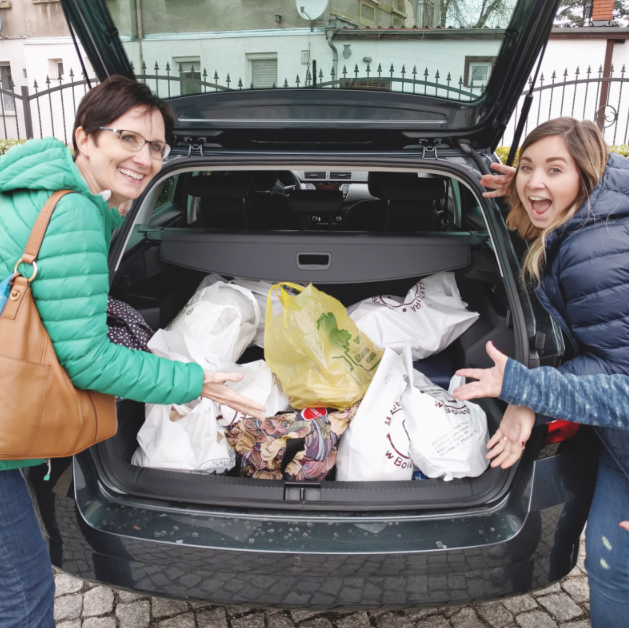
4. Take a day trip, and stay overnight in Poland! We rented a car and drove to Boleslawiec, Poland. Boleslawiec is a town thats primary purpose is Polish Pottery. Perfect for us girls! I grew up eating off of Polish Pottery, so now that I have a home of my own, this trip was a dream come true. Not interested in shopping for pottery? Plan on going somewhere else, there is not much to see but plate in Boleslawiec. Also.... pack an extra suitcase... or try and carry on your pottery. Otherwise you will come home to beautiful broken pottery :( Luckily all my piece survived! 

4. Bring extra spending money! There are so many amazing things you can spend your money on when it comes to Prague (& Bolseslawiec, obviously..) but I would say that my favorite purchase while I was in the Czech Republic was jewelry. *See #5 for details.

5. Garnets!!!! Prague is known for their red garnets as the gem of their country! They are sooo much cheaper in the Czech Repub. then in the US. Also, Prague is a city of history.... check out antique stores to see beautiful pieces from history. I got a diamond ring from 1900's and a collection of vintage stamps as a keepsake of my journey. 


Itinerary for the Czech Republic and Poland: 

Day 1: Old Town Prague 

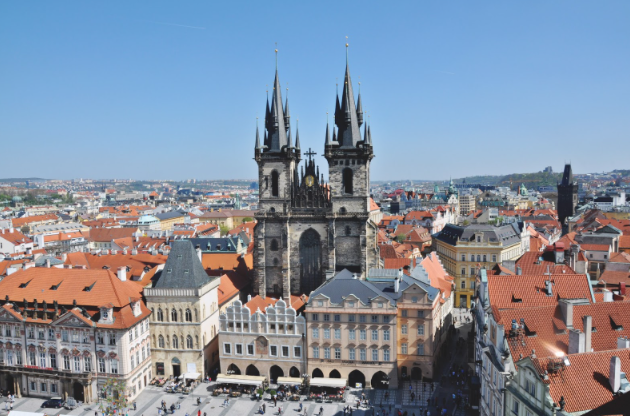
Astronomical Clock (take the hike or elevator to the top!), Take a sip of some lemonade on the rooftop resturant of the Du Prince Hotel overlooking Old Town Square, City tour by Old Classic Car, Stop and Sing at the Lennon Wall. 

Day 2: Boleslawiec, Poland

Overnight stay in Poland, Rented a car (with lots of trunk space haha) and drove using our TomTom to Boleslawiec. My mom and I were navigators.... which proved to be VERY challenging since the main route was under construction. But we got there! Shopping was incredible. My favorite store was Manufaktura. Stay the night in Boleslawiec.


Day 3: Boleslawiec and Kutna Hora

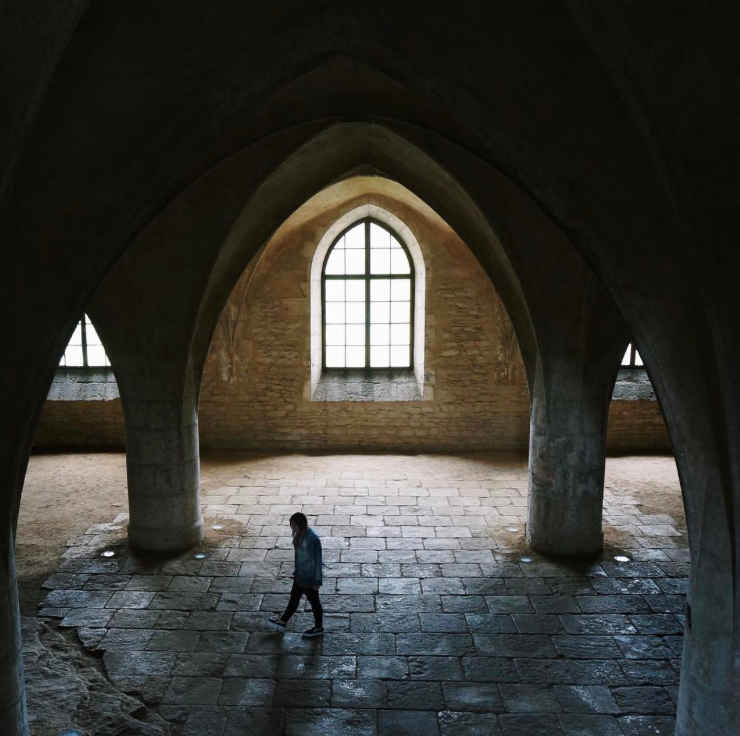
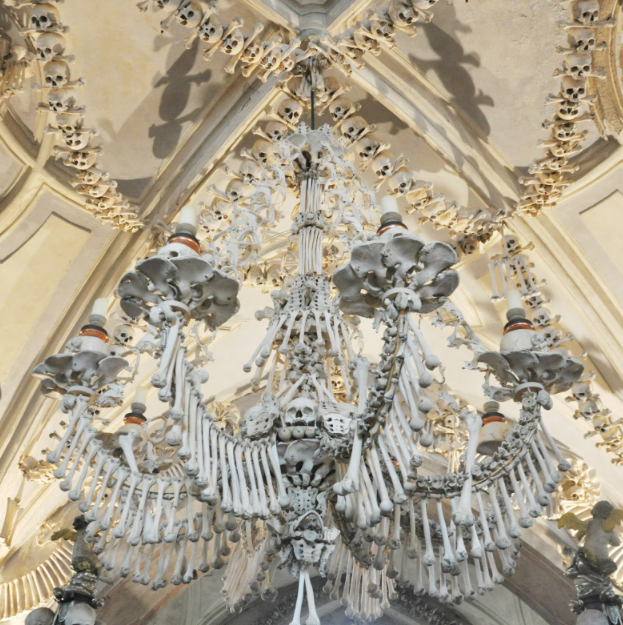
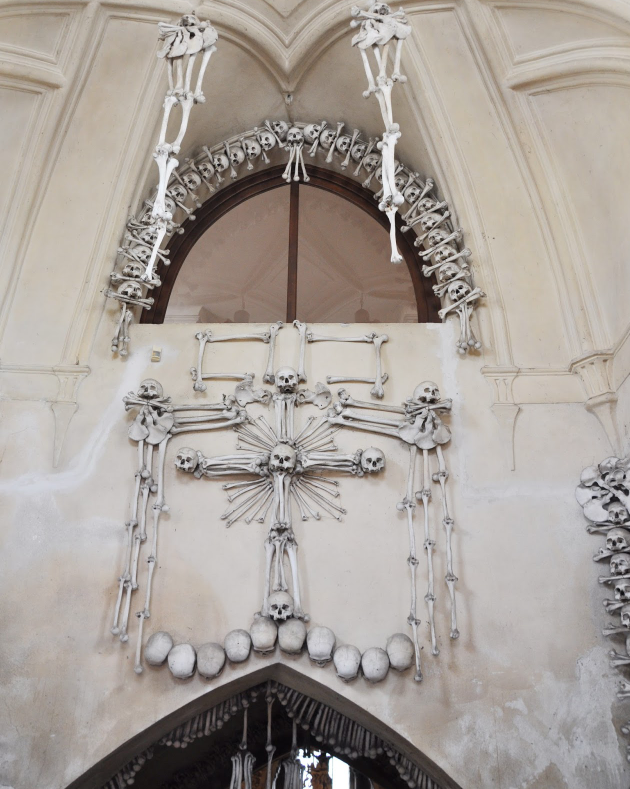
We woke up with no buyers remorse from all the money we spent, so hit a few shops on the way out to Kutna Hora. In Kutna Hora go to the St. Barbara's Cathedral, Sedlec Ossuary (AKA Bone Church), Along the way- stop to get a beautiful photo of the tulip trees that are blossoming! 


Day 4: Prague 

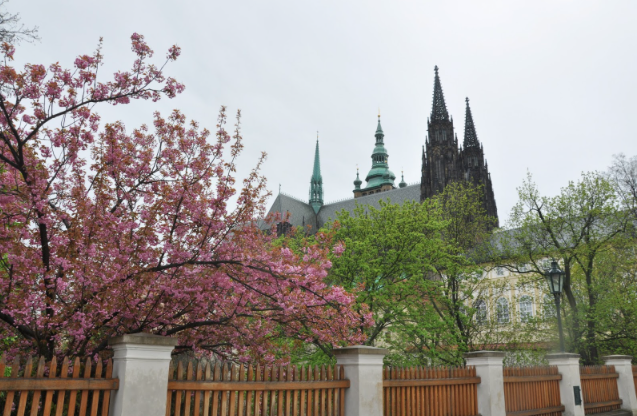
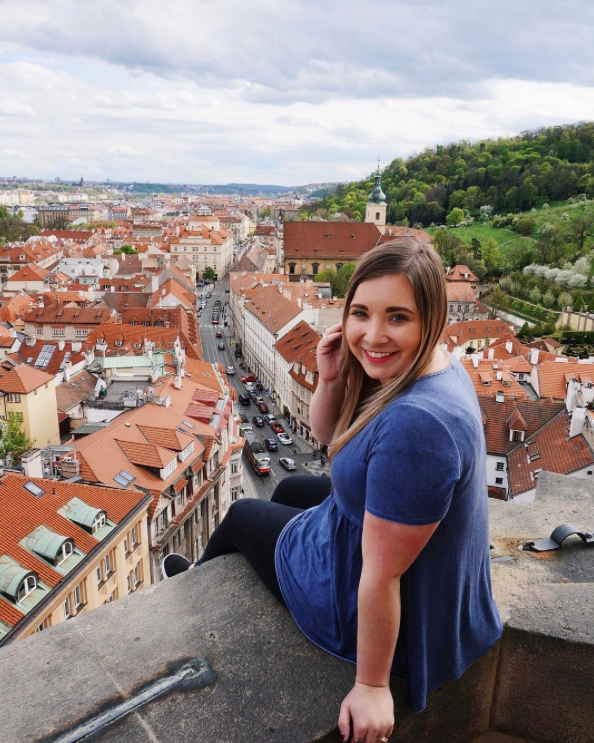
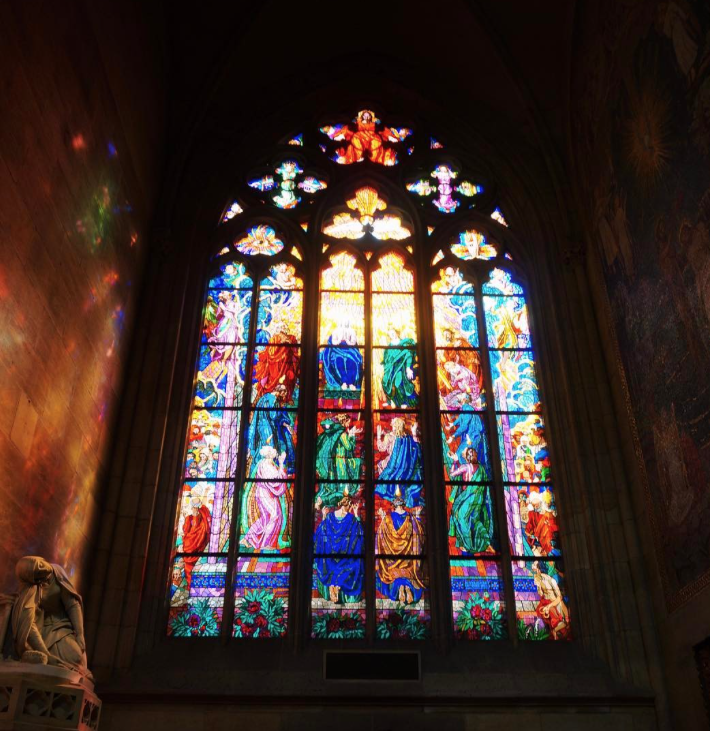
Explore the Castle Quarters, get in line for the St. Vitus Cathedral right away! St. Nicholas Church, climb to the top of the bell tower for an insanely gorgeous view. Peep over the edge for the ultimate thrill! (I think this is personally the best view of Prague!) 

Day 5: Prague

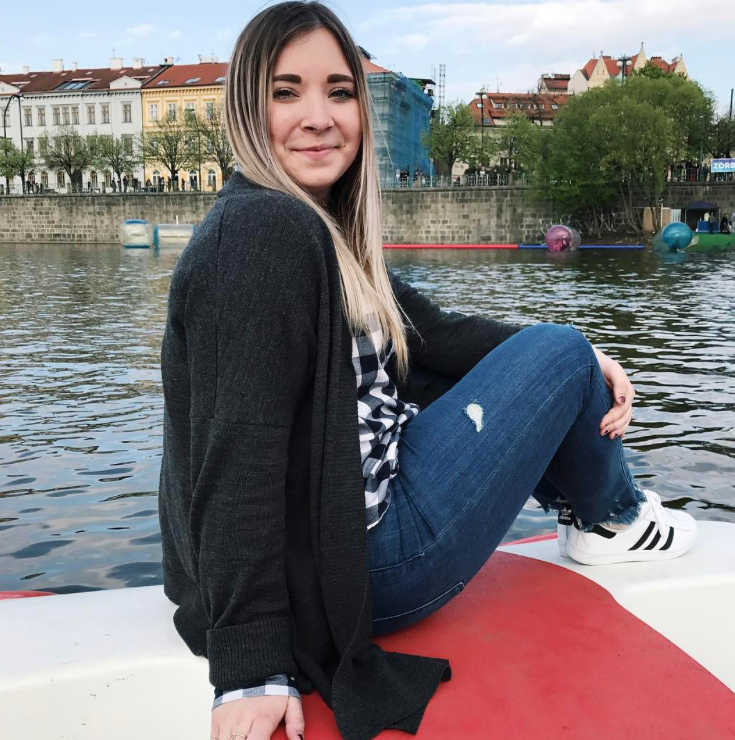
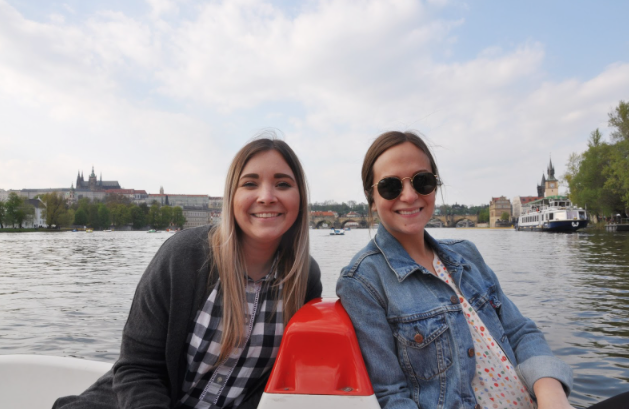
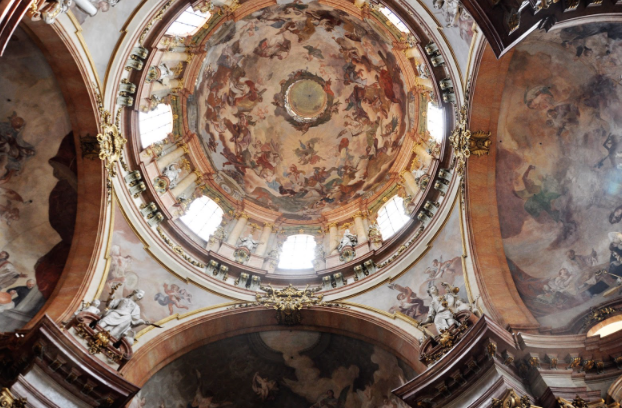
Go inside the St. Nicholas Cathedral, and  stop by the antique shop near by! Head to the Petrin Tower, and take the cable car up! Climb to the top of Petrin Tower for an amazing view. Walk along Charles Bridge back to the hotel, and stop to ride a 4 person paddle boat along the river. 

Los Barilles and Cabo San Lucas, Mexico

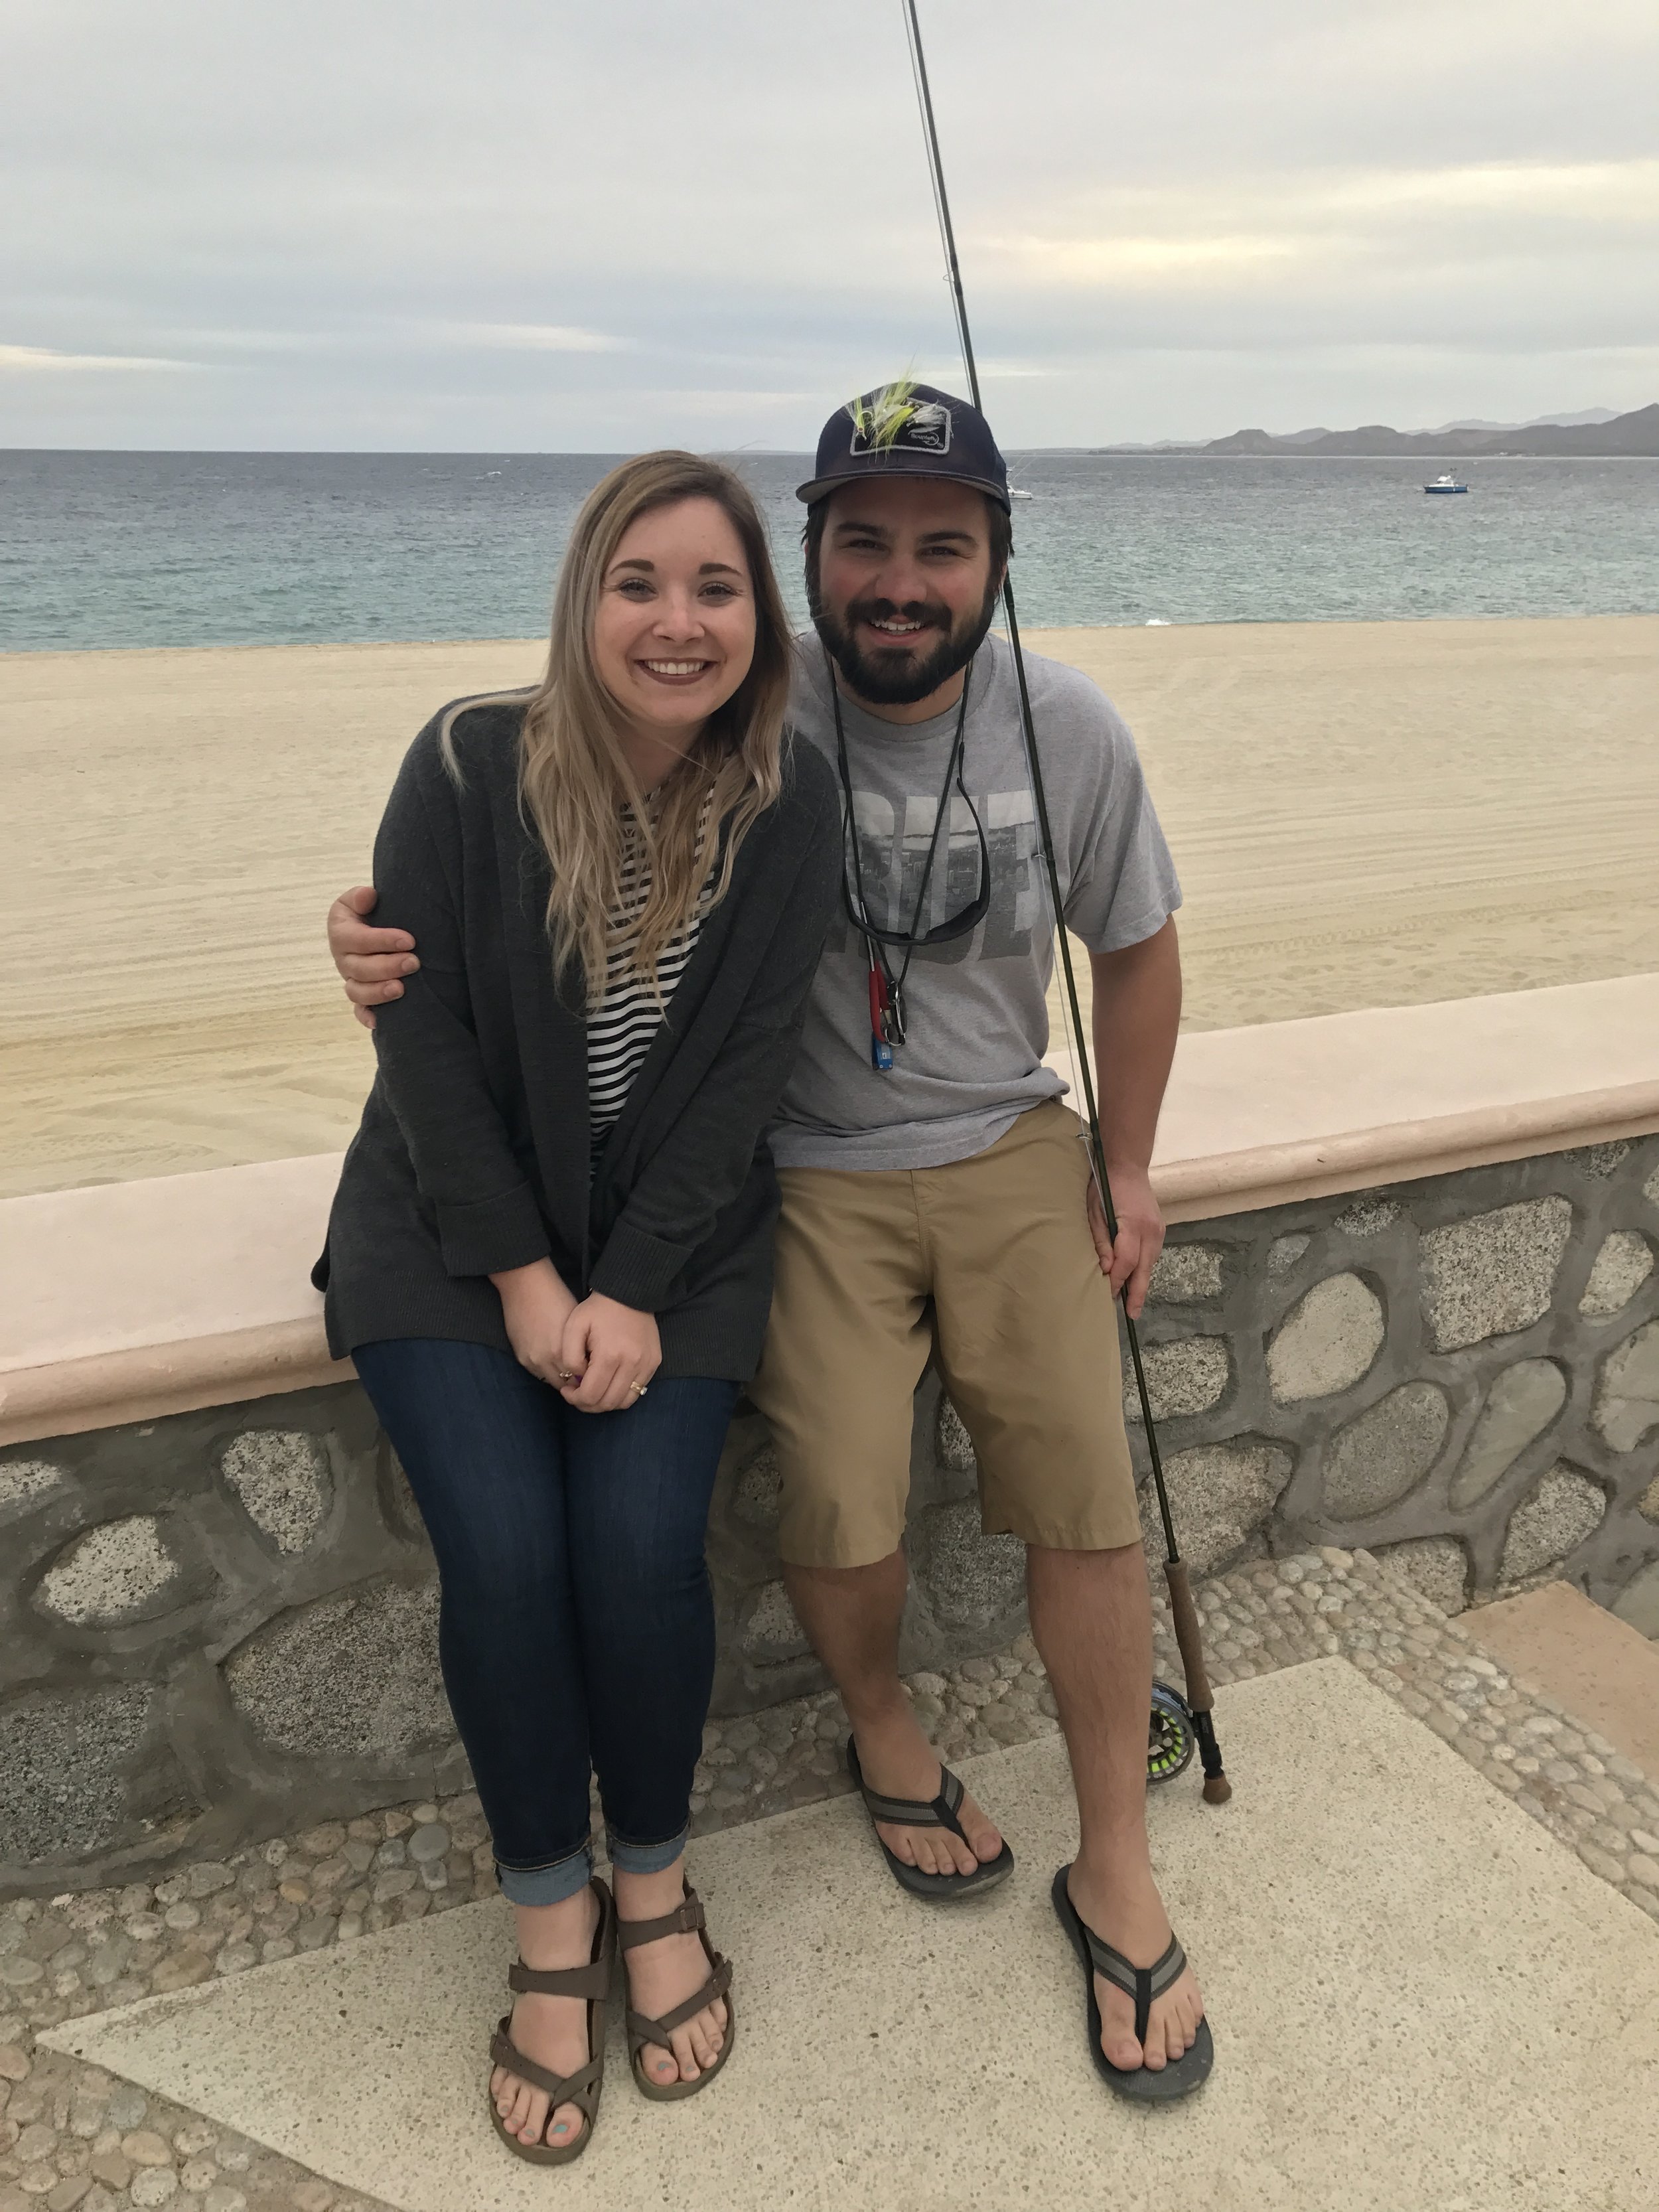
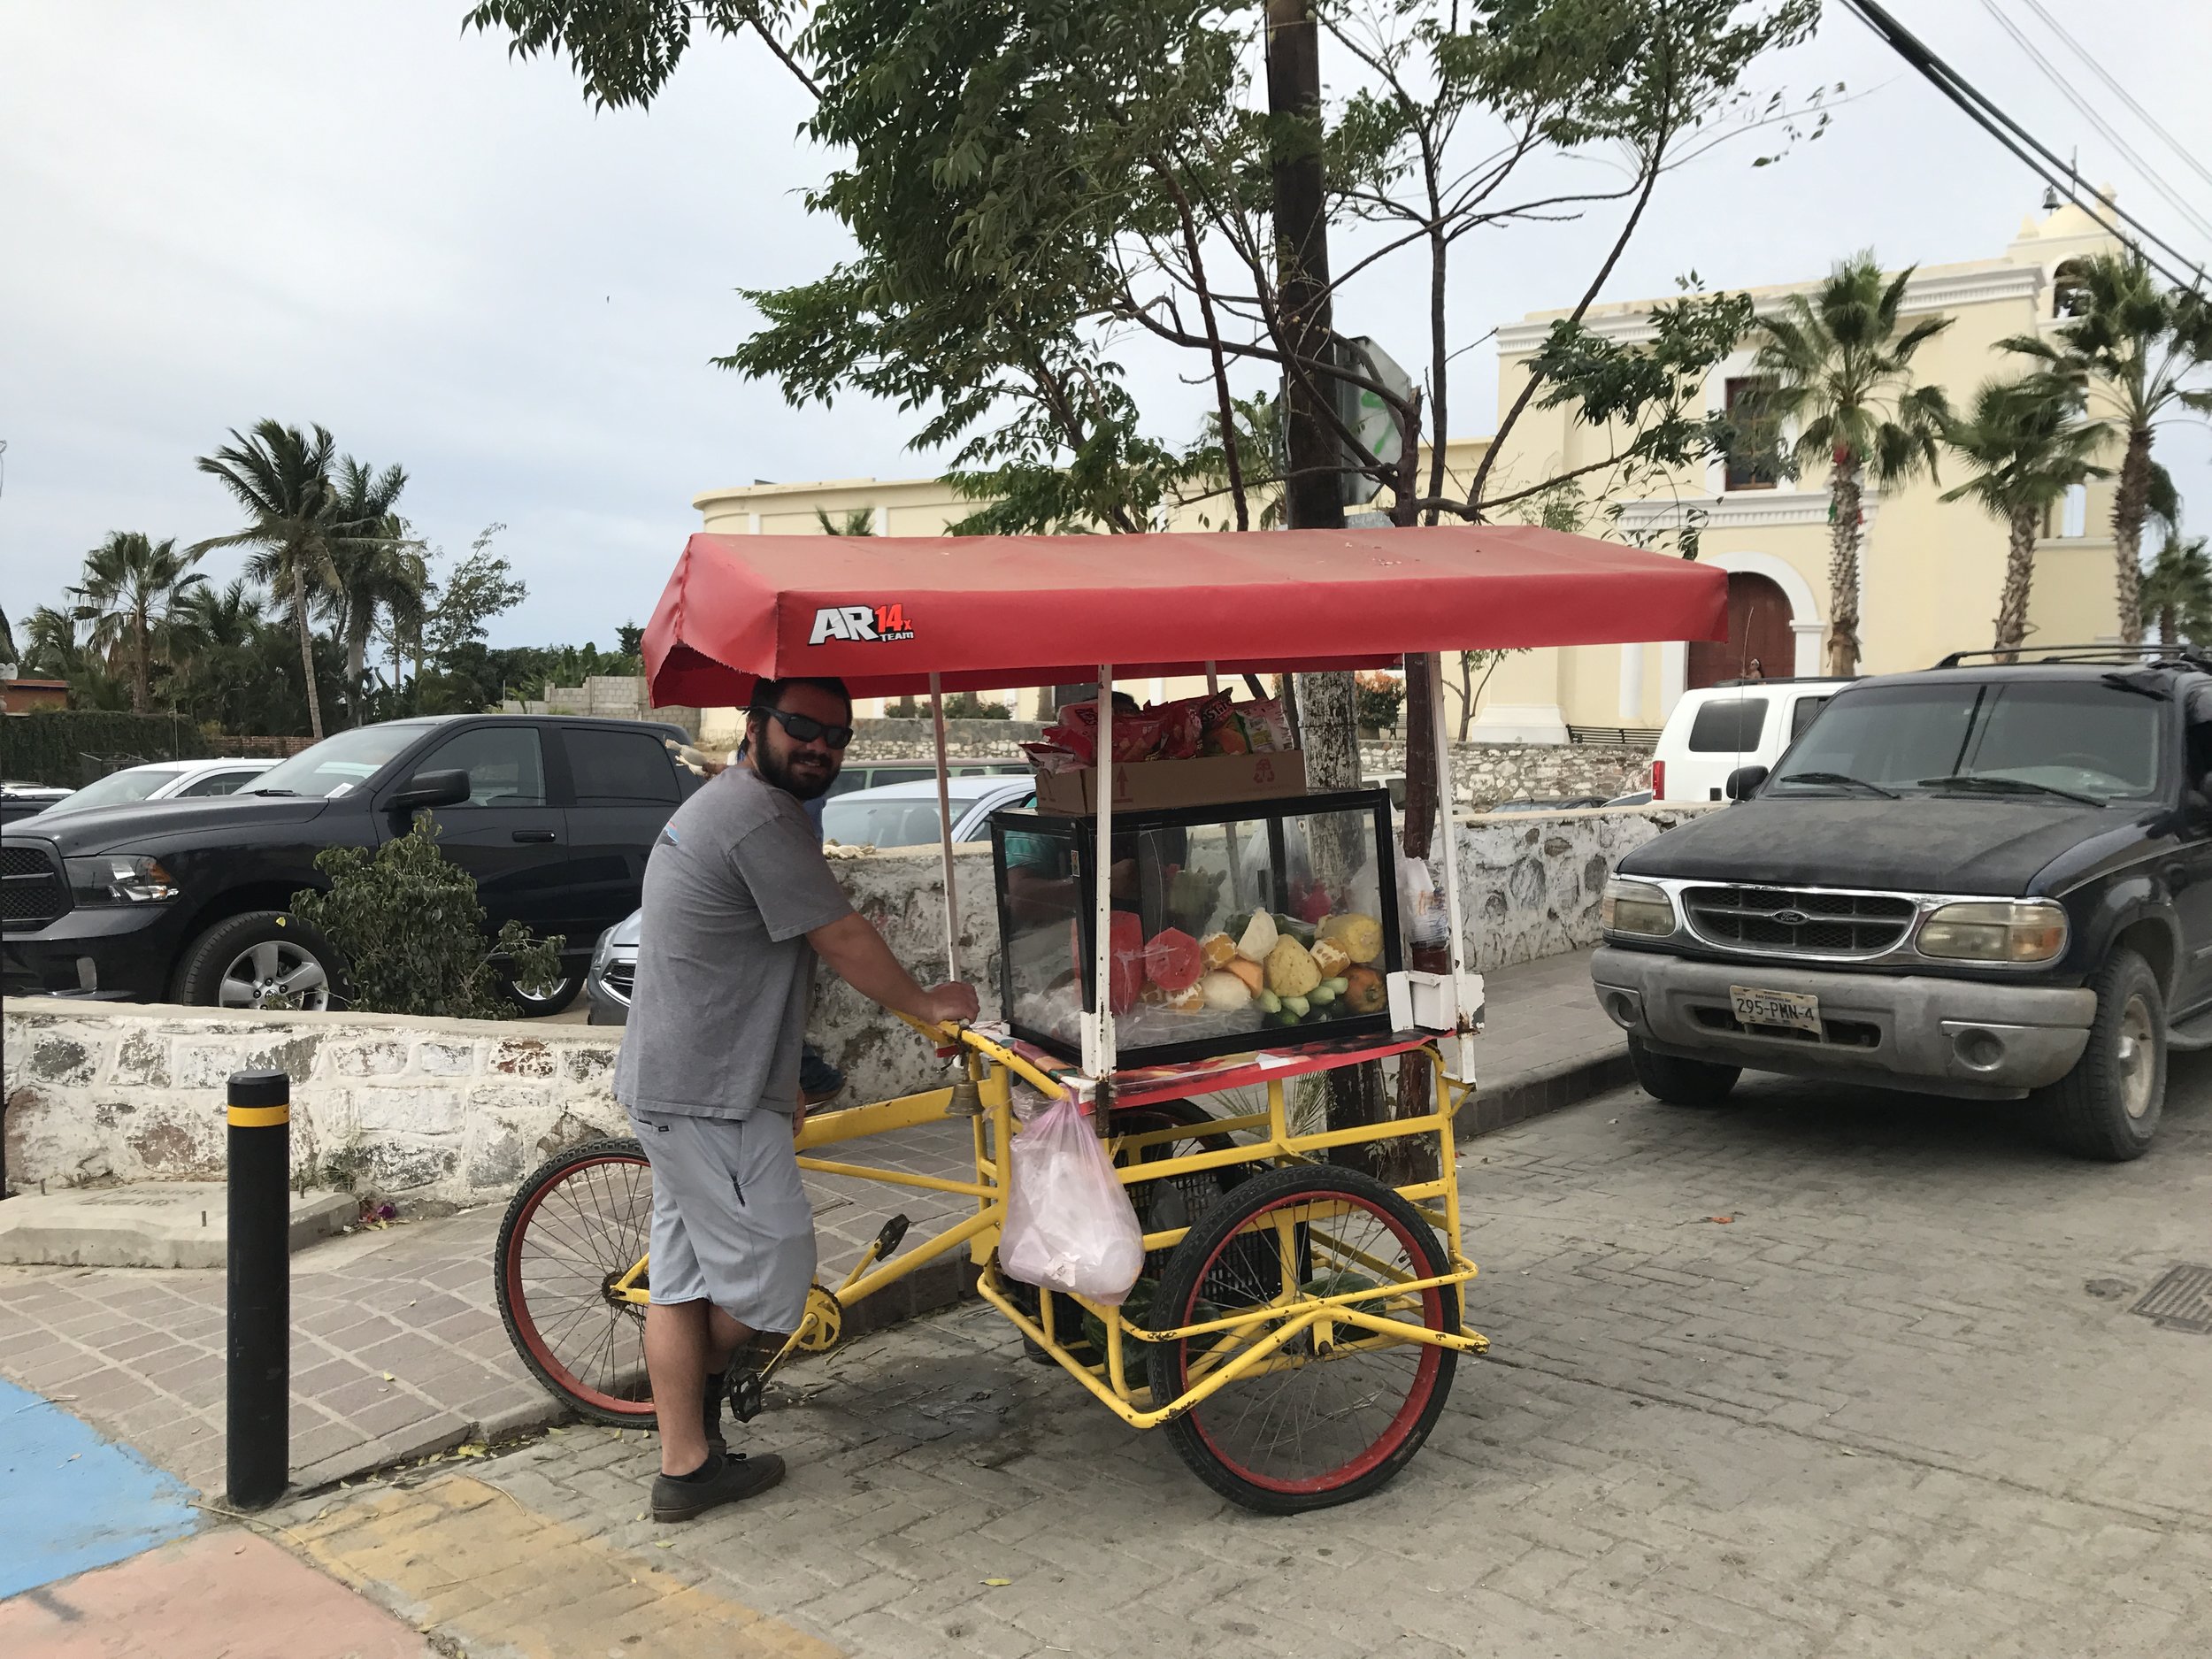
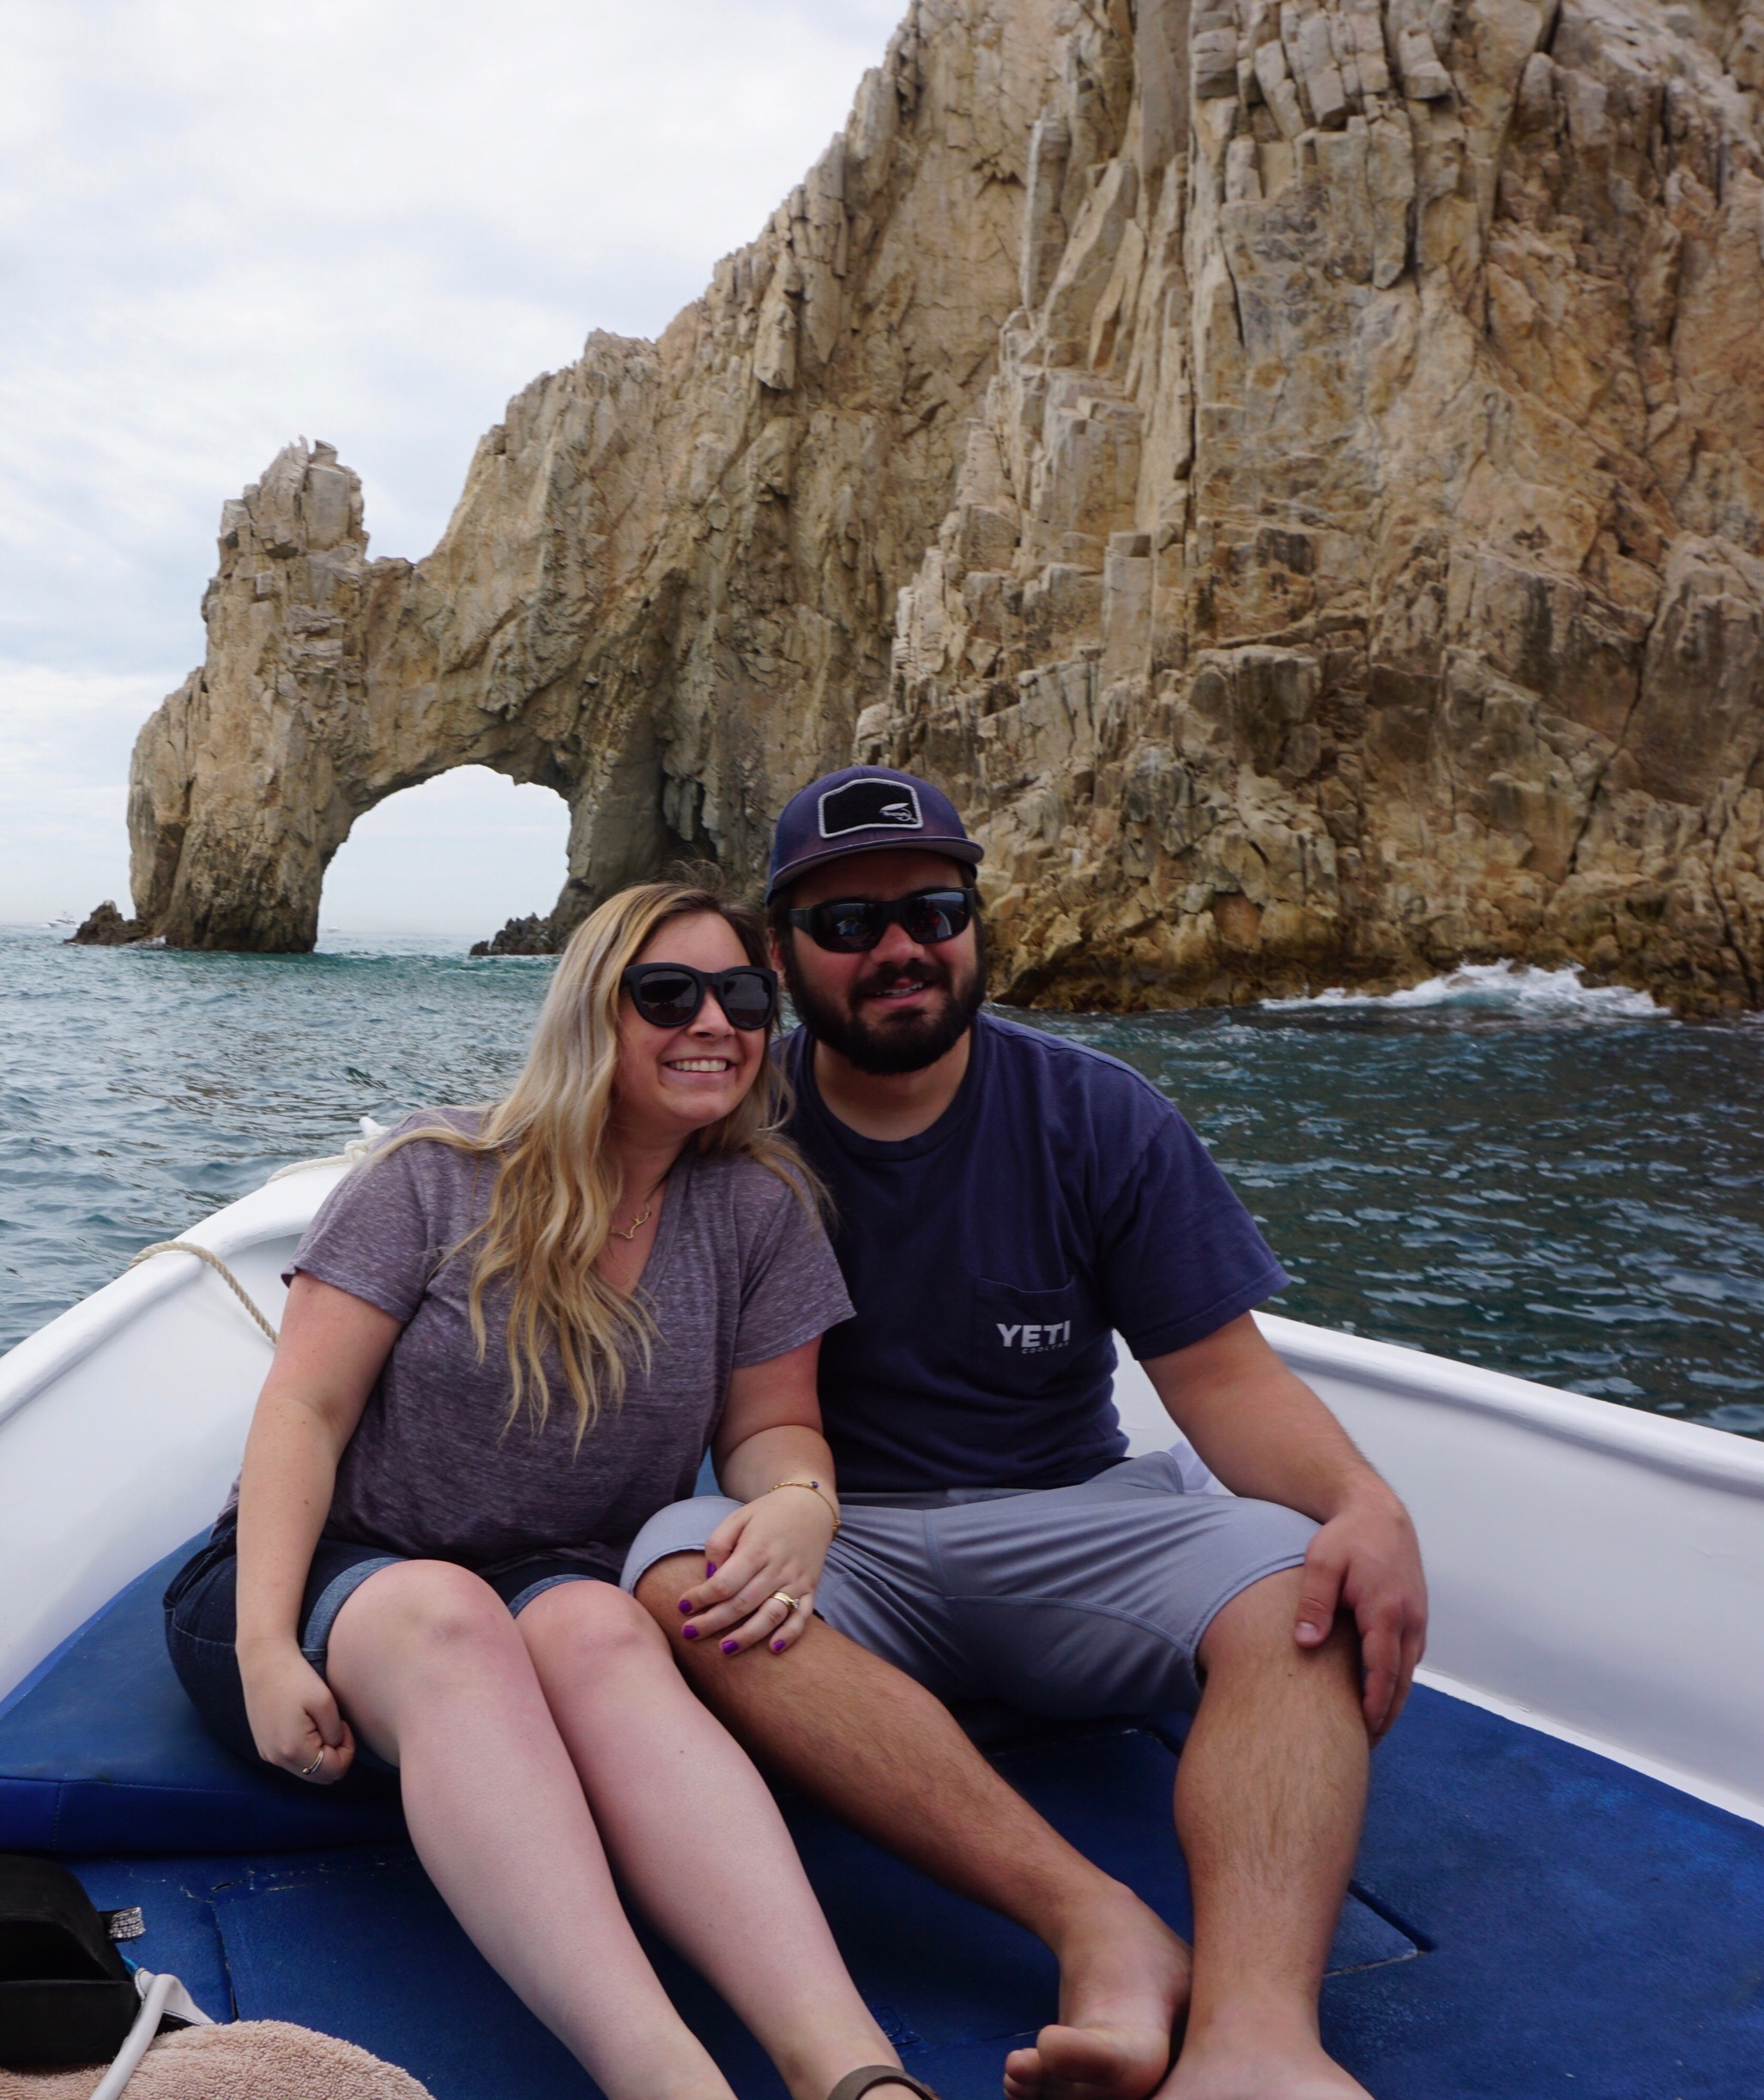
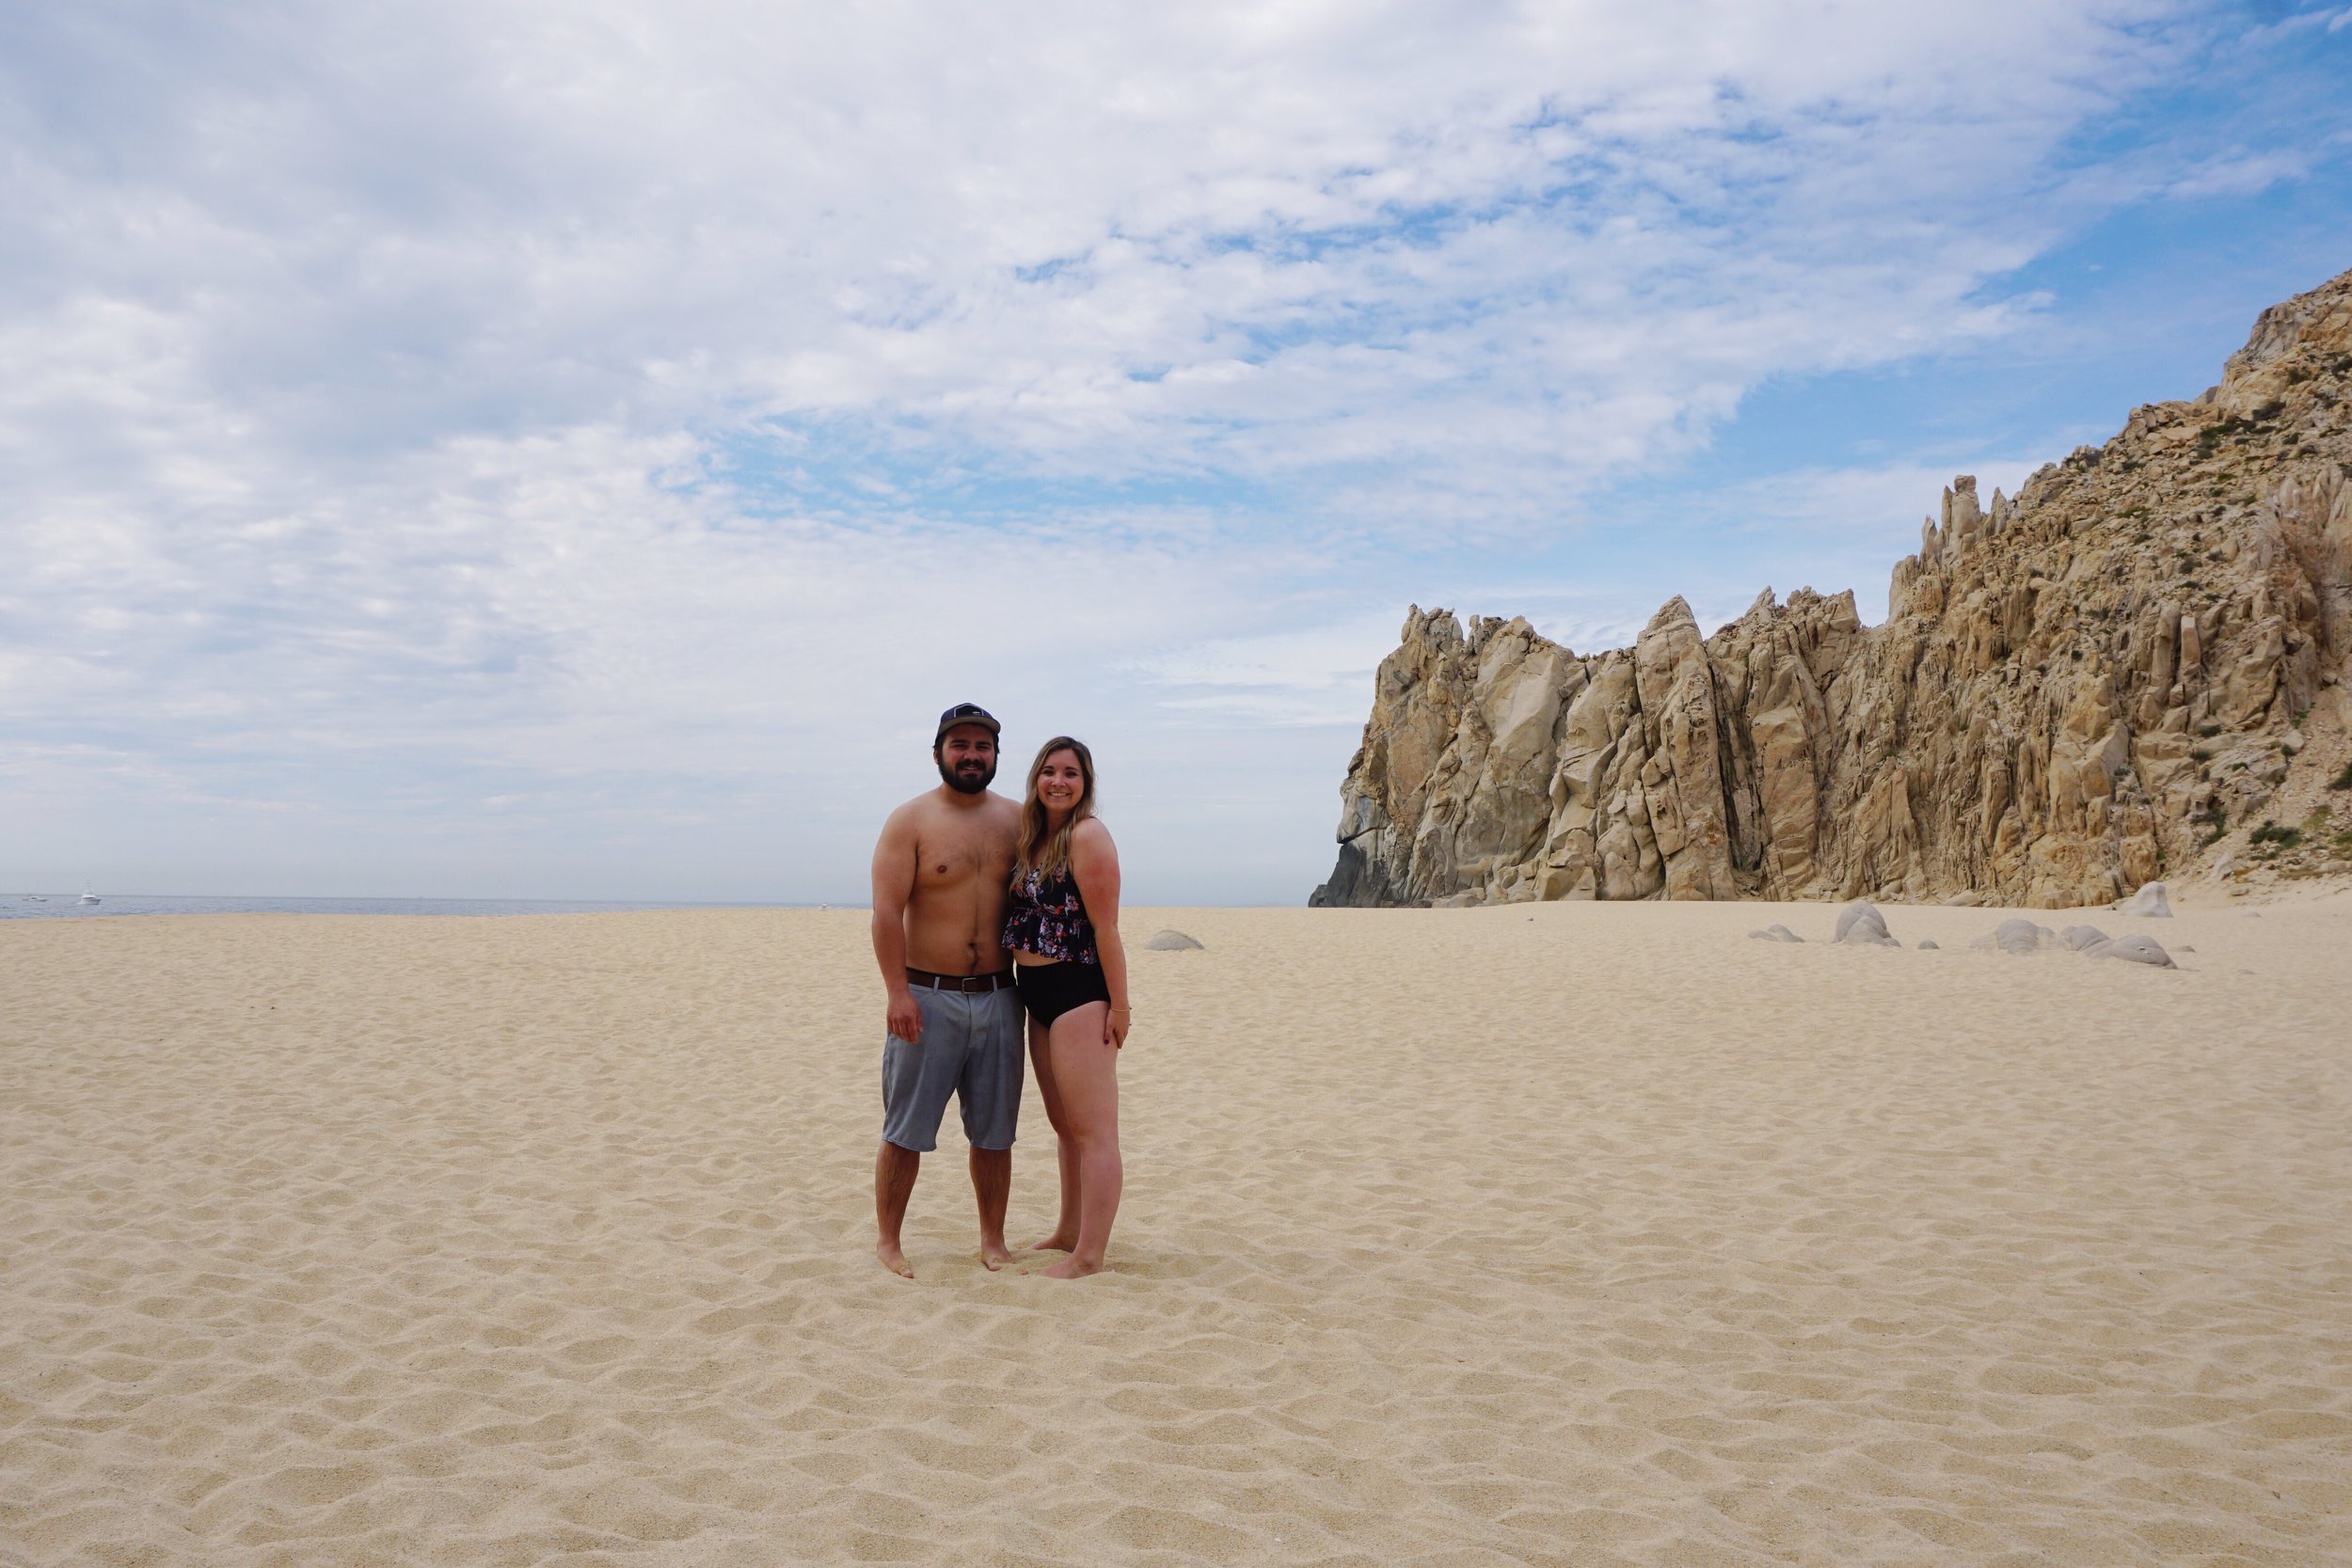
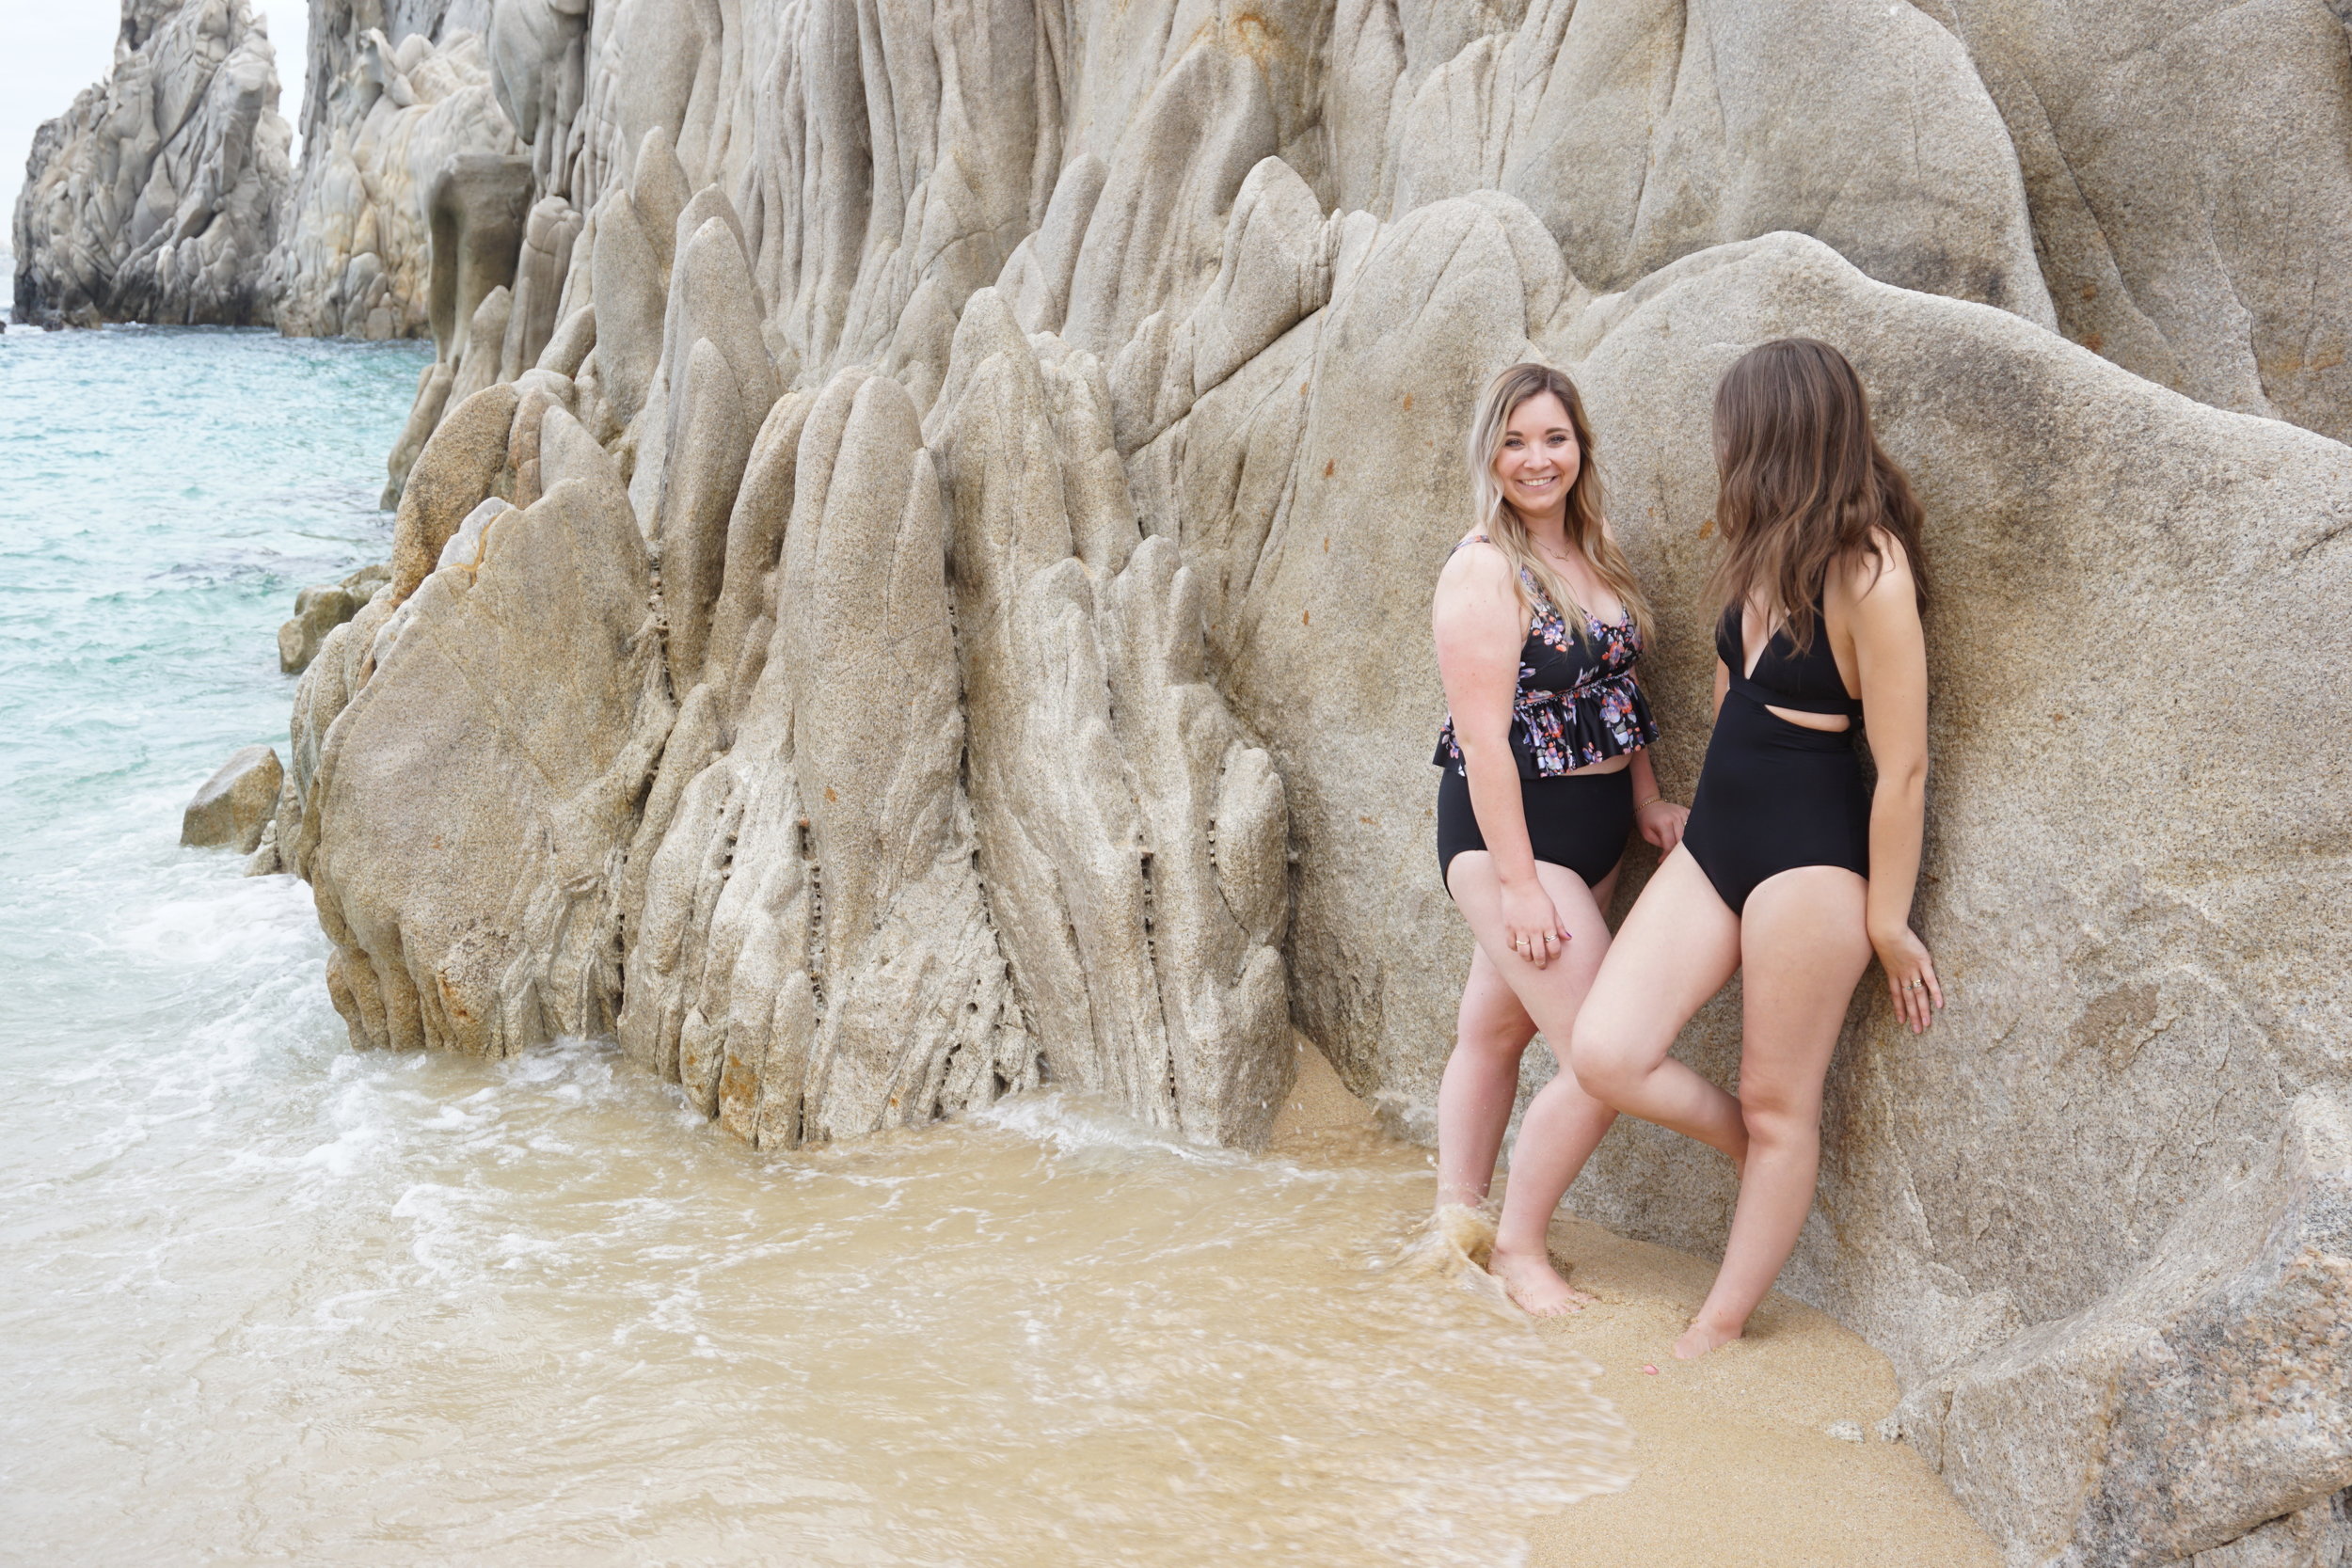
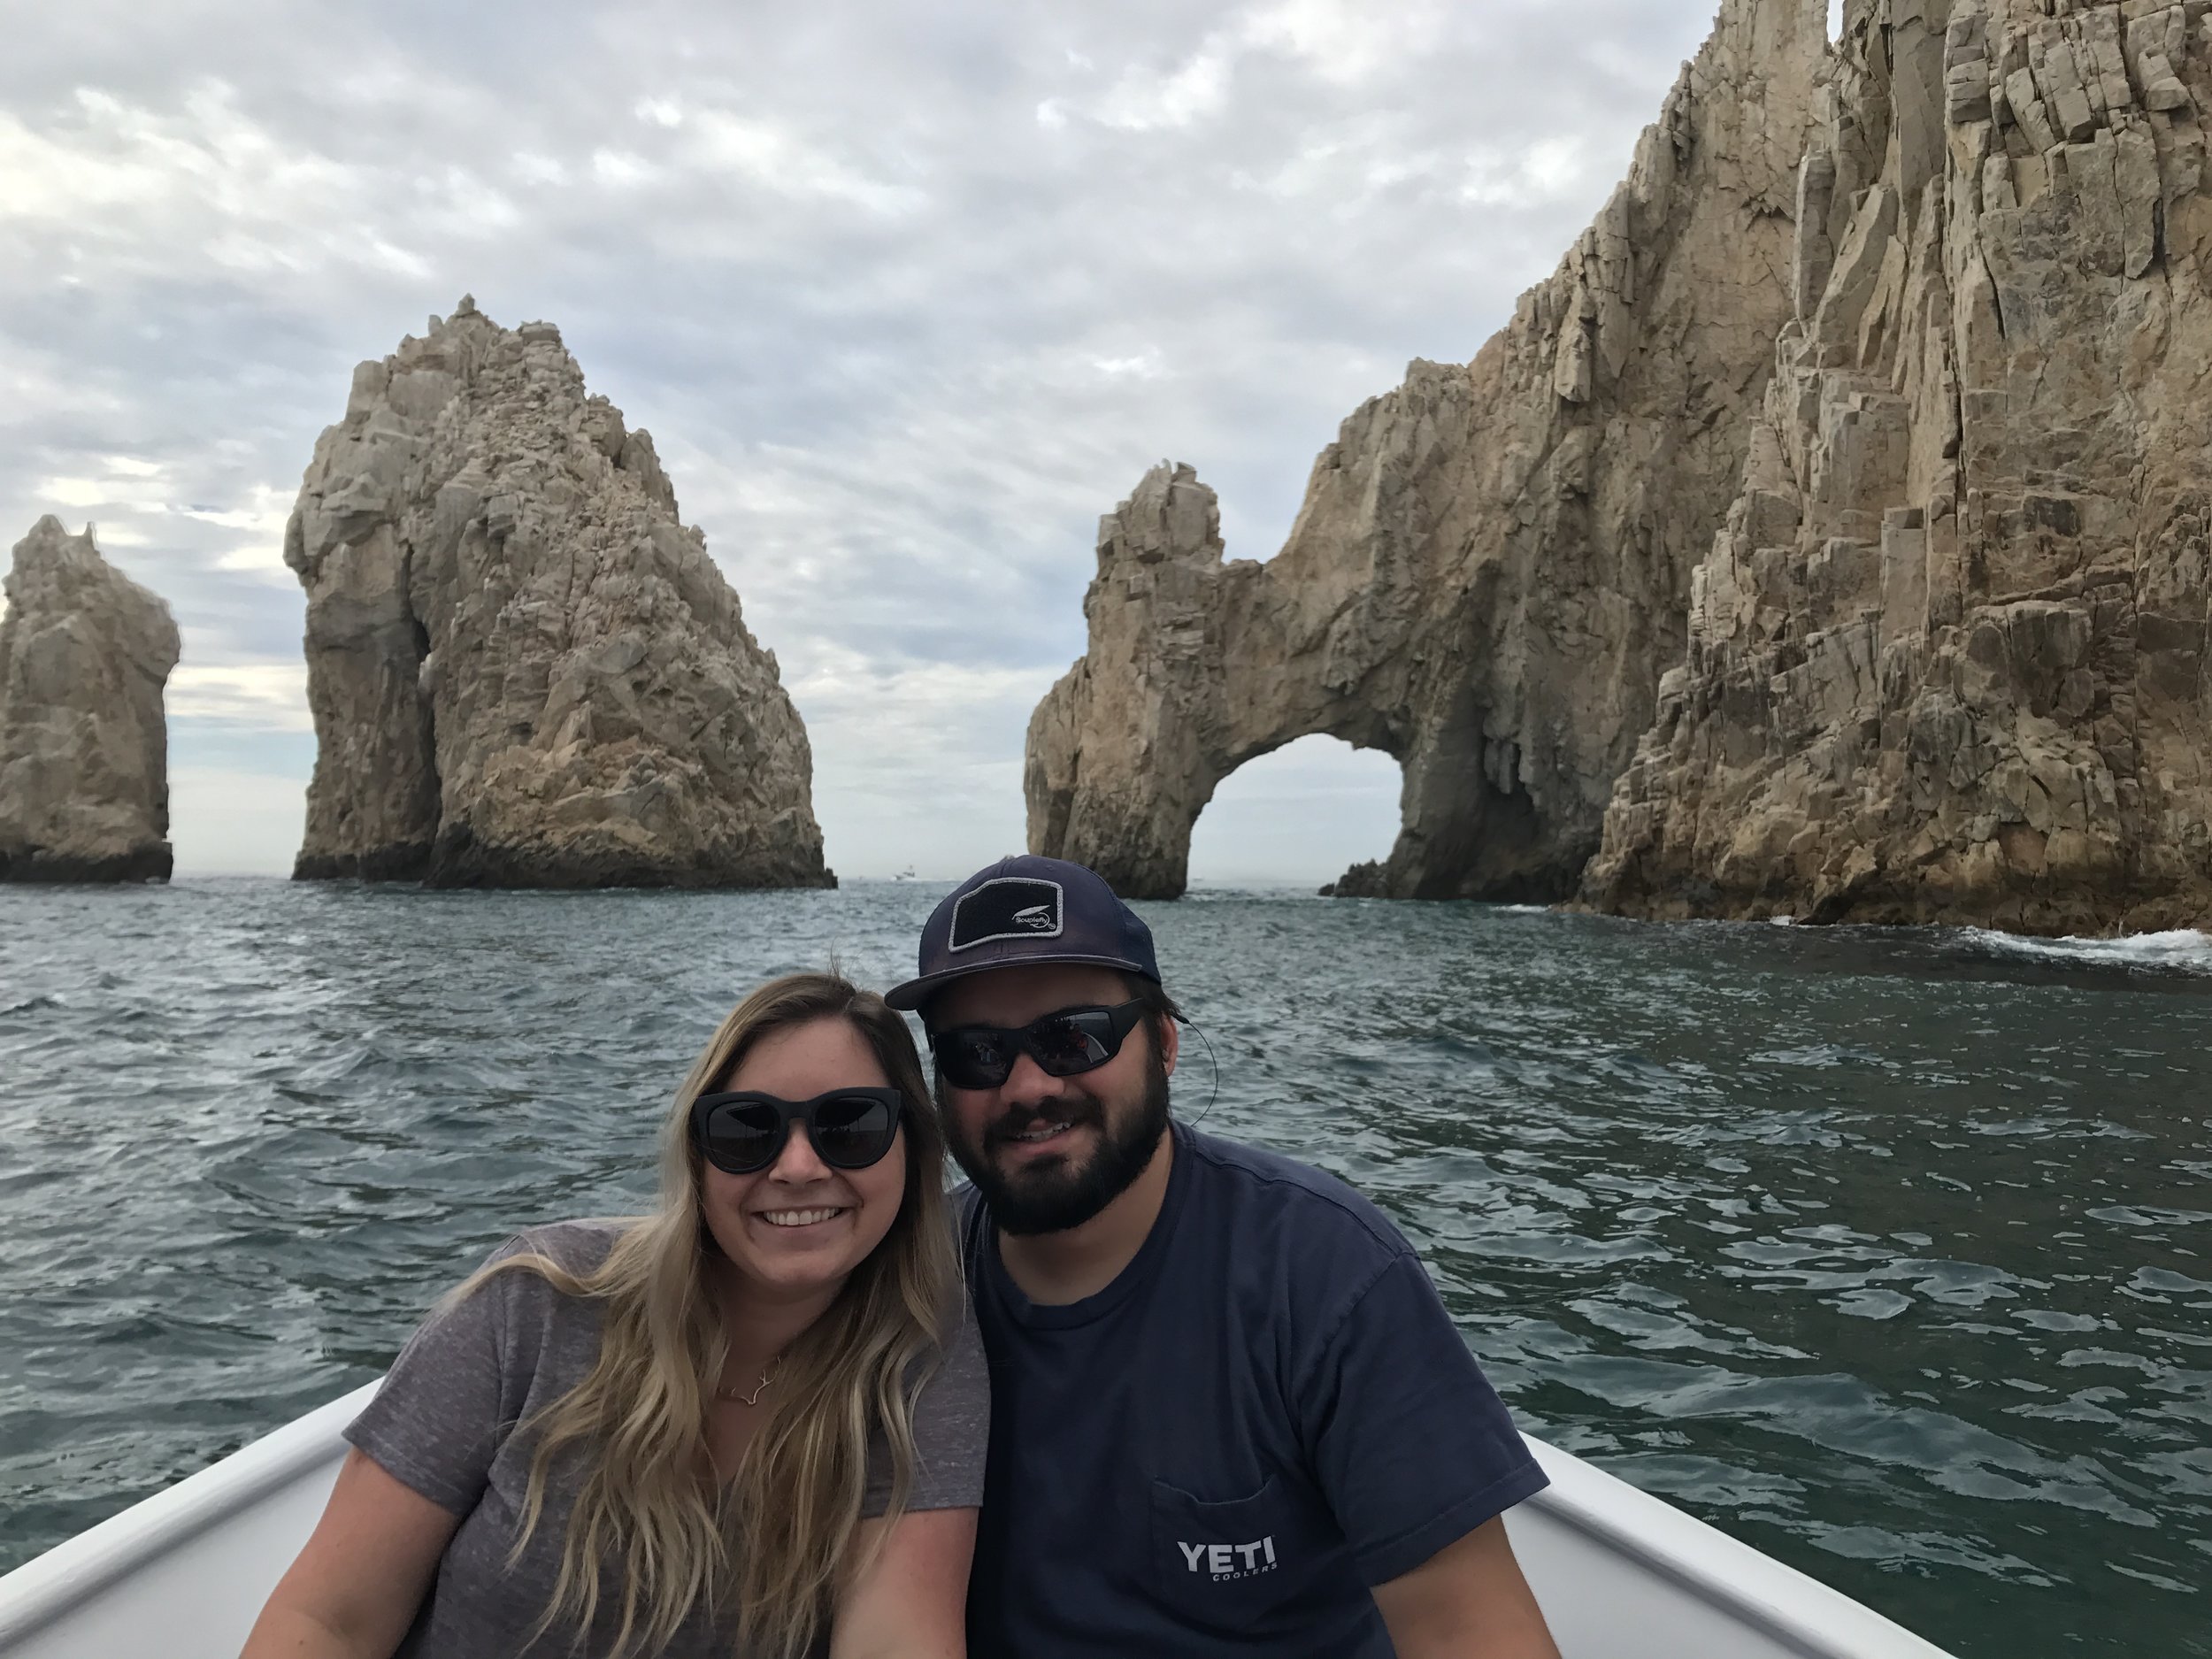
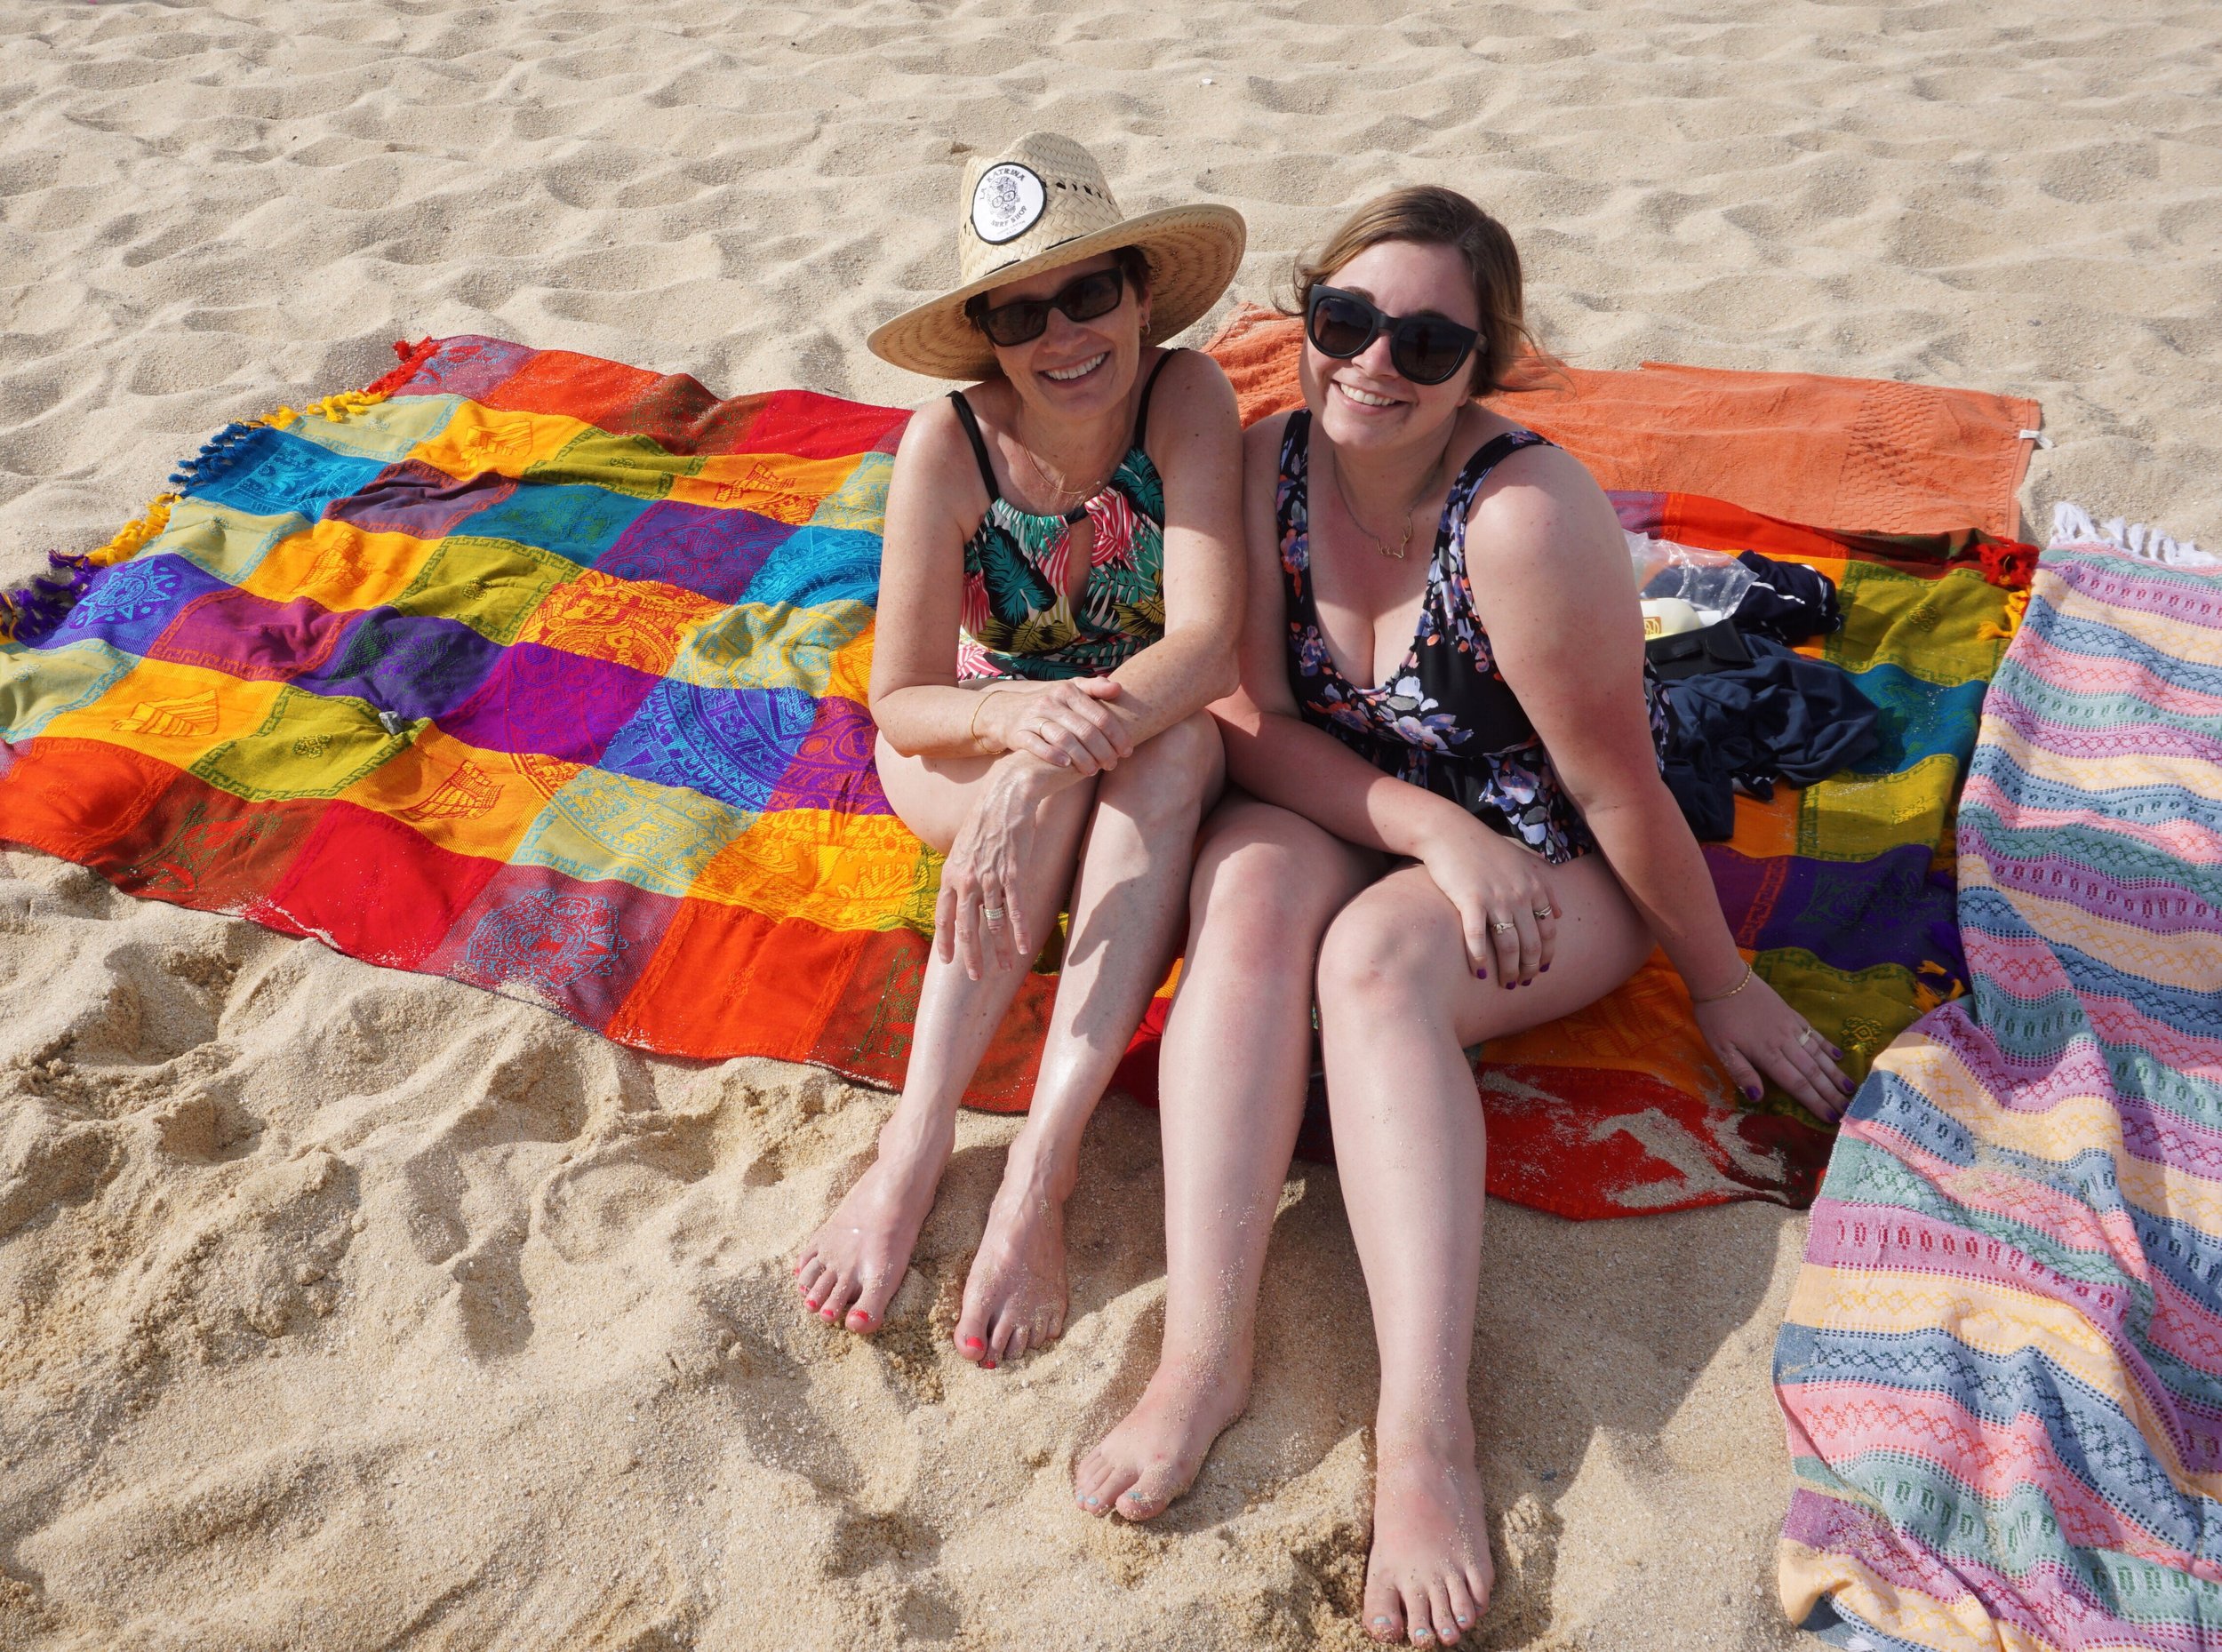
For Christmas, we decided to leave the presents at home, and take a trip to Mexico for some warmer weather. It was the perfect time of year, and my pasty skin needed a tan! We spent a few days in Los Barilles, Mexico- which is mainly a fishing town. And then headed to Cabo San Lucas. 

Tips for Mexico: 

1. Don't spend too much time in Cabo! Cabo is a party scene. If that what you are looking for, go right ahead.... but if you want a fun and true Mexican vacation, head to a small town like Los Barilles. I personally wish we would have stayed in Los Barilles for our whole trip. 

2. Take a risk and go fishing! Our family loves to fish, and my husband lives for it! So, it was expected that we would fish our hearts out. & we did just that! Mexico has amazing fishing, and it doesnt cost a whole lot to charter a fishing boat!  Make sure to keep some of the Dorado and Tuna you catch for some fresh Ceviche at the hotel. All you need to do is give the cooks the fish, and they will make you the Catch of the Day. Nothing better than eating something you know was caught a few hours before! 

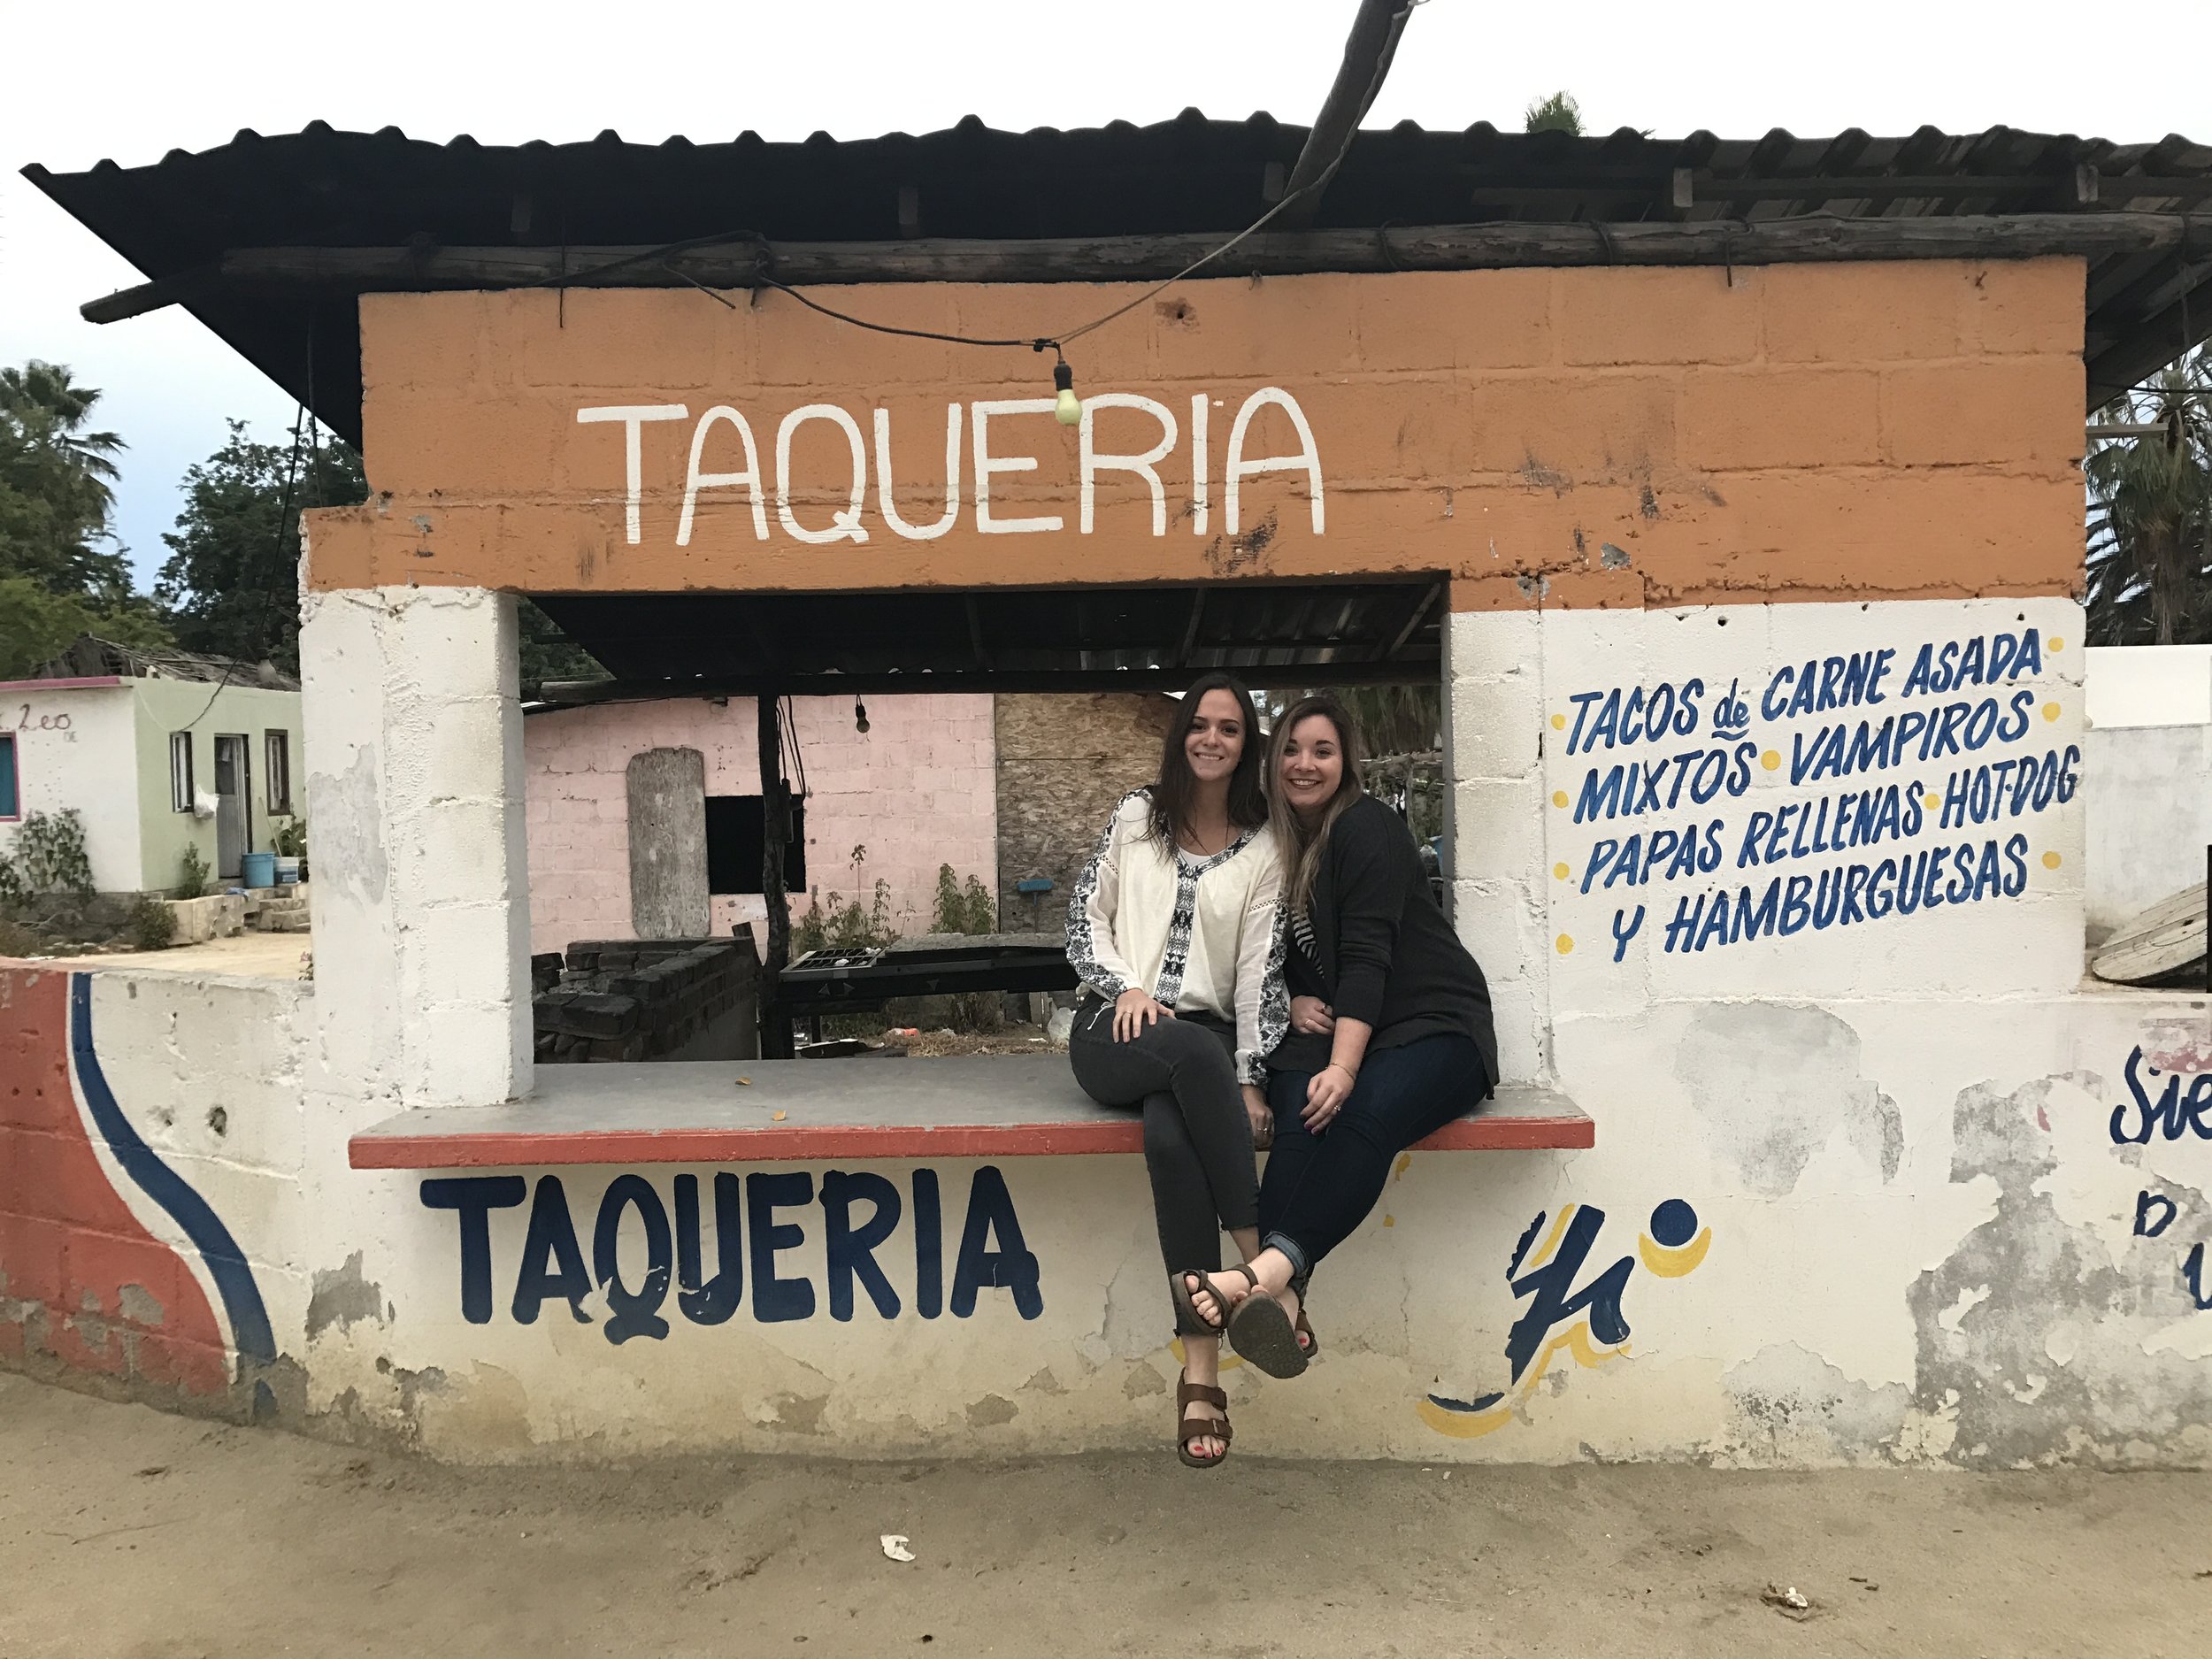
3. Eat wayyyy tooo many tacos! Don't be afraid to try restaurants, and experiment with new food! While you are out, stop at a grocery store and try some Mexican treats and a Mexico coke in a bottle! 

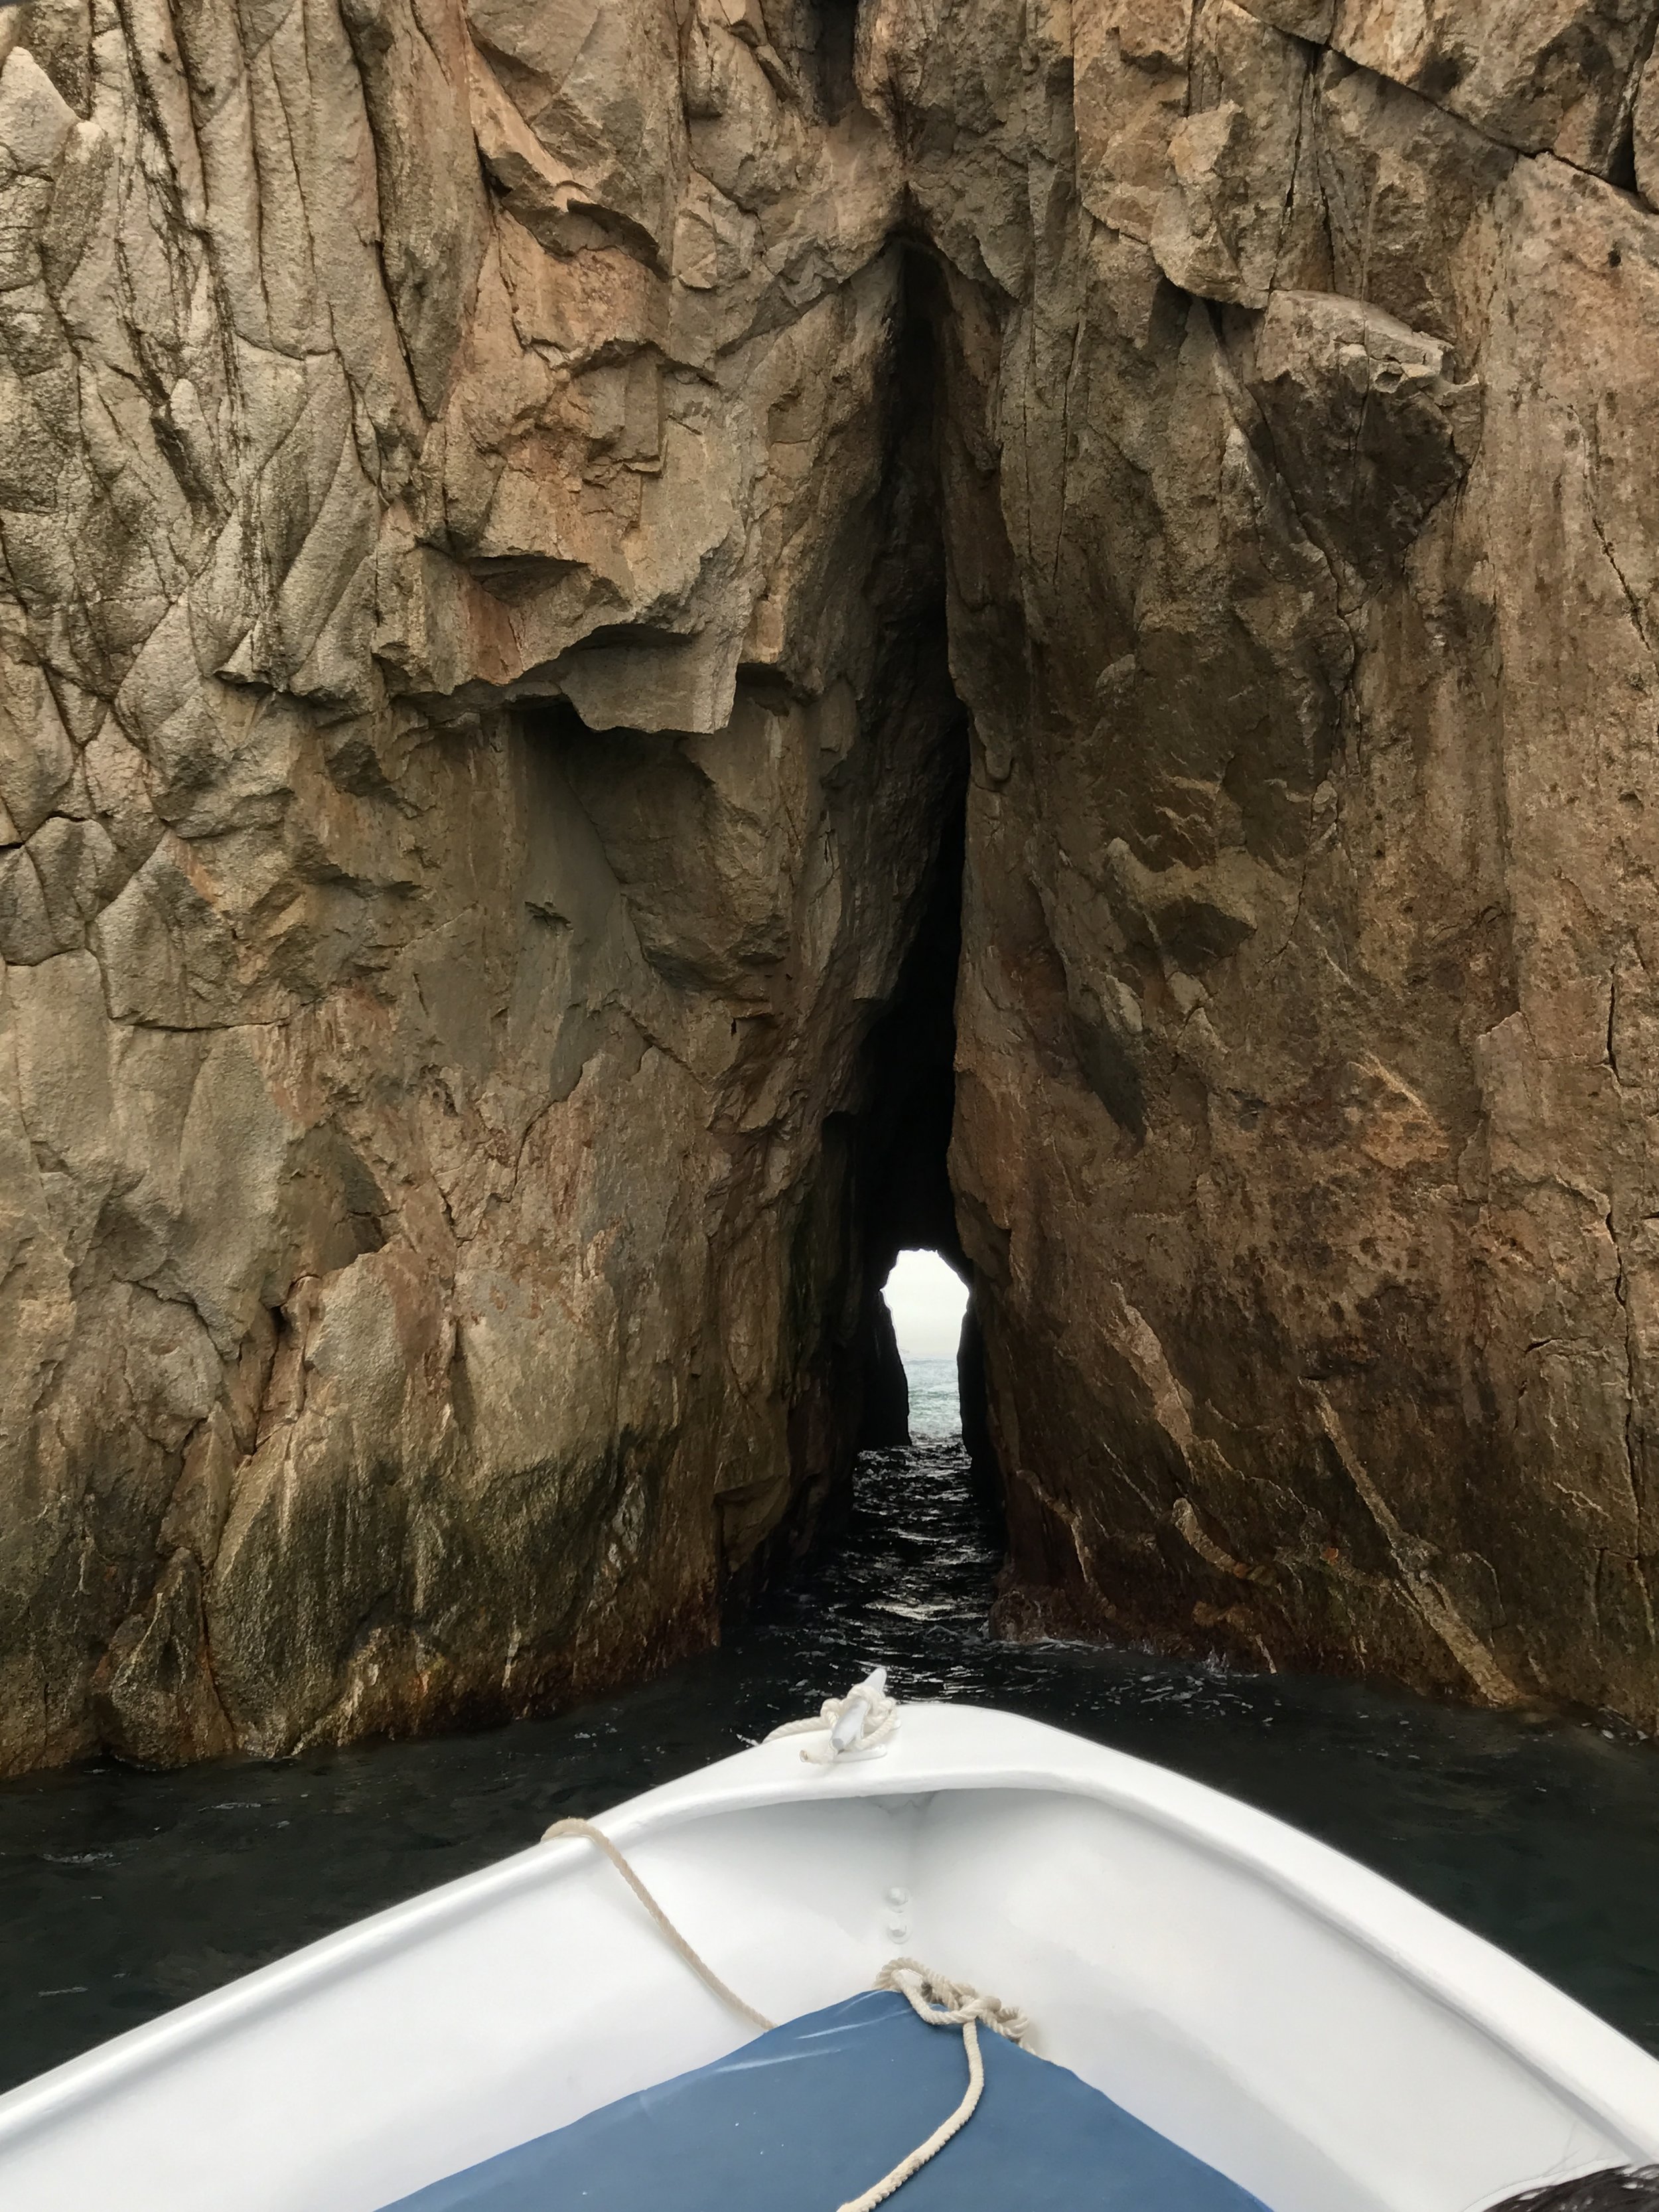
4. Glass Bottom Boat in Cabo. Be very careful when ordering a boat in Cabo to head out to Lovers Beach. There are a lot of scammers, and they will take your money, and give you exact NOT what you asked for in return. So just make sure you are smart and real with the people you buy from. Bring googles and flippers to Lover's Beach to do a little snorkeling. The current is strong, so be very careful... but if you are a strong swimmer, it is so fun to see all the fish! 

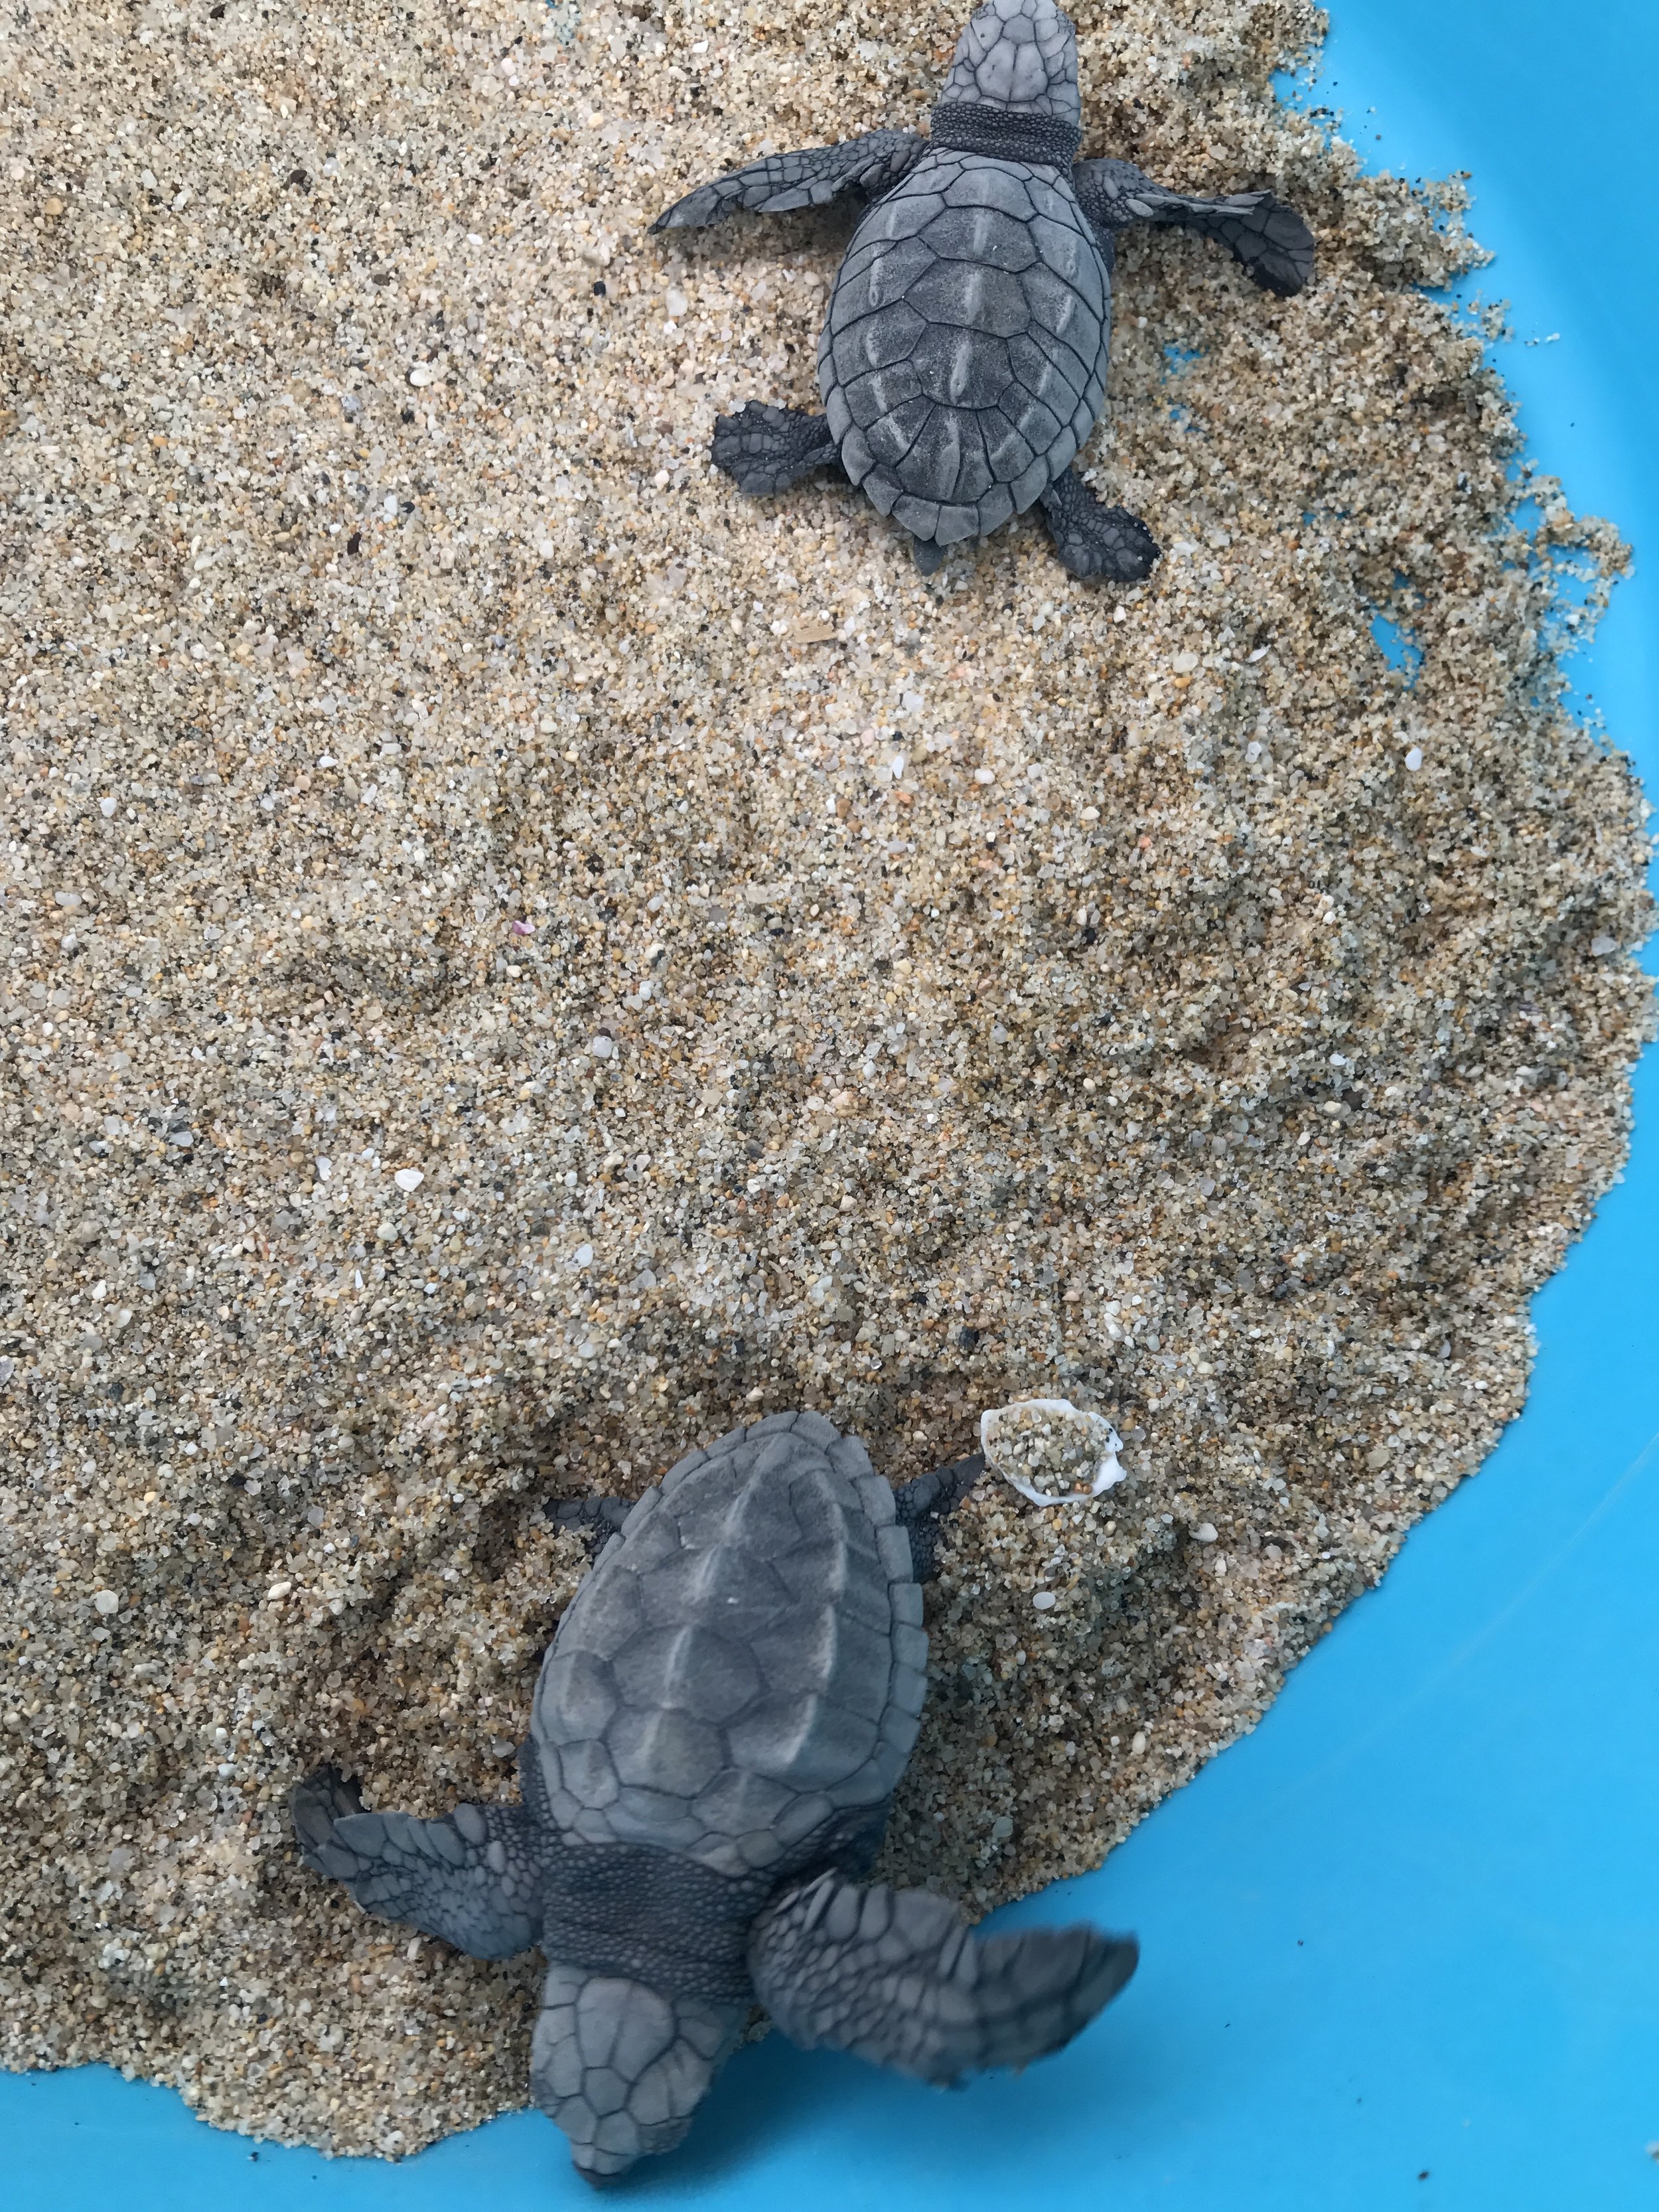
5. Take a day trip to Todos Los Santos, and if you can plan ahead, release some turtles! We didn't get a chance to, bummer!


India Girls Trip

Every year, the girls in my family plan an epic girls trip. In 2016, we decided to travel to India! I wanted to share some photos and our basic itinerary with you, just to inspire you to travel to this incredible country. 

Tips for India:

1. Plan the timing of your trip wisely. India is BEYOND hot and humid. Make sure you do not travel to India during their mid or late summer. We traveled in April, it was 100 degrees daily with 50-80% humidity. It was blazing hot daily. 

2. Pack lightly! You can plan the cutests outfits ever, but at the end of the day, you just want to be comfortable. Dresses are great for in india, because they are breathable and you won't have to dress up when going into any temples. Be respectful of their culture by being modest. No booty shorts, ladies! 

3.  Bring some comfort food. We were in India for 8 days.... needless to say.... we got tired of the cuisine. Bring some snacks for when you need a step away from the spices and curry! 

4. When they say "How spicy would you like it?".... Say "NO SPICE". It will still come out flaming hot, and you will drink way too much water. This will lead to.... #5

5. Bring toilet paper! And learn how to squat! No details needed on this one :)

6. DO NOT DRINK THE WATER. I stayed far away from any tap water, and still got sick. Take antibiotics daily while travelling. But at the end of the day, expect your digestive system to be completely wack after and maybe even during your trip. 3/4 of us girls got some sort of sickness while traveling. 

7. Book a personal tour guide. We traveled with a tour guide, who hired a driver for us the entire week. It was incredible and well worth the money. 

8. Embrace the culture. People may say that it is offensive to see an Non-Hindu person rocking a bindi, but that is sooooo not true. The indian people love when you embrace their culture. Their perspective on you will change, and they will start smiling instead of glaring at you!

9. If you are a younger girl traveling to India, beware that you will be asked to take dozens of photos with teenage boys. They are not being gross, or crude, they just think of American girls as celebrities. So have fun with it! And remember... their cameras are always watching you!

10. Go jewelry shopping! Your wallet may not like it, but it is worth it. The gems and gold in India are amazing prices, and you can always bargain. I had two gold rings made for me at a jewelry shop... we picked them up the following day and they were beautifully made! My only regret is that I didn't make more!

Day 1: Delhi

Qutub Complex, Lotus Temple, Rug Shopping

DSC00129.JPG
DSC00243.JPG


Day 2: Delhi 

Isa Kahn's Garden Tomb, Humayun's Tomb

Day 3: Jaipur 

5 hour drive to Jaipur, Ride a Camel, Jal Mahal Water Palace, See a Bollywood Film, Umaid Bhawan Hotel.

IMG_4828.JPG

Day 4: Jaipur and Amber City

Tour Amber City's Palace of the Winds, Amber Fort (ride an elephant up), See a Snake Charmer, Chand Baori Well, Elephant Sanctuary (ride, wash, and paint an elephant!) 

Snake Charmer.jpg

Day 5: Jaipur 

Get a Henna Tattoo, Morning Flower Market, Jantar Mantar, Go Inside Palace of the Winds.

Day 6: Travel to Ranthambore

On our way to Ranthambore, we stopped at the Galta Ji Monkey Temple. Warning, monkeys can be aggressive!

Day 7: Ranthambore National Park 

5:30 AM Tiger Reserve Tour *Yes we saw a wild tiger!!!*, and see the Black and White Temple (Even though its super colorful....). Drive to Agra- 5 hours. Upon arrival see the Little Taj, also called the Jewel Box. Drive to the Back of the Taj for Sunset. 


Day 8: Agra

Tour the Taj Mahal, wake up early to beat the crowd! Then after, tour the Red Fort.
tajmahal.jpg


Welcome to RBRIGGS ART!

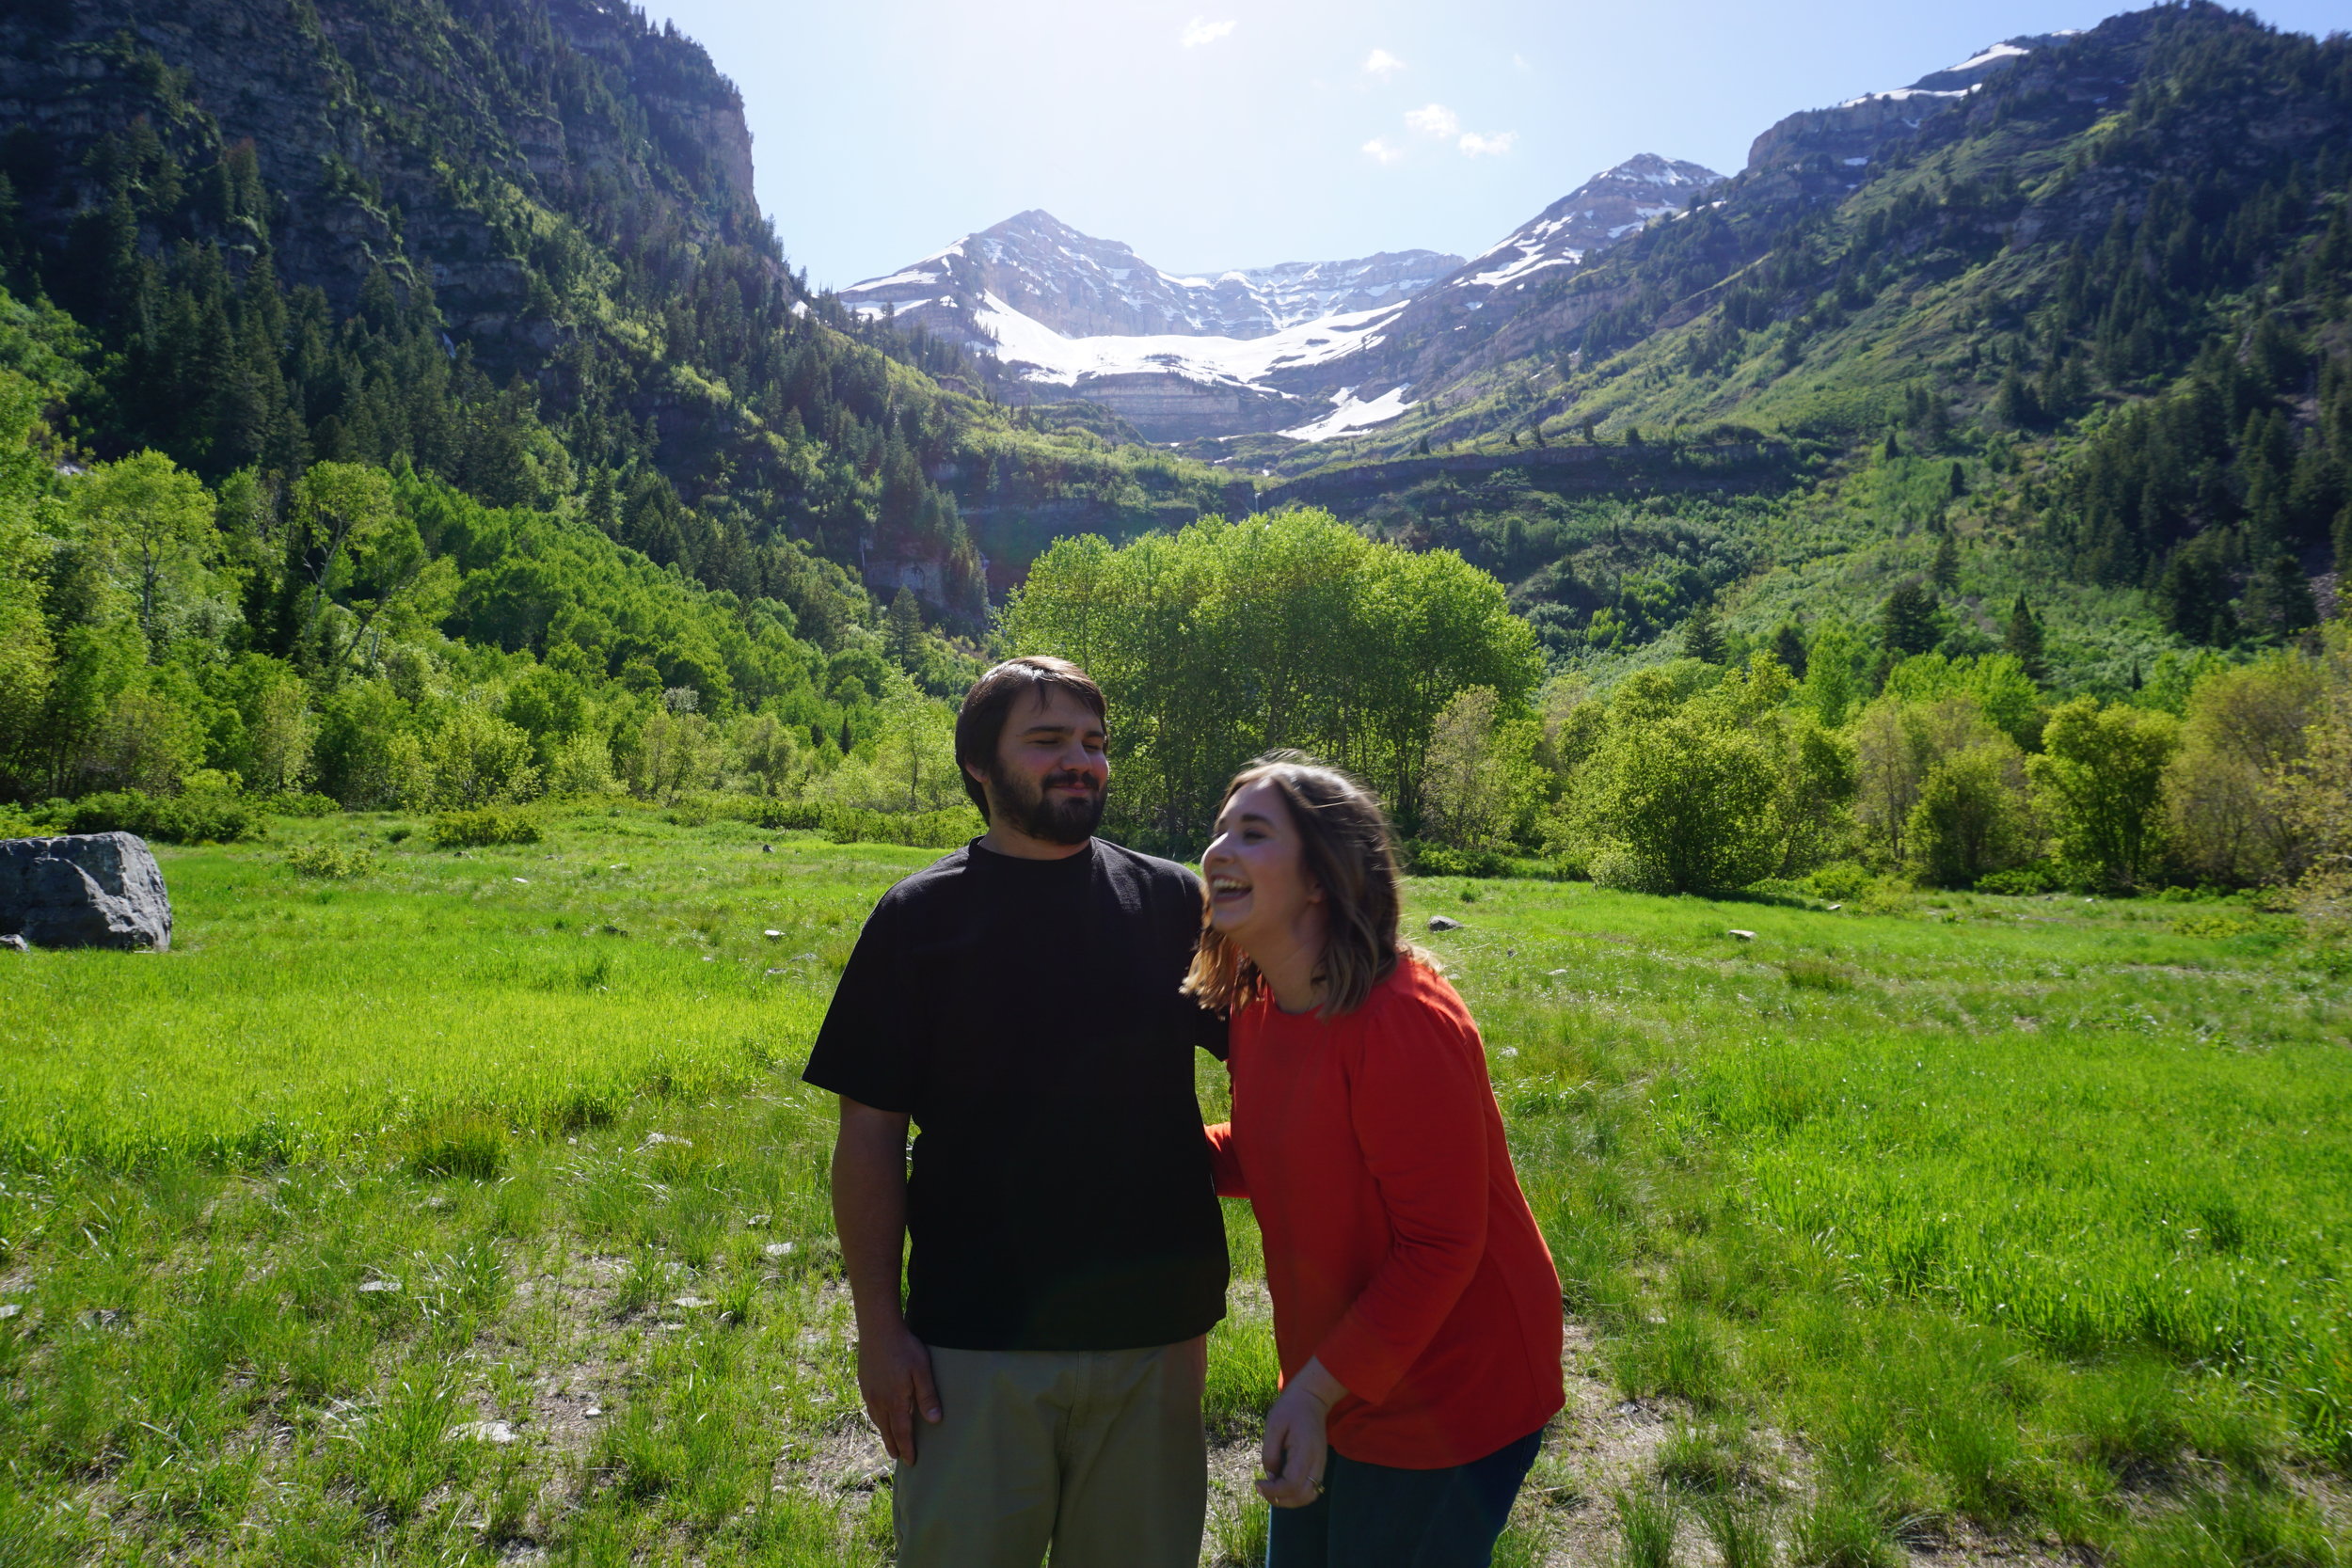
Just wanted to welcome you all to my new website featuring all my artwork. On this site you can contact me about commission, purchase orginial artwork (not prints!), and recieve creative inspiration! Thanks for joining me!
Love, Robyn